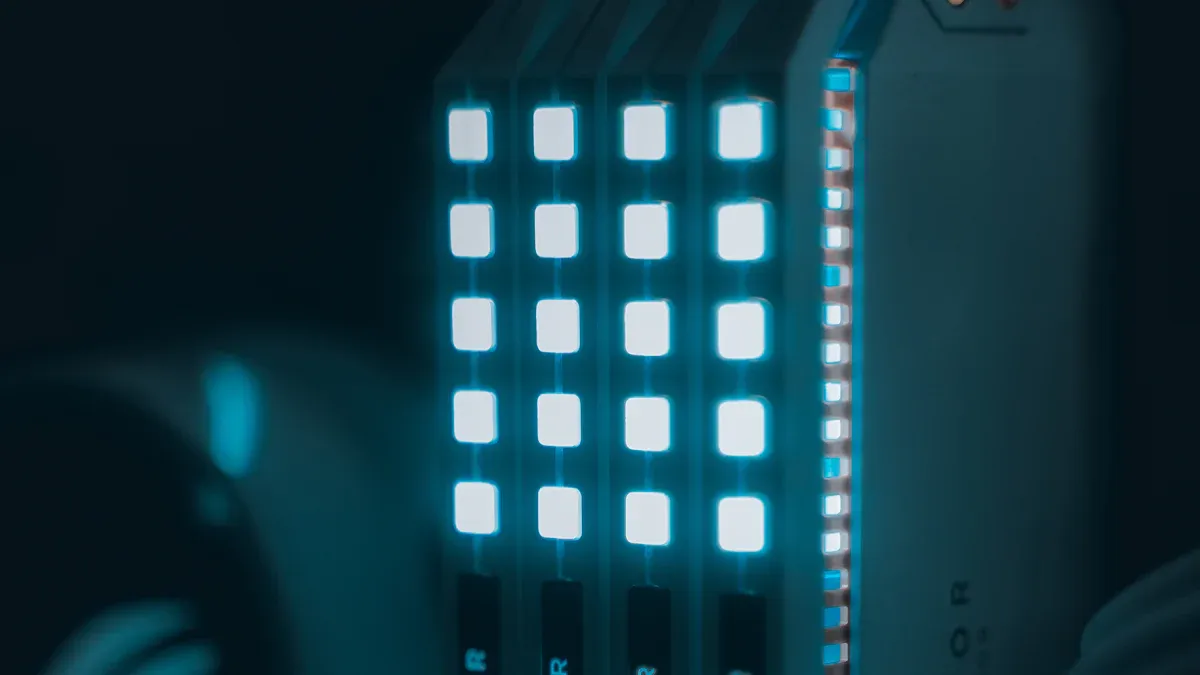
SMD2835 LED modules, specifically the modulo led 2835, are very important for modern lighting. They are energy-saving options compared to old lights. These modules can be used in many indoor decoration projects. You can achieve even lighting and save on energy bills.
Before you start, collect the tools and materials you need. Getting ready will help you install the modulo led 2835 correctly and look professional.
Lighting Type | Efficiency (lm/W) | Power (W/m) | LED Quantity (LEDs/m) |
|---|---|---|---|
SMD2835 | 110 | 19.2 | 120 |
SMD3528 | 100 | 6 | 60 |
Key Takeaways
Get important tools like a screwdriver set, wire strippers, and a multimeter before you start. This helps make the process easier.
Clean the area where you will install by removing dust. Make sure the surface is at the right temperature. A clean surface helps the LED strips stick better and last longer.
Measure and cut the LED strip carefully at the marked points. This prevents damage to the circuits. This step is very important for a good installation.
Connect the power supply carefully. Make sure the wiring is correct to avoid damage. Always follow safety rules to prevent electrical problems.
Test the LED strips after you install them. This checks if they work properly. Finding problems early can save time and help your lighting project succeed.
Tools for SMD2835 LED Installation

When you get ready to install SMD2835 LED modules, having the right tools is very important. Using the right tools makes the job easier and faster. Below is a list of tools and materials you will need for your project.
Essential Tools
To install your LED strips, gather these tools:
Screwdriver Set: This helps you secure any mounting parts.
Wire Strippers: These prepare wires for connections.
Soldering Iron: This tool is important if you need to solder.
Multimeter: This checks current and voltage to ensure everything works.
Heat Shrink Tubing or Electrical Tape: Use these to insulate connections and stop short circuits.
Required Materials
Besides tools, you will need some materials for your installation:
2835 SMD LED strips or modules: These are the main parts of your lighting.
Power supply or driver: Make sure it works with your LED strips.
Connectors or soldering materials: These help make secure electrical connections.
Mounting hardware: This includes brackets or other items to hold the LED strips in place.
By gathering these tools and materials, you prepare for a successful DIY installation of SMD2835 LED modules. Good preparation will help you get a professional look and make sure your lighting project turns out well.
Prepare Installation Area
Before you start putting in your SMD2835 LED modules, get the installation area ready. A clean and dry surface is very important for good sticking and working. Here are some steps to follow:
Clean the Surface: Make sure the surface is smooth, dry, and free of dust. Dust can block light and cause overheating. This can shorten the life of your LED strips. Use a soft cloth and cleaner to wipe the area well.
Check Surface Temperature: The surface temperature should be just right for sticking. If it is too cold or too hot, the glue might not stick well.
Dust-Free Environment: Work in a place without dust. Dust can mess up the glue and lead to bad installation. Use a vacuum or air blower to clear away any dust before you start.
Use Proper Adhesive: Peel off the protective cover from the LED strip. Stick it down using the 3M™ double-sided tape that is already on it. Press evenly across the surface to make a strong bond.
Install on Suitable Surfaces: For the best results, put the LED strips on metal or surfaces that conduct heat well. This helps get rid of heat, making your modules work better and last longer.
Avoid Long Power Runs: If you need to run power over long distances, do not go more than 49 ft without adding another power point. This stops voltage drop and makes sure your LED strips get enough power.
Test Before Final Mounting: Always check the power and dimming features before you finish mounting. This helps you find any problems early, saving you time later.
By following these steps, you can make a great installation area that helps your SMD2835 LED modules work well and last a long time.
Measure and Cut SMD2835 LED Strip Light
Measuring and cutting your SMD2835 LED strip light correctly is crucial for a successful installation. Follow these steps to ensure you get the right length and avoid damaging the circuitry.
Measure the Length: Start by determining where you want to install the LED strips. Use a measuring tape to find the exact length needed. Make sure to measure twice to avoid mistakes.
Locate Cutting Points: Look for the designated cutting points on the strip. These points are usually marked with a scissor symbol or a line. Cutting at these points ensures you do not damage the circuitry.
Prepare to Cut: Before you cut, gather your tools. You can use scissors or a sharp utility knife for this task. Ensure your tools are clean and sharp for a smooth cut.
Cut the Strip: Carefully cut along the marked line. Avoid cutting into the copper pads, as this can damage the LED lights or circuitry. A clean cut helps maintain the integrity of the strip.
Check Your Work: After cutting, inspect the ends of the strip. Ensure there are no frayed edges or exposed wires. This step is important for safety and performance.
Tip: Always refer to the manufacturer’s guidelines for cutting your SMD2835 LED strip light. Following these guidelines will help you achieve the best results and avoid any issues during installation.
By measuring accurately and cutting carefully, you set the stage for a successful installation of your LED strips. This attention to detail will help ensure that your lighting project looks professional and functions well.
Attach the LED Modules
Attaching your SMD2835 LED modules the right way is very important. This helps you get the best lighting performance. Good placement makes sure you get more light and even brightness. Here are some good tips for placing your LED strips:
Place fixtures around main areas to spread light evenly.
Think about the room shape and how it will be used to find the best spots.
Use systems that control different areas to change brightness and improve evenness.
These tips help you make a bright space that fits your needs.
When you attach the LED strips, make sure they are tight. The waterproof white LED modules have double-sided tape on the back. This makes it easy to install them on different surfaces. You can also use extra glue if you want more security.
Using an aluminum profile is a great idea for your setup. The SMD2835 LED module has an open aluminum PCB design. This design helps heat escape into the air, making the lights last longer and work better. Unlike modules in ABS, aluminum profiles let heat go away better.
Also, LED aluminum channels hold the LED strip lights and act as heat sinks. This helps the LEDs last longer and stay bright over time. By adding the aluminum profile, you make sure your lighting stays strong and efficient.
Connect Power Supply
Connecting the power supply to your SMD2835 LED modules is an important step in your installation. Follow these steps to wire the modules correctly to a 12V DC power supply:
Wire Stripping: First, strip the ends of the wires on both the LED strip and the power supply. This shows the copper for a strong connection.
Connect the Wires: Use LED strip connectors or wire nuts to join the LED strip to the power supply. Make sure to connect the positive (+) wire to the positive terminal and the negative (-) wire to the negative terminal. This step is very important for proper function.
Secure the Connection: If you want to solder, use a soldering iron to make the connections. After soldering, cover the connections with heat shrink tubing to keep them safe. This stops short circuits and ensures safety.
Safety Precautions:
Always follow local electrical safety rules when connecting the power supply.
Make sure a qualified electrician does the installation to ensure safety and correctness.
Use a constant voltage LED power supply to avoid hurting your modules.
Do not install LED strips in hot places or wet areas, especially if they are not waterproof.
Use standard size cables for connecting the power supply and LED strips to stop overheating.
The standard operating voltage for SMD2835 LED modules is about 12V. These modules are sensitive to voltage changes, so using a regulated power supply is very important. Wrong wiring can cause serious problems, like burning out LED chips or overheating current-limiting resistors.
Consequence | Description |
|---|---|
Instant burnout of LED chips | LED chips made for 12V will overheat and burn out when connected to 24V because of too much current. |
Overheating of current-limiting resistors | Resistors can get too hot, leading to possible failure and fire risks. |
Entire light strip rendered unusable | Damage may be so bad that replacing the whole strip is cheaper than fixing it. |
Series-connected LEDs lose protection | If one LED fails, it can make the whole series stop working, affecting the entire strip. |
Increased risk in bulk installations | In bigger setups, one failure can start a chain reaction of burnouts. |
Poor heat dissipation in enclosed spaces | Not enough cooling can lead to thermal runaway, raising fire risk. |
By following these steps and safety tips, you can safely connect the power supply to your SMD2835 LED modules and enjoy your new lighting setup.
Test the LED Strip Lights
After you finish installing, it’s time to test the LED strip lights. This step checks if everything works right and helps you find any problems. Follow these steps for a good first power-up:
Connect the Power Supply: Make sure the power supply is connected to the LED strips. Check that the positive and negative terminals are lined up correctly.
Power Up: Turn on the power supply. The LED strips should light up right away. If they don’t, turn off the power supply and check your connections.
Observe the Performance: Look for any strange brightness or color. A good LED strip should give steady light without flickering.
Here’s a quick reference table for the first power-up settings:
Parameter | Value |
|---|---|
Length of strip | 1 meter |
Number of LEDs per meter | 60 |
Current draw per LED | 20 mA |
Total current draw | 1,200 mA (1.2 A) |
If you have problems during testing, don’t worry. Here are some common issues and what to do:
Issue | Cause/Action |
|---|---|
LED Strip Lights Not Bright | Not enough power or a broken LED. Change the power supply or replace the broken LEDs. |
LED Strip Lights Flicker | Short circuit or a broken LED. Check the circuit or change the broken LED. |
LED Strip Lights Overheating | Too much power or too many LEDs. Cut down the number of LEDs or change the power supply. |
Voltage Issues | Uneven brightness or flickering. Check the power supply rating and think about adding another supply. |
Connections and Solder Joints | Flickering lights. Check and tighten or re-solder connections. |
Evaluate LED Chips | Dead or dim parts. Look for and change damaged LED chips. |
To troubleshoot well, use these tools:
Check the Power Source: Make sure the power adapter is connected and test its output voltage with a multimeter.
Inspect the Wiring: Look for loose connections and damaged wires that could stop power.
Examine the LED Strip Itself: Check for damage and test continuity with a multimeter.
Check the Controller: Change batteries and reset the controller if needed.
Consider Environmental Factors: See if outside conditions are affecting performance.
As you test the LED strip lights, watch for signs of a good installation:
Indicator Description | Explanation |
|---|---|
Color Temperature Shifts | Good strips should keep a steady color temperature. Noticeable yellowing or blue tints mean aging or damage. |
Localized Non-Illumination | A part not lighting up may mean burnout or connection problems. |
Flickering | Constant flickering shows power supply issues or bad connections. |
Yellowing of Adhesive | Yellowing or cracking of adhesive layers affects looks and efficiency. |
High Temperature | Too much heat while working means possible faults or bad ventilation. |
By following these steps and tips, you can test the LED strip lights and make sure they work as they should. This process helps you find any problems early, leading to a smooth and successful lighting project.
Final Adjustments
After you finish installing your SMD2835 LED modules, you might want to make some last changes. These changes can help your lights work better and look nicer.
Adjusting Brightness
To get the brightness you want for your LED strips, try these methods:
Use Higher Quality Strips: Choose LED strips with more LEDs in each meter. This can really make them brighter.
Ensure Adequate Power Supply: Check that your power supply matches the voltage and current needs of your LED strips. If it’s too weak, the lights will be dim.
Install Properly: Good installation can stop voltage drops that make lights dimmer.
Use Higher Gauge Wire: A thicker wire helps reduce voltage drop, so your LED strips get enough power.
Power from Both Ends: Connecting power to both ends of the strip can help keep brightness even along the whole length.
Securing Loose Wires
After adjusting brightness, look for any loose wires. Make sure to secure them to avoid accidental disconnections. Use cable ties or clips to keep everything neat. This not only makes it safer but also improves how your installation looks.
Importance of Light Diffusion
To make your lighting more comfortable to look at, think about using acrylic panels. These panels help spread light evenly.
With an impact-resistant acrylic diffuser, the LED panel gives soft, nice light that gently lights up the area.
Using a frosted or textured acrylic diffuser spreads light out, reducing bright spots and glare. This is important in places where people spend a lot of time, like offices or classrooms.
Minimize Glare: UGR<19 lighting is made for workspaces and helps reduce eye strain during long use.
Create a Soft Glow: The right diffuser makes a soft, warm glow that is easy on the eyes.
By making these final adjustments, you can make sure your SMD2835 LED modules work well and feel comfortable in your space.
In summary, you can have a great installation of your modulo led 2835 by doing these important steps:
Planning Your Layout: Measure your area, choose how many LEDs you need, and check power needs.
Preparing for Installation: Clean the surface and test the LED strip.
Installing the LED Strip: Take off the sticky backing, stick it to the surface, and connect to power and controller.
Programming and Testing: Set up your effects and do final testing.
Take your time with each step for the best results. Rushing can cause mistakes that hurt performance.
To keep your LED strips in good shape, think about these tips:
Check the LEDs and wires often for wear or damage.
Wipe the lights with a soft cloth to keep them bright.
Make sure the power supply stays steady to avoid problems.
By following these tips, you can enjoy your lighting setup for many years.
FAQ
How long do SMD2835 LED modules last?
SMD2835 LED modules usually last between 25,000 and 50,000 hours. This depends on how you use them and the environment.
Can I cut SMD2835 LED strips anywhere I want?
No, you should only cut at the marked points on the strip. Cutting in other places can harm the circuitry.
How can I clean my LED strips?
Use a soft, dry cloth to wipe the LED strips. Do not use strong chemicals or too much water.
Are SMD2835 LED modules waterproof?
Some SMD2835 LED modules have waterproof coatings. Check the details before installing to make sure they fit your needs.
What kind of power supply do I need for SMD2835 LED modules?
You need a 12V DC power supply that matches the total wattage of your LED strips. Always check the details for compatibility.
See Also
A Step-By-Step Guide To Installing LED Module Lights
Comparing SMD 2835, 5050, And 3528 LED Strip Types
An Introductory Guide To Practical Uses Of LED Modules


