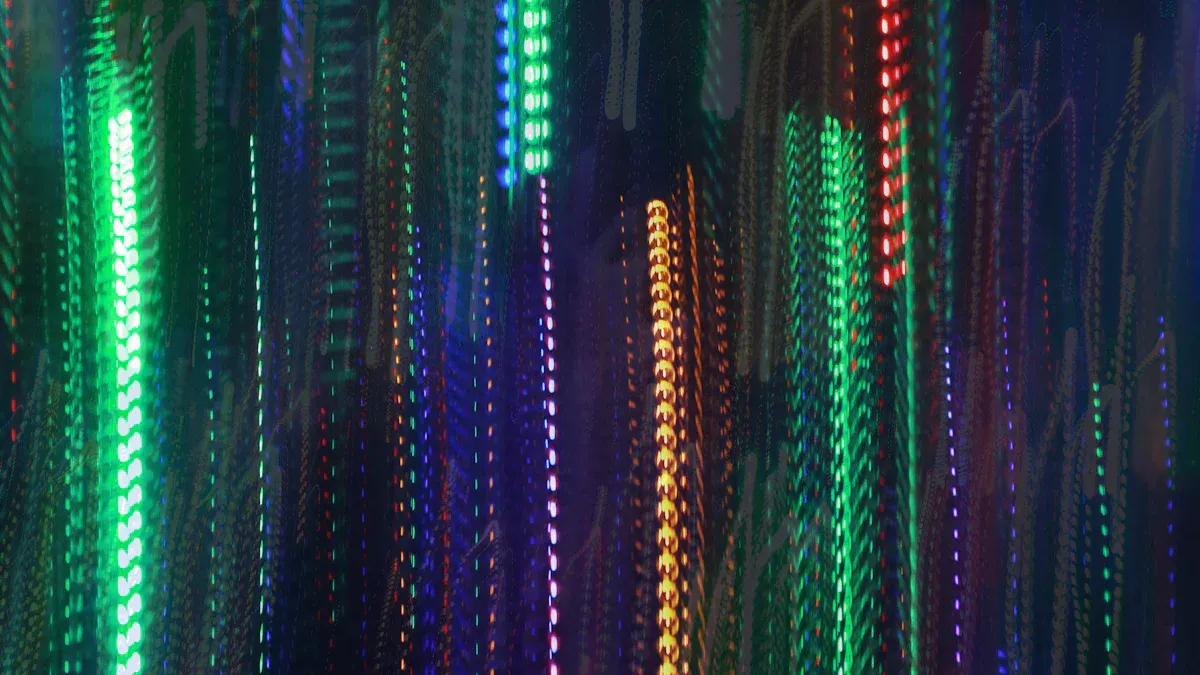
Imagine changing your space with bright colours and moving lights. Addressable LED strips let you make amazing light displays that grab attention. You can use them in many projects. They are great for mood lighting in your living room. They also work well for fantastic decorations at events. The options are endless. You have the power to make your ideas real. What will you make with your addressable LED strip?
Components Needed for Addressable LED Strips

Types of Addressable LED Strips
When you choose an addressable LED strip, you have many choices. Each type has special features for different projects. Here’s a quick look at the most common types:
Type of LED Strip | Description |
|---|---|
Single-Signal Addressable LED Strips | Work with one signal; if one pixel breaks, the others stop working. |
Dual-Signal Addressable LED Strips | Have a clock function plus the data signal, which allows for adjustable lighting time. |
Breakpoint Continuation Addressable LED Strips | Improved version of single-signal strips with a backup data line for steady signal flow. |
DMX512 LED Strips | Use the DMX512 protocol for complex lighting setups and work with professional systems. |
Among these, the 12V WS2815 is a popular choice. It has a dual-signal design, so your lights stay steady even if one pixel breaks. This makes it great for bigger setups.
Required Tools and Materials
To set up your addressable LED strip, you will need some tools and materials. Here’s a list to help you begin:
Wire Strippers: Important for cutting and stripping wires to the right lengths.
Screwdrivers: Needed for securing parts, usually mini flathead or Phillips.
Volt Meter: Helpful for checking electrical connections and measuring voltage.
Wire Connectors, Electrical Tape, and Heat Shrink: Necessary for making safe electrical connections.
Solder Iron (Optional): Suggested for the best connections when cutting and reconnecting LED strips.
Having these tools ready will make your setup easier and faster. With the right parts and tools, you can create amazing light displays that improve any project.
Setting Up Your Addressable LED Strip
Connecting the LED Strips
To connect your addressable LED strip, follow these steps closely. This will help your smart LED strip lights work well and safely.
Solder/Wire Connections: First, make strong electrical connections from the LED strip to your control board. You can solder pigtail wires or use stripped and spliced hookup wire.
Connecting to an Arduino: Power your breakout board with USB power. Connect the Arduino’s 5V and GND pins to the same pins on the LED strip. Use pins 11 and 13 for data and clock signals.
Add a Smoothing Capacitor: To make the power supply steady, connect a capacitor (between 100µF and 1000µF) from power to ground before connecting the 12V WS2815 to a power source.
Final Connections:
Connect the strip’s 5V to the power supply’s 5V.
Connect the CI (Clock Input) to Pin 13 on the Arduino.
Connect the DI (Data Input) to Pin 11 on the Arduino.
Connect the strip’s GND to the power supply’s ground.
Tip: Check all connections to avoid common wiring errors. Wrong voltage, overloading the power supply, and ignoring polarity can cause problems.
Power Supply Considerations
Choosing the right power supply is very important for your addressable LED strip to work well. Here are some key points to think about:
Calculate Required Wattage:
Know the wattage per metre of your LED strip.
Decide how long you want your light strip to be.
Calculate the total power using this formula: Total wattage = Wattage/meter x Length.
Use the 80% rule: Actual required power = Theoretical power x 1.2.
Avoid Overpowering or Underpowering: Overpowering can make lights brighter but may cause overheating and early failure of the LEDs. Underpowering can lead to flickering or dim lights. Always make sure the total electrical load does not go over the circuit’s capacity.
Voltage Drop: Long runs of LED strips can cause voltage drop, making lights dim. If your setup is large, think about using thicker wires or adding more power injection points along the strip.
By following these tips, you can make sure your addressable LED strip works well and effectively, helping you create amazing light displays.
Programming Your Smart LED Strip Lights
Introduction to Programming Languages
Programming your smart LED strip lights lets you be creative. You can change colours, patterns, and effects with a few lines of code. The most common programming languages for addressable LED strips are Arduino and Processing.
Arduino is an open-source electronics platform. It helps you read inputs and turn them into outputs using a programming language based on Wiring. This makes it a great choice for both beginners and experts. You can easily control your addressable LED strip with Arduino, especially the 12V WS2815 model, which is known for being reliable.
Processing is another language you can use. It is good for making visuals that control LEDs in real-time. This is perfect for interactive projects where you want to respond to user input or changes in the environment.
Simple Code Examples
Now, let’s check out some simple code examples to help you start. Below is a basic example of how to create a rainbow effect on your WS2812B LED strip using Arduino:
void rainbow()
{
  // FastLED's built-in rainbow generator
  fill_rainbow(leds, NUM_LEDS, gHue, 7);
}
This code snippet uses the FastLED library, which makes controlling your LED strip easier. You can change the gHue variable to pick the starting colour of the rainbow effect.
If you want to use Python, you can also control your LED strips with libraries like rpi_ws281x for Raspberry Pi. But remember, the Arduino IDE has some benefits over Python. Here’s a quick comparison:
Feature | Arduino IDE Advantages | Python Disadvantages |
|---|---|---|
Library Performance | FastSPI_LED library offers high performance math functions for RGB values. | May not have optimised libraries. |
Timing Precision | Arduino IDE provides precise timing control for LED strips. | Timing may vary based on implementation. |
Processor Compatibility | Arduino IDE supports various processors with specific modules. | Python may require additional setup for different hardware. |
Using the Arduino IDE can make your programming experience better. It has built-in support for many microprocessors, making it flexible for different hardware setups.
With these programming languages and examples, you can start making amazing light displays with your addressable LED strips. Try out different effects and see what you can create!
Creative Ideas for DIY Smart LED Strip Lights
Home Decor Projects
You can change your home with addressable LED strips. These lights are flexible and let you be creative in decorating. Here are some cool ideas:
Make a light curtain by hanging LED strips. This gives a soft glow, great for bedrooms or living rooms. It helps create a calm vibe with dimmable lights.
Put LED strips around the ceiling for hidden lighting. This gives soft light, perfect for relaxing and adds style to your bedroom.
Use LED strips on ceiling beams in a rustic bedroom. Soft white or amber light adds to the rustic feel, making it cozy.
Outline your TV with LED strips. This creates a soft backlight that reduces eye strain and improves screen contrast, giving a movie-like experience.
Light up shelves with LED strips. This highlights books, art, or collectibles, drawing attention to displays and adding depth to your wall.
Addressable LED strips let you control each light separately. This helps you make beautiful light shows and patterns. You can change the lighting to fit different moods and events, making your living spaces warm and welcoming.
Interactive Displays
Addressable LED strips are also great for educational and interactive uses. You can use them to make exciting displays that grab attention. Here are some ideas:
Add LED strips to interactive systems for lively visual shows. This makes learning more fun and keeps people interested.
Create a big LED Matrix for interactive exhibits. This lets the audience join in through games, making learning enjoyable and engaging.
Use gesture recognition and body sensing tech to create immersive experiences. This lets people interact with the display, responding to their movements.
These projects not only look good but also encourage interaction and engagement. With your imagination, you can turn simple LED strips into amazing displays that teach and entertain.
Troubleshooting Addressable LED Light Strips
Connectivity Problems
You might face different connectivity problems with your addressable LED light strips. Common issues usually come from the power supply and wiring. If connections are not right, some parts of the strip may not light up. Poor-quality wiring can cause flickering. Always check that all connections are tight and not damaged. Here are some tips to help you fix problems:
Inspect Power Supply: Make sure your power supply matches the voltage and current needs of your LED strip.
Check Wiring: Look for any broken wires or loose connections. Change any damaged parts.
Test with a Multimeter: Use a voltmeter to see if the right voltage gets to the LED strip.
Revisit Connections: Ensure all connections are secure and lined up correctly.
Programming Errors
Programming errors can also stop your project from working. Below is a table of common programming errors you might see when using addressable LED strips:
Error Message | Description |
|---|---|
Blink.ino:2:21: error: FastLED.h: No such file or directory | Missing FastLED library |
Blink:14: error: ‘CRGB’ does not name a type | Undefined type CRGB |
Blink:24: error: ‘FastLED’ was not declared in this scope | FastLED not recognised |
Blink:24: error: ‘NEOPIXEL’ was not declared in this scope | NEOPIXEL not recognised |
Blink:24: error: ‘RGB’ was not declared in this scope | RGB not recognised |
Blink:24: error: ‘leds’ was not declared in this scope | LEDs not declared |
Blink:38: error: ‘leds’ was not declared in this scope | LEDs not declared |
Blink:38: error: ‘CRGB’ has not been declared | CRGB not declared |
Blink:39: error: ‘FastLED’ was not declared in this scope | FastLED not declared |
Blink:42: error: ‘CRGB’ has not been declared | CRGB not declared |
To fix your code well, think about these points:
For SK6812 and WS2812B strips, remember they send colours in green-red-blue order.
For WS2811 and TM1804 strips, you might need to switch the red and green channels.
Use special code versions for low-speed TM1804 strips to avoid problems.
By following these troubleshooting tips, you can keep your addressable LED light strips working well and enjoy smooth operation in your projects.
In this blog, you looked into the fun world of addressable LED strips. You found out about the different types of strips, how to set them up, and the basics of programming. You also saw creative ideas for home decor and interactive displays.
Now, it’s your turn to try things out! Here are some ideas to help you start:
Check online shops like Amazon or eBay for many types of addressable LED strip lights.
Go to local electronics shops to see what options are nearby.
Look at manufacturer websites for ways to buy directly.
Sharing your projects can motivate others. For instance, you could make a cool LED chase effect or create a big display. The options are endless! Use your creativity and enjoy the fun of making with addressable LED strips. 🌟
FAQ
What is a 5 volt ws2812b LED strip?
A 5 volt ws2812b LED strip is a type of addressable LED strip that operates on 5 volts. You can control each LED individually, allowing for vibrant colours and dynamic effects.
How do I connect my LED strip connectors?
To connect your LED strip connectors, align the connectors with the strip’s pins. Press firmly until they click into place. Ensure the polarity matches to avoid damage.
Can I use a ready-made LED strip kit for my project?
Yes, a ready-made LED strip kit simplifies your project. These kits often include everything you need, such as the LED strip, power supply, and connectors, making setup easy.
What power supply do I need for my LED strip?
You need a power supply that matches the voltage and current requirements of your LED strip. For a 5 volt ws2812b strip, ensure your power supply provides sufficient amperage for the length of the strip.
How do I troubleshoot flickering lights?
If your lights flicker, check your power supply and connections. Ensure the voltage is stable and that all connections are secure. You may also need to add more power injection points along the strip.


