
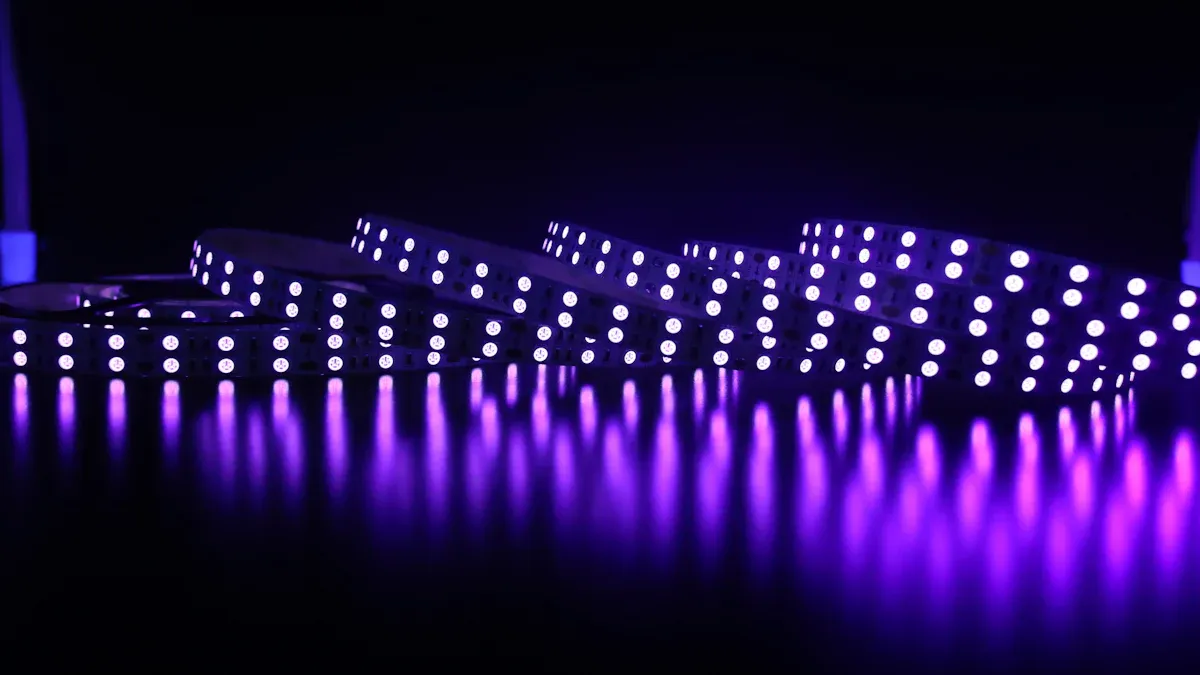
Are you ready to transform your space? LED tape strip lights offer incredible versatility in home decor. You can cut them to any length and stick them almost anywhere! Plus, they’re energy-efficient and come in various colors. With this guide, you’ll find that installing these lights is a fun and straightforward DIY project.
Key Takeaways
Get important tools like wire strippers, screwdrivers, and a volt meter before you start installing your LED strip lights. – Clean the surface well with isopropyl alcohol. This helps your LED strip lights stick better. – Check your LED strip lights before you finish installing them. This helps find problems early, saving you time and work later.
Tools for LED Strip Lights
When you want to install your LED strip lights, having the right tools is very important. Here’s a list of tools you will need:
Essential Tools
Wire Strippers: These help you cut and remove wires easily.
Screwdrivers: You will need these for most LED parts.
Volt Meter: This tool is good for fixing electrical connections.
Wire Connectors, Electrical Tape, and Heat Shrink: These are needed for making good connections.
Solder Iron (Optional): If you want to cut and reconnect LED strips, a solder iron helps make strong connections.
Required Materials
To start, gather these materials:
LED Strip Lights: Pick the right type for your project.
Power Supply: Make sure you have the right adapter or transformer.
Double-Sided Adhesive Tape or Mounting Clips: These make it easier to install the strips securely.
Mounting Channel: This is good for a neat finish.
Extra Adhesive Tape: 3M tape works well for better sticking.
Using tools like double-sided adhesive tape and mounting clips makes installation simpler, especially for beginners. The flexibility of LED strip lights, along with these helpful tools, lets you improve your space in fun ways. Many LED light strips have sticky backs, which speeds up the setup.
Now that you know what tools and materials to get, you are closer to lighting up your home with beautiful LED strip lights!
Installation Steps for LED Strip Lights

Installing LED tape strip lights can be a fun project. Follow these steps to make sure it goes well.
Measure and Trim
Before you start, it’s important to measure where you want to put the LED strip lights. Here’s how to do it right:
Look at the area you want to light up by measuring the edges.
Use a tape measure for straight areas or graph paper/design software for tricky shapes.
Think about bends or curves in the area where you will install.
Plan to cut the LED strips at the marked spots to waste less.
Watch out for things that might block the path of the LED strip.
Only cut the strips at the marked spots. Cutting them wrong can damage the circuits. This can cause problems or make parts stop working.
Clean the Surface
A clean surface is very important for a good installation. Before you stick on your LED strip lights, clean the surfaces well. Use isopropyl alcohol to clean the area. Don’t use regular rubbing alcohol or household cleaners. They can leave stuff behind that makes sticking harder.
Tip: Dust and dirt can really hurt how well the adhesive works. Make sure the surface is clean to get a strong hold.
Attach the Strips
Now it’s time to stick on the LED strip lights. Here are some tips for different surfaces:
For wood, sealing it and adding a coat of gloss paint helps it stick better.
Metal surfaces can work well as heat sinks. This helps the LED strip work better.
When sticking to metal, the tape that comes with the LED strips usually works fine.
Remember, the adhesive on many cheap LED strips might not be very strong. To make sure they stay on, think about using extra mounting clips to hold them better.
Test Before Finalizing
Before you finish the installation, it’s important to test the LED strip lights. This helps you find any problems early. Check for:
Flickering
Color problems
Dead LEDs
Adhesive not sticking
Controller issues
Power supply problems
Testing now can save you time later. If you see any issues, you can fix them before everything is in place.
By following these steps, you can easily install LED strip lights and enjoy the nice look they bring to your space!
Connecting Multiple LED Strips
When you want to connect LED strip lights, it’s very important to do it correctly. This helps your lights shine bright and steady. Let’s look at how to connect multiple strips the right way.
Use Connectors
Using the right connectors makes your setup easier and more dependable. Here are some common choices:
Snap Down Connectors: These are easy to use and great for DIY projects. They fit many PCB widths and work with non-waterproof LED strips.
Hippo Connectors: These connectors are good for joining LED tape to tape or cable. They come in different pin setups, including ones for waterproof strips.
COB LED Strip Connector: Made for COB LED strips, these connectors help reduce dark spots and are small in size.
Strip to USB Adaptive Connector: This connector lets you link your LED strips to USB ports, making it useful for different setups.
Corner Connectors: Available in shapes like L, T, and cross, these connectors help you bend LED strips around corners easily.
Solder-Free Connectors: These connectors come in different series for various types of LED strips, making connections easy without soldering.
Using good-quality connectors is very important. They help keep a steady connection and stop problems like flickering or uneven brightness.
Manage Power Supply
Managing your power supply is just as important as picking the right connectors. Here are some tips to remember:
Choose the Right Power Supply: Each strip of 300 LEDs uses about 18A at full white, which totals 90W at 5V. A 300W power supply is best to handle peak loads safely. It’s usually safer to oversize your power supply than undersize it, as it stops overheating and voltage drops.
Check Local Regulations: When connecting LED tape strips, make sure your power supply follows local rules, especially if it will be inside a wall or attic. Always check with your local code office to see if the power supply you want to use is allowed in your area.
Use Appropriate Cable Gauge: Pick a cable gauge that stops overheating and too much voltage drop. This helps keep steady brightness across all connected strips.
Connect in Parallel: To avoid voltage drop problems, connect each LED strip directly to the power supply using parallel wiring. This makes sure all strips get enough power.
Add Inline Fuses: For extra safety against shorts, think about adding an inline fuse to your setup. This extra protection can help you avoid possible dangers.
Tip: Regularly check your connections for wear or damage. Proper insulation of all connections is very important to stop short circuits.
By following these tips, you can connect LED strip lights successfully and enjoy a well-lit space without any issues!
Common Mistakes to Avoid
When you install LED strip lights, you might make some common mistakes. If you avoid these errors, you can save time and avoid frustration.
Incorrect Measurements
One big mistake is measuring wrong. Here are some common errors to look out for:
Not measuring carefully: Taking exact measurements makes sure your LED strip lights fit well in your space. Mistakes happen often, so check your measurements before cutting the LED strips.
Forgetting to measure twice before cutting: This easy step helps you avoid wasting material. Once you cut, you can’t put the strip back together.
Not thinking about bends or turns: These can change how much strip you need, so plan ahead.
Ignoring the instructions from the manufacturer: Following these closely helps you get a good fit and keeps the circuits safe.
Poor Surface Preparation
Another mistake is not preparing the surface well. Good surface preparation is very important for the life and stability of LED strip lights. Here’s what to remember:
Dusty or oily surfaces can cause the strips to not stick. If the surface is dirty, the strips might peel off or fall later.
Uneven surfaces can make the adhesive less effective. This can lead to LED strips coming off easily or peeling soon after you install them.
Cleaning the surface well to get rid of dust, dirt, and grease is key for a strong installation.
By avoiding these common mistakes, you can have an easier installation and enjoy your LED strip lights fully!
Troubleshooting LED Strip Lights
When you put up LED strip lights, you might face some common problems. These include flickering lights and uneven brightness. Don’t worry! You can fix these issues with a few easy steps.
Flickering Lights
Flickering lights can be annoying, but they usually have simple fixes. Here are some things to check:
Power Supply: Make sure your power supply matches the voltage and wattage needed for your LED strip lights. A weak power supply can cause flickering.
Wiring Connections: Loose or broken wires can cause flickering. Check all connections and make sure they are tight.
Controller Issues: If you use a dimmer or controller, it might not work well with your LED strips. Try removing the controller to see if the flickering stops.
Tip: Always test your setup after making changes. This helps you see what fixed the problem.
Uneven Brightness
Uneven brightness can make your lights look unprofessional. Here are some reasons this might happen:
Factor | Explanation |
|---|---|
Poor Quality LED Strip | Differences in brightness can happen due to low-quality materials or defects. |
Low Grade Power Supply | A weak power supply can cause uneven lighting along the strip. |
Placement | Bad placement can lead to some areas getting more light than others, affecting overall brightness. |
To get even brightness, try these solutions:
Pick a power supply that is at least 20% stronger than your total wattage.
Use a constant voltage power supply for steady performance.
For longer runs, use multiple power supplies to keep brightness even.
Buy all materials from the same brand to reduce color differences.
By following these tips, you can fix flickering lights and uneven brightness easily. Enjoy your well-lit space!
You’ve learned how to install LED tape strip lights step by step. Take pride in your DIY project! These lights not only enhance your home’s ambiance but also save energy. Users love how versatile LED strip lights are, whether for kitchens, bathrooms, or outdoor spaces. Share your experiences or ask questions below!
Tip: Remember, the right power supply and connectors make all the difference!
FAQ
What surfaces can I attach LED strip lights to?
You can attach LED strip lights to wood, metal, glass, and plastic surfaces. Just ensure they’re clean and dry for the best adhesion.
Can I cut LED strip lights to fit my space?
Yes! You can cut LED strip lights at designated cut points. Just be careful to avoid damaging the circuits.
How do I power my LED strip lights?
Use a compatible power supply that matches your LED strip’s voltage and wattage requirements. Always check specifications before connecting.
See Also
Effective Methods for Installing RGB LED Strip Lights
Installing LED Strip Lights Successfully in the Year 2025
Choosing the Perfect LED Strip Lights for Linear Lighting


