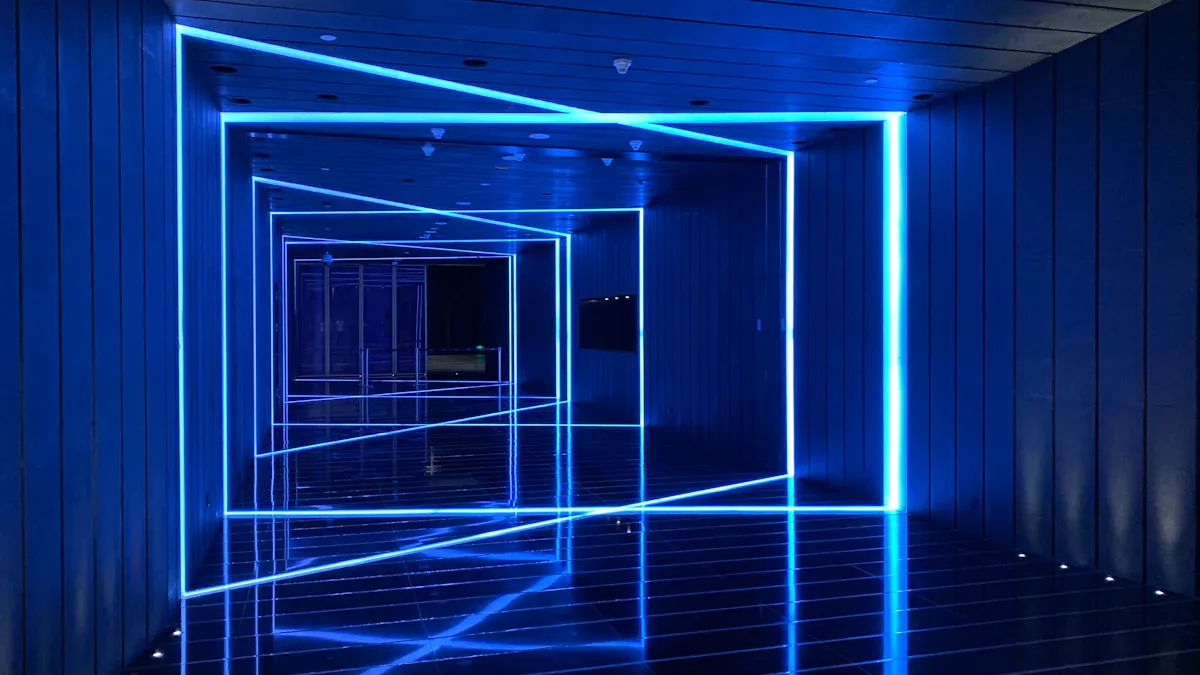
If you’re setting up RGB lighting, a 4-pin LED strip connector is your best friend. It helps you connect LED strips quickly and easily, without needing to solder or deal with complicated wiring. This small but mighty tool ensures your LED strips work seamlessly together, creating vibrant lighting effects for your space.
You’ll love how simple it is to use. Just align the pins, secure the connection, and watch your LEDs light up beautifully. Whether you’re a beginner or a pro, this connector makes your lighting setup hassle-free.
Key Takeaways
A 4-pin LED strip connector helps connect RGB LED strips easily. You don’t need to solder, so setup is fast and simple.
Match the ‘+’ and ‘R, G, B’ labels on the connector and strip. If they don’t line up, the lights might flicker or stop working.
Pick good-quality connectors for longer-lasting use. They handle water and heat better, keeping your lights connected well.
Check your connections often to avoid problems. Clean the connectors and test your lights regularly to make sure they work.
Try out different patterns and colors with your LED strips. The 4-pin connector lets you be creative with your lighting designs.
Understanding 4-Pin LED Strip Connectors

What Is a 4-Pin LED Strip Connector?
A 4-pin LED strip connector is a small, helpful tool. It connects RGB LED strips without soldering or tricky wiring. This connector is made for RGB LED strips, which have four pins. These pins control red, green, blue, and power channels.
Think of it as a link that helps your LED strips work together. Whether you want colorful lights in your room or bright accents at your desk, this connector makes it easy and quick.
How 4-Pin Connectors Work with RGB LED Strips
The 4-pin connector works by matching its pins to the LED strip. Each pin has a job: one for red, one for green, one for blue, and one for power. When connected right, the strip gets signals to show bright colors and effects.
Here’s a simple table about a 4-pin LED strip connector:
Specification | Details |
|---|---|
Type | Male/Female |
Wire Gauge | 20 |
Width | 10MM |
Fits | SMD 5050/3528 RGB LED Strip |
Length | About 15CM |
Use | RGB LED strip connection |
Working Temp | 0~40C |
Storage Temp | -20~60C |
Application | RGB strips, no voltage change, just connection |
This table shows what to expect when using these connectors. They fit standard RGB LED strips like SMD 5050 or 3528 models.
Benefits of Using 4-Pin LED Strip Connectors
There are many reasons to use 4-pin LED strip connectors. First, they save time and effort. You don’t need to solder or make permanent connections. Second, they can be reused. You can move and reconnect your LED strips easily.
Another great thing is their flexibility. These connectors work with most RGB LED strips, so they’re good for many projects. They also keep your setup neat by removing messy wires. With these connectors, you can focus on creating cool lighting without any trouble.
Types of LED Light Strip Connectors
Connecting LED strips is easy with the right tools. Different connectors have different uses. Knowing which one to pick makes your setup simple. Let’s look at the common types of LED light strip connectors.
Solderless 4-Pin Connectors
Solderless 4-pin connectors are great for quick setups. They let you connect RGB LED strips without tools or soldering. Just match the pins, close the connector, and it’s done. These are perfect for beginners or anyone avoiding soldering.
Here’s a simple list of their features:
Feature | Details |
|---|---|
Sold type | Male/Female |
Gauge | 20 |
Width | 10MM |
Strip connector | for SMD 5050/3528 RGB color LED Strip |
Length | 15CM approx. (Single Side 4PIN connector) |
Usage | RGB LED strip connector |
Working Temperature | 0~40°C |
Storage Temperature | -20~60°C |
These connectors work well with most RGB LED strips. They’re reusable, so you can change your design anytime.
Soldered 4-Pin Connectors
For a stronger connection, use soldered 4-pin connectors. These need you to solder wires to the LED strip. It takes more time but gives a solid connection. You won’t worry about loose wires or disconnections.
Soldered connectors are best for tough projects. They’re great for outdoor setups or moving installations. If you use waterproof LED strips, soldering helps keep them water-resistant.
Gapless and Corner Connectors
Need to connect strips in tight spots or corners? Gapless and corner connectors are the answer. Gapless connectors join strips smoothly, making a continuous light line. Corner connectors help with tricky angles like 90-degree turns.
These connectors make your setup look neat and professional. Use them for shelves, stairs, or room edges. They help you create a polished design.
Pro Tip: For complex projects, try 4-way or t-connectors. They split LED strips into different directions, giving more design options.
Here’s a quick comparison of LED light strip connectors:
LED Strip Connector | Type Of LED Strip Light |
|---|---|
2 PINs LED Strip Connector | Single-color LED strips |
3 PINs LED Strip Connector | Tunable white LED strips & Addressable LED strips |
4 PINs LED Strip Connector | RGB LED strips |
5 PINs LED Strip Connector | RGB+W or RGBW LED strips |
6 PINs LED Strip Connector | RGB+CCT & RGB+Tunable white LED strips |
With the right connectors, you can easily bring your lighting ideas to life.
Waterproof vs. Non-Waterproof Connectors
When picking LED strip connectors, you’ll see waterproof and non-waterproof options. But what’s the difference, and which one is better? Let’s make it simple.
Waterproof connectors are built for tough conditions. They’re great for outdoor spaces or places with moisture, like kitchens or bathrooms. These connectors use strong materials and special seals to block water and dust. They also handle corrosion, sunlight, and extreme heat or cold. If you’re adding LED strips outside or in damp areas, choose waterproof ones.
Non-waterproof connectors are best for dry indoor spaces. They’re made from regular materials and don’t have special seals. While they’re not as strong as waterproof ones, they work well in bedrooms, offices, or living rooms. Plus, they usually cost less.
Here’s a quick table to compare:
Feature | Waterproof Connectors | Non-Waterproof Connectors |
|---|---|---|
IP Rating | Blocks water and dust effectively | May not protect well against moisture |
Material Composition | Uses durable plastics and metals | Made with basic materials |
Sealing Quality | Has advanced sealing for protection | Lacks strong sealing |
Environmental Resistance | Handles corrosion, UV rays, and extreme weather | Less resistant to harsh conditions |
Tip: Unsure which to pick? Check the IP rating. Higher numbers mean better water and dust protection.
Pick your connector based on where you’ll use it. For wet or outdoor areas, go waterproof. For dry indoor spots, non-waterproof connectors are fine.
Step-by-Step Guide to Using a 4-Pin LED Strip Connector
Setting up your LED strips with a 4-pin connector might seem tricky at first, but it’s actually a breeze. Follow this step-by-step guide to get your lighting setup running smoothly.
Preparation
Gather tools and materials.
Before you start, make sure you have everything you need. Grab your LED strips, a 4-pin LED cable, and the right connector for your project. If you’re using waterproof LED strips, check if you need a special waterproof connector. You’ll also need a 4-pin power supply to test your setup later.
Tip: Keep a small screwdriver or tweezers handy. They can help you adjust the pins if needed.
Verify compatibility with your LED strip.
Not all connectors work with every LED strip. Check the width of your strip and the type of connector you’re using. Most 4-pin connectors fit standard RGB LED strips like SMD 5050 or 3528. If your strip has a different pin layout, you might need a different type of connector.
Connecting the LED Strip
Align the pins with the connector.
Take your LED strip and line up the pins with the connector. Look for the small “+” and “R, G, B” labels on both the strip and the connector. These markings help you match the pins correctly. Misaligned pins can cause the lights to malfunction.
Secure the connection firmly.
Once the pins are aligned, close the connector tightly. If you’re using a solderless connector, press down until you hear a click. For soldered connectors, make sure the wires are firmly attached to the strip. A secure connection ensures your LED lights work without flickering.
Testing the Connection
Power on the LED strip to check functionality.
Plug in your 4-pin power supply and turn on the LED strip. Watch for any issues, like dim lights or colors not displaying correctly. If everything looks good, you’re ready to enjoy your new lighting setup.
Troubleshoot if the connection fails.
If the LEDs don’t light up, don’t panic. Double-check the pin alignment and ensure the connector is securely closed. Sometimes, a loose connection or mismatched pins can cause problems. Adjust as needed and test again.
Note: If your LED strip still doesn’t work, try using a different connector or test the strip with another power supply.
By following these steps, you’ll have your LED light strip connectors set up in no time. Whether you’re lighting up a room or creating a custom design, this process makes it simple and stress-free.
Troubleshooting Common Issues with LED Strip Connectors
Even with a good setup, problems can happen. Don’t stress—most issues are simple to fix. Let’s look at common problems and how to solve them.
Fixing Loose Connections
Loose connections often cause flickering or no light. First, check all connections. Make sure the pins line up and the connector is closed tightly. For solderless connectors, press down until you hear a click. For soldered ones, check for cracks or weak spots in the solder.
If it still doesn’t work, test the power supply. Try a different one to see if that’s the issue. Also, check each LED. If one part isn’t lighting, the solder might be bad, or the section could be broken. Replace it if needed.
Tip: Be gentle with connectors to avoid loosening the pins.
Resolving Incorrect Pin Alignment
Wrong pin alignment can make your strip act weird or show wrong colors. To fix this, match the “+” and “R, G, B” labels on the strip and connector. Misaligned pins stop power and signals, causing flickers or uneven light.
If you’re not sure, unplug the strip and try again. Check the labels carefully before closing the connector. Test the strip after each adjustment to make sure it’s correct.
Addressing Compatibility Problems
Sometimes, the connector doesn’t fit your LED strip. Check the strip’s width and the connector type. For example, 4-pin connectors work with RGB strips but not single-color or RGBW strips.
Another issue is voltage drop. If the lights dim at the end, use thicker cables or split the strip into smaller parts. Adding power injection can also help keep brightness steady.
Note: Always pick connectors made for your LED strip to avoid problems.
By using these tips, you can fix most issues and keep your LED lights working perfectly.
Solutions for Flickering or Non-Working LEDs
Flickering or non-working LEDs can be frustrating, but don’t worry—you can fix them with a few simple steps. Let’s break it down so you can get your lights shining again.
Check the Power Supply
Start by inspecting the power supply. A weak or incompatible power source often causes flickering. Make sure your power supply matches the voltage and wattage requirements of your LED strip. If you’re unsure, look for the specifications printed on the strip or packaging.
Tip: If your LEDs flicker when dimmed, try using a power supply with higher wattage. This can stabilize the current and reduce flickering.
Inspect the Connections
Loose or faulty connections are another common culprit. Open the connector and check if the pins are aligned properly. Misaligned pins can disrupt the flow of power and signals, causing your LEDs to act up. Press the connector firmly to secure the connection.
If you’re using soldered connectors, examine the solder points for cracks or weak spots. Re-solder any damaged areas to restore the connection.
Test the LED Strip
Sometimes, the problem lies within the LED strip itself. Use a multimeter to test the strip for continuity. If certain sections don’t light up, they may be damaged. Replace the faulty section or use a new strip if needed.
Address Voltage Drop
Long LED strips can experience voltage drop, where the lights dim or flicker at the far end. To fix this, add a power injection point midway through the strip. This ensures consistent brightness across the entire length.
Note: For large setups, consider splitting the strip into smaller segments and powering each one separately.
By following these steps, you’ll have your LEDs working perfectly in no time. Flickering lights don’t have to ruin your setup—you’ve got this!
Tips for Using LED Light Strip Connectors Effectively
Check Pin Alignment Carefully
Making sure the pins line up is very important. Match the “+” and “R, G, B” labels on the strip and connector. If the pins don’t align, the lights might flicker, show wrong colors, or not work at all.
Always double-check the alignment before closing the connector. A small mistake can cause big problems later. If you’re unsure, test the strip first to catch any issues early. Fixing it now is easier than fixing it later.
Tip: Follow the maker’s guide for cutting and measuring strips. This helps the connectors fit well and avoids alignment problems.
Pick Good-Quality Connectors
Using strong, high-quality connectors can save you trouble later. Cheap ones may break or wear out fast. Better connectors have many benefits:
They block moisture, great for outdoor or wet areas.
They work in hot or cold weather without failing.
They last longer and resist damage from stress.
They’re easier to install and stay secure.
They fit different wire sizes, making them useful for many projects.
Good connectors help your LED strips work better and last longer. Spending a little more now saves time and effort later.
Don’t Overbend the LED Strip
LED strips can bend, but don’t push them too far. Bending too much can break the wires inside, causing flickering or dead spots. Be gentle when installing and avoid sharp bends near connectors.
For tight corners, use special corner connectors instead of bending the strip. These keep the setup neat and protect the strip from damage.
Pro Tip: Use brackets or screws for long strips. This stops sagging and keeps the strips in place.
By following these tips, your lighting will look amazing and work perfectly. Taking care during setup makes your design last longer and shine brighter.
Regularly Inspect and Maintain Connections
Keeping your LED strip connections in top shape is key to a long-lasting and reliable lighting setup. Regular inspections and maintenance can help you catch small issues before they turn into big problems. Here’s how you can stay on top of it.
Inspect your connections frequently. Check for loose pins, misaligned connectors, or any signs of wear and tear. If you notice flickering lights or dim sections, it’s time to take a closer look.
Clean the connectors. Dust and debris can build up over time, especially in open or outdoor setups. Use a soft cloth or a small brush to gently clean the connectors. This ensures a strong and stable connection.
Test your setup periodically. Power on your LED strips every few weeks to make sure everything is working as it should. If you spot any issues, address them right away.
Tip: Create a simple maintenance checklist to keep track of your tasks. Include things like inspecting connections, cleaning, and testing. This helps you stay organized and ensures nothing gets overlooked.
How often should you perform maintenance? It depends on your setup. For indoor LED strips in dry areas, a quick check every few months might be enough. Outdoor or high-use setups may need monthly inspections. Follow these general guidelines:
Identify specific tasks based on your LED strip type and environment.
Adjust the frequency depending on how often you use your lights.
Review and update your checklist regularly to keep it accurate.
Taking a little time to inspect and maintain your connections can save you from headaches later. Plus, it keeps your lighting looking amazing for years to come. So, grab your checklist and start inspecting—your LEDs will thank you!
A 4-pin LED strip connector is perfect for smooth lighting setups. It makes connecting LED strips simple and quick for everyone. By using the steps and advice here, you can skip common errors and set up easily.
Feel free to be creative! Try out various designs and colors to make a space that shows your personality. With a good connector and some creativity, you can create endless designs.
FAQ
How do I know if my LED strip is compatible with a 4-pin connector?
Check the width of your LED strip and the number of pins. Most 4-pin connectors fit standard RGB LED strips like SMD 5050 or 3528. Look for “+” and “R, G, B” labels on the strip to confirm compatibility.
Can I cut my LED strip and still use a 4-pin connector?
Yes, you can! LED strips usually have marked cutting points. Cut along these lines, then use a 4-pin connector to join the sections. Make sure the pins align with the “+” and “R, G, B” labels for proper functionality.
What should I do if my LED strip flickers after connecting?
Flickering often happens due to loose connections or a weak power supply. Double-check the pin alignment and press the connector firmly. If the issue persists, test with a higher-wattage power supply to stabilize the current.
Are 4-pin connectors reusable?
Absolutely! Solderless 4-pin connectors are designed for easy reuse. You can disconnect and reconnect them as needed. This makes them perfect for experimenting with different lighting setups or rearranging your design.
Do I need special tools to use a 4-pin connector?
Not at all! Solderless connectors don’t require any tools. Just align the pins, close the connector, and you’re done. For soldered connectors, you’ll need a soldering iron and some basic soldering skills.
Tip: Keep a small screwdriver handy for adjusting pins if needed.
See Also
Connecting Your COB Lighting Strip: A Simple Guide
Best Applications for COB RGBW LED Strip Lights
Choosing the Ideal RGB+W COB LED Strip for You
Effective Installation Tips for RGB LED Strip Lights
Selecting the Perfect RGB LED Strip for Your Requirements


