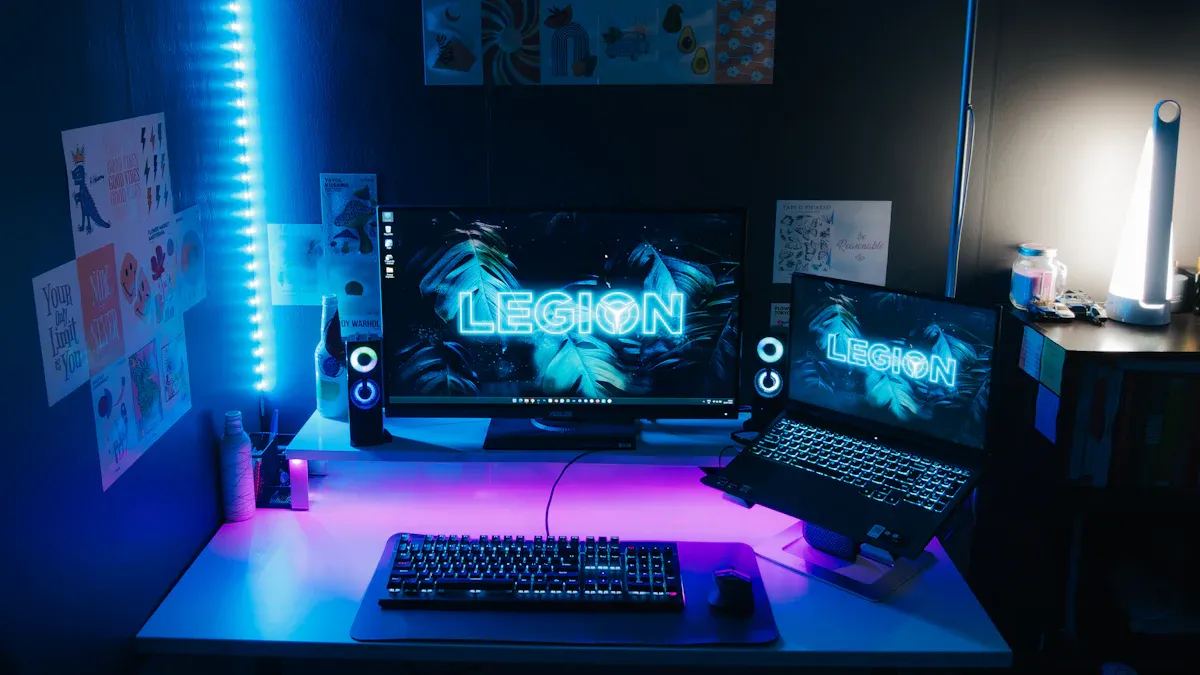
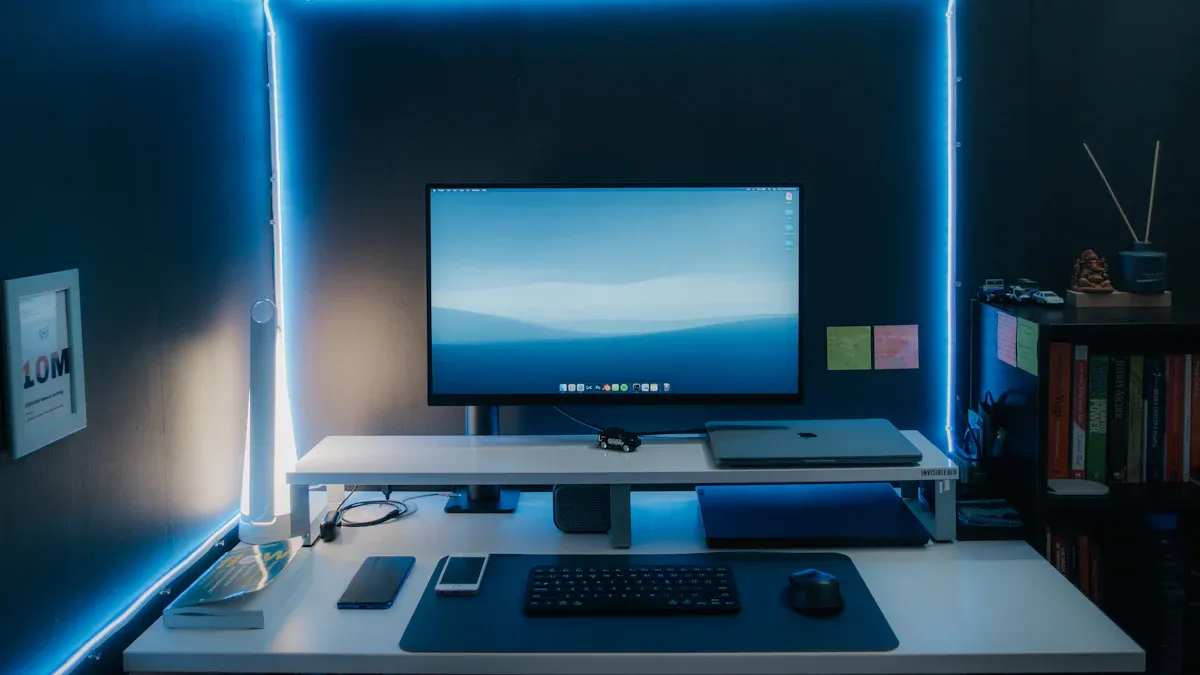
Putting up lampu led strip lights can make your room look cool and modern. These lights are super popular in 2025, especially in places like North America and Asia Pacific. People love them because they save energy, last a long time, and can be customized in many ways. Whether you’re doing it yourself or using a step-by-step guide, getting ready is very important. With the right tools and some patience, you can make your home or office look amazing.
💡 Fun fact: Lampu led strip lights use about 75% less energy than regular bulbs. They are great for saving money and helping the planet.
Key Takeaways
LED strip lights use less energy and cost less money. They use 75% less power than normal bulbs. This helps lower your bills and protects the planet.
Measure your area carefully before putting up the lights. Good measurements help you get the right amount of strips. It also helps you plan where to place them.
Pick the right kind of LED strip lights for your space. Warm white is great for relaxing areas. Daylight white works well for workspaces. Colorful RGB lights are fun for creative designs.
Benefits of Lampu LED Strip
Energy Efficiency and Cost Savings
Lampu LED strip lights are great for saving energy and money. They use about 75% less power than regular bulbs. This makes them a smart and eco-friendly choice. Using less electricity means lower energy bills for you. These lights also stay cool, making them safer to use. Plus, they help cut down cooling costs in hot weather.
🌱 Eco Tip: Using LED strip lights lowers pollution and your carbon footprint.
Versatility in Design and Application
Lampu LED strip lights are super flexible and fun to use. You can put them almost anywhere to set the mood. Want a warm feel in your kitchen or bathroom? Use them as accent lights. Need bright light for working? They’re great for that too. You can even add them outdoors or in cars with custom colors.
Here’s how people are using them in 2025:
Accent lights for bedrooms and living rooms.
Task lights for desks and store displays.
Fun projects like patios or color-changing designs.
Long Lifespan and Low Maintenance
LED strip lights last way longer than other lights. Look at this chart:
Lighting Technology | Lifespan (Hours) |
|---|---|
Incandescent bulbs | ~1,000 |
Halogen lights | ~2,000 |
Compact Fluorescent Lamp | ~15,000 |
LED strip lights | 25,000 – 50,000 |
With such a long life, you won’t replace them often. This means less work and lower costs for you.
Planning for LED Strip Lights Installation
Measuring Your Space
Before you install LED strip lights, you need to measure your space carefully. Grab a tape measure and note the length and width of the area where you’ll place the lights. This step helps you decide on placement and ensures you buy the right amount of LED strips. Sketch your layout on paper or use design software to plan where the power supply and wires will go. Don’t forget to consider the environment—whether it’s indoors, outdoors, or in a specific room like the kitchen or bedroom.
🛠️ Pro Tip: Always double-check your measurements to avoid buying too much or too little lighting.
Choosing the Right LED Strip Lights
Not all LED strips are the same, so you need to select the right LED strips for your project. Here are some options:
Warm White Light: Perfect for cozy spaces like bedrooms.
Daylight White Light: Great for work areas needing bright light.
Colorful RGB Light: Adds fun and personality to your space.
Smart LED Strips: Control them with an app for convenience and automation.
Think about how you’ll use the lights. For example, RGB strips with an RGB strip controller are ideal for creating dynamic lighting effects.
Selecting a Compatible Power Supply
To choose the power supply, start by checking the voltage of your LED strips (12V or 24V). Then, calculate the total wattage by multiplying the strip’s wattage per foot by its length. Add 20% to this number to ensure the power supply can handle fluctuations. This step prevents overheating and extends the life of your setup.
Gathering Necessary Tools and Materials
Having the right tools makes the process smoother. Here’s what you’ll need:
Measuring tape for accurate dimensions.
Cleaning cloths to prepare the surface.
Adhesive strips for extra support.
A light strip connector kit for seamless connections.
A compatible power supply, like a 100W Mean Well 12V Power Supply.
If you’re working on advanced setups, keep wire strippers and electrical tape handy.
🧰 Note: A ladder can be helpful for hard-to-reach areas, especially during LED strip lights in bedroom installations.
Step-by-Step Guide to Install LED Light Strips
Preparing the Surface for Installation
Before placing adhesive strip lights, you need to prep the surface properly. A clean, flat, and dry surface ensures the adhesive sticks well. Start by wiping the area with a cloth and a mild cleaner, like dish soap, to remove dirt and grease. For stubborn grime, use isopropyl alcohol and let it dry completely. If the surface feels rough, smooth it out with sandpaper. For tricky spots, like porous walls, consider using mounting clips for extra support.
🛠️ Pro Tip: Make sure the surface is at room temperature for the best results.
Cutting LED Strips to the Desired Length
Cutting LED strips is easy if you follow the right steps. First, measure the area where you’ll install the strips and mark the cutting point. Look for the scissor icon or a thin line between the copper pads on the strip. Use sharp scissors to make a clean cut along the line. After cutting, test the strip to ensure it still works. If done correctly, the remaining sections will light up perfectly.
Connecting LED Strips and Power Supply
Connecting strips to power safely is crucial. Start by calculating the total power draw of your LED strips. Use the formula: Watts per foot x Length of LED strip. Choose a power supply with at least 20% more wattage than the calculated draw. Align the copper pads of the strips with the connector’s pins and clip them securely. Test each connection to ensure consistent lighting.
Mounting the LED Strips Securely
When hanging LED strip lights, peel off the adhesive backing and press the strip firmly onto the prepared surface. For uneven areas, use mounting clips or adhesive strips for extra security. Work slowly to avoid bubbles or gaps.
Testing and Adjusting the Setup
Once the installation is complete, turn on the lights to check for any issues. Look for uneven brightness or sections that don’t light up. Adjust the placement if needed to create a smooth, continuous glow. Experiment with brightness and color settings to match your desired ambiance.
💡 Tip: If you notice any connectivity issues, inspect the connections and test the power supply with a voltmeter.
Tips for Installing LED Strip Lighting Like a Pro
Hiding Wires and Connectors
Messy wires can make your LED lights look untidy. Keeping them hidden is simple with a few tricks. Use wire clips or holders to keep wires neat. You can also hide them behind furniture or along baseboards. Adhesive channels are great for covering wires on walls or ceilings.
For a seamless look, paint the wire channels to match your wall color. This makes everything blend in and look clean. Hiding wires not only looks better but also keeps them safe from damage.
🛠️ Pro Tip: Place the power adapter behind furniture to keep it hidden.
Using Diffusers for a Polished Look
Diffusers help make your LED lights look professional. They cover the strips and give a smooth, finished appearance. Diffusers also spread the light evenly, reducing bright spots and glare.
Here’s why diffusers are useful:
Benefit | Description |
|---|---|
Better Appearance | Hides raw parts for a clean, polished look. |
Even Light | Spreads light smoothly, avoiding harsh spots or glare. |
Protection | Shields strips from dust and damage, lasting longer. |
Flexible Options | Comes in different shapes and sizes for any setup. |
Diffusers improve the look and protect your LED strips, making them last longer.
Ensuring Even Lighting Across the Strip
Uneven lighting can ruin your setup. To fix this, mount the strip on a flat surface without gaps. If using more than one strip, connect them tightly for steady brightness.
For long strips, use a power booster to avoid dim areas. This keeps the light even across the whole strip. Test your setup before finishing to check for any uneven spots.
💡 Tip: Add a diffuser to smooth the light and create a perfect glow.
By following these tips, you can make your LED lights look amazing. Hiding wires, using diffusers, and ensuring even lighting all make a big difference.
Troubleshooting LED Strip Lights Installation Issues
Fixing Flickering or Dim Lights
Flickering or dim lights can be annoying but fixable. First, check the power supply. Wrong or unstable voltage can cause flickering. Upgrade to a better power supply to fix this.
An incorrect dimmer switch might also be the problem. Use a dimmer made for LED lights. If flickering continues, check the connections. Loose or bad connections can also cause issues.
If only parts of the strip are dim, damaged sections may be the reason. Replace those parts to bring back full brightness.
💡 Tip: Choose flicker-free LED technology for smoother lighting.
Addressing Connectivity Problems
Connectivity problems can make your lights act up. If colors look different at the ends, it might be a voltage drop. Split the strips and use more drivers to fix this.
Loose connections are another issue. Check all connection points and tighten any loose screws. For solderless connectors, reinsert the strips for better contact.
If RGB strips show only one color, they might be connected backward. Flip the strip and reconnect it properly to solve the problem.
🛠️ Pro Tip: Match the voltage of your strips with the power supply to avoid problems.
Preventing Overheating or Power Issues
Overheating can damage your LED strip lights. Use a power supply that matches the strip’s voltage. A power supply with 20% extra wattage helps prevent overheating.
If some parts don’t light up, check the cut and joined areas. Bad connections can cause power issues. Use shorter or thicker wires to reduce voltage drops and keep brightness steady.
Clean the strips and connections often to avoid overheating. Keep them in the right temperature range for longer life.
🔧 Note: Regular care prevents power issues and makes your lights last longer.
Putting up LED strip lights can be simple and fun. With good planning and the right tools, you can make your space look amazing. Begin by attaching the first strip to the power supply. Test each part to ensure the lights work evenly. Stick the strips firmly on a clean surface and tuck away wires for a neat look.
Don’t make mistakes like skipping channels or using the wrong cover. These can cause uneven light or damage the strips. Clean them often and fix loose connections to keep them working well. Follow these steps to enjoy long-lasting and beautiful lighting.
💡 Tip: Always check wires and power to stop flickering or overheating.
FAQ
How do you clean LED strip lights without damaging them?
Use a soft, dry cloth to wipe dust off the strips. For sticky grime, lightly dampen the cloth with water. Avoid harsh chemicals.
Can you reuse LED strip lights after removing them?
Yes, but the adhesive may lose its stickiness. Use double-sided tape or mounting clips to reattach them securely to a new surface.
What’s the best way to install LED strip lights on uneven surfaces?
Use mounting clips or adhesive channels for extra support. These tools help secure the strips and ensure they stay in place on bumpy or textured surfaces.
See Also
Effective Methods for Installing RGB LED Strip Lights
Using Smart LED Strips for Home Lighting in 2025
Selecting the Perfect LED Strip Lights for Linear Lighting


