
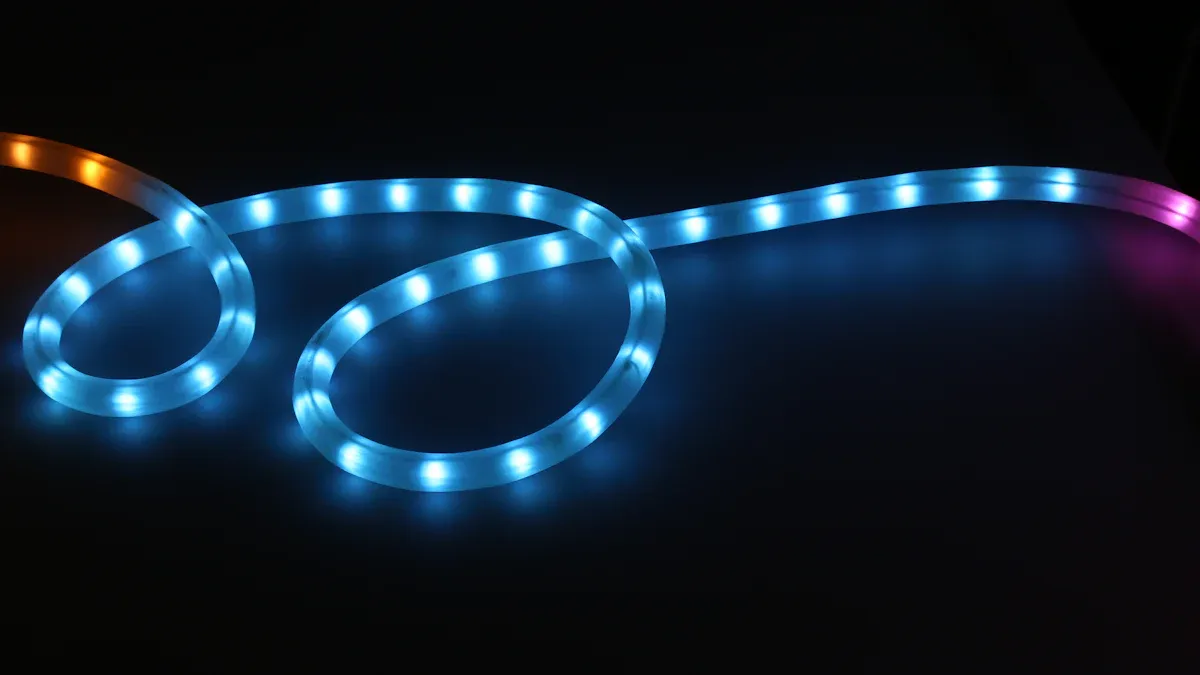
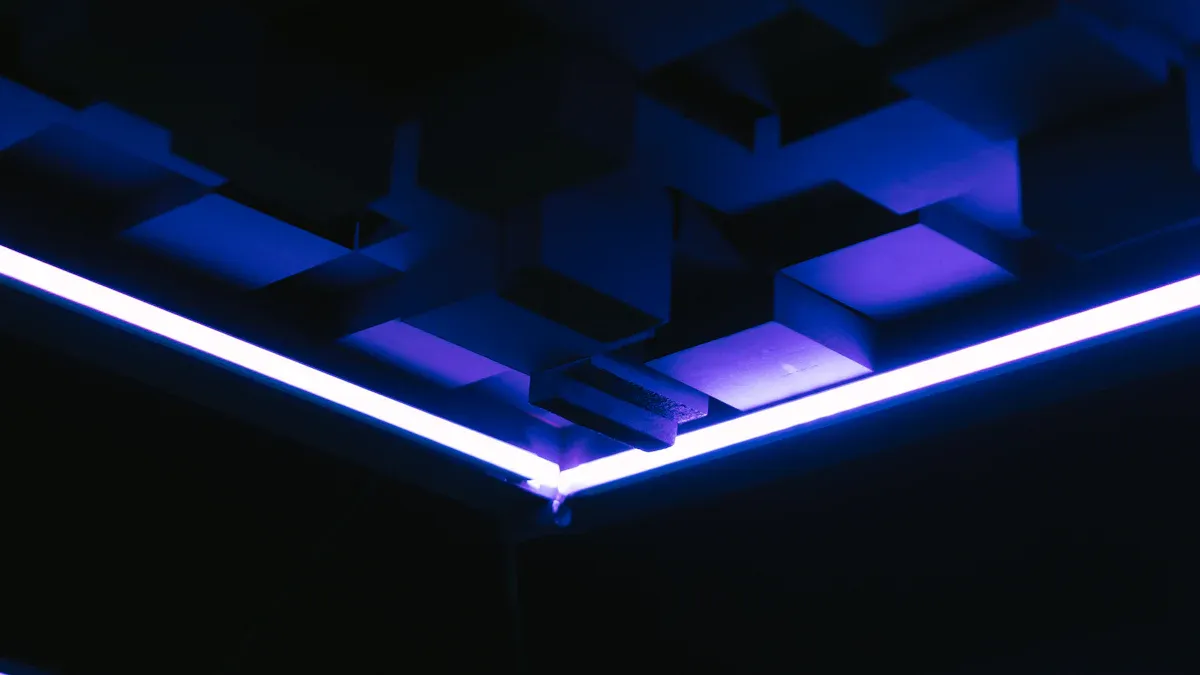
Waterproof LED strip lights are important for outside and wet areas. They give bright light and resist water damage. Learning how to connect them correctly helps them work well and last longer. People often worry about how to install them, if they will fit, and the chance of water damage.
Many users also ask about waterproof versus non-waterproof lights. They often have questions about wiring, connecting LED strips, and what accessories are needed, like the waterproof LED strip connector. Answering these questions will help you install them successfully.
Key Takeaways
Use the right tools and materials for installation. Get wire strippers, screwdrivers, and waterproof connectors. This will help make a strong setup.
Follow careful cutting techniques. Always cut along the marked lines. Seal the ends with silicone glue. This keeps the lights waterproof.
Apply proper soldering methods for strong connections. Strip the wire ends and heat them gently. Make sure all connections cool completely. This avoids damage.
Use effective waterproofing techniques. Use silicone sealant and heat shrink tubing. This protects connections from moisture.
Regularly check and maintain your lights. Clean them often and look for wear. This helps them last up to 100,000 hours.
Tools for Waterproof LED Strip Lights
When you connect waterproof LED strip lights, having the right tools is very important. This helps make the installation easy and gives you a strong, waterproof connection.
Essential Tools
First, gather these important tools that manufacturers suggest:
Wire Strippers
Screwdrivers
Volt Meter
Wire Connectors, Electrical Tape, and Heat Shrink
Solder Iron (Optional)
These tools will help you set up and connect your waterproof LED strip lights well. For instance, wire strippers let you take off insulation from wires easily. A volt meter helps you check the electrical connections.
Required Materials
Next, you need special materials to make sure your LED strip lights are waterproof. Here’s what you should keep ready:
Waterproof LED Strip Light Connectors: These connectors are key for making a waterproof connection. They work best with IP68 Ribbon Star TPU waterproof LED strip light types.
Knowing how to cut and connect waterproof LED strip lights is very important for good installation. This is especially true for outdoor or humid indoor places.
Using the right materials will help you prevent water damage and keep your lights working in different places. Remember, putting in these connectors might take more work than non-waterproof ones, but the benefits are worth it.
By getting ready with the right tools and materials, you prepare yourself for success in connecting your waterproof LED strip lights.
Connection Process for Waterproof LED Strip Connector
Connecting waterproof LED strip lights needs careful planning and action. Follow these steps to make sure you install them correctly.
Preparing the LED Strip Lights
Before you connect, get your waterproof LED strip lights ready. Here’s how:
Pick IP67+ rated LED strips for the best waterproofing.
Use clips to mount the strips tightly so they don’t sag.
Connect to an outdoor power source that fits the voltage needs.
Use waterproof silicone to seal all connections and keep out moisture.
Test the lights to check if they work right.
Tip: Always be gentle with the LED strips to avoid breaking them during setup.
Cutting the LED Strip Lights
Cutting waterproof LED strip lights needs care to keep them waterproof. Follow these steps:
Measure and mark the length you want with a ruler or tape.
Check the cutting points on the strip. Look for dashed lines or scissor icons.
Cut the strip along the marked line using sharp scissors or a utility knife.
Seal the cut end with silicone glue to keep it waterproof.
By following these steps, you can cut waterproof LED strip lights without losing their function.
Soldering Connections
If you decide to solder connections, follow these tips for a strong bond:
Strip about 2-3mm of insulation from the wire ends to show the copper.
Heat and solder at the same time on the bare copper, but don’t overheat.
Put solder on the bare copper pads on the strip. Count to two before taking away the soldering iron to prevent damage.
Let the connections cool down completely.
Place the tinned end of the wire over the soldered end and heat until it melts.
Hold it in place until it cools and hardens.
Do this for all wire connections.
Using good soldering tools, like a 30W-60W adjustable soldering iron and thin rosin core solder, will help you get great results.
Waterproofing Techniques
To keep your connections safe from water damage, try these waterproofing methods:
Waterproofing Technique | IP Rating | Description | 应用 |
|---|---|---|---|
Silicone Coating | IP62 | Adds silicone to stop dust and moisture. | Good for dry or wet areas, not for splashing. |
Heat Shrink Tube | IP65 | Wraps the strip with a tube and seals with silicone caps. | Good for wet or splashed areas, not for outdoor use. |
Silicone Sleeve | IP65 | Wraps the strip with a hollow silicone casing. | Good for wet areas like kitchens and bathrooms. |
Silicone Sleeve + Coating | IP67 | Wraps with a U-shaped sleeve and adds coating. | Good for places often wet. |
Silicone Sleeve + Injection | IP68 | Wraps with a casing and fills with silicone. | Can be underwater, great for pools. |
Note: Using silicone sealant makes a barrier against moisture, while heat shrink tubing protects wires from water damage.
By following these steps and methods, you can connect waterproof LED strip lights successfully. This keeps them working well and safe in wet places.
Common Mistakes When Connecting LED Strip Lights
Connecting waterproof LED strip lights can be hard. Many people make mistakes that can cause problems or damage. Here are some common errors and tips to help you avoid them.
Incorrect Cutting Techniques
Cutting your LED strip lights the wrong way can ruin them. Here are some mistakes to look out for:
Cutting outside the marked lines can hurt the circuit.
Not resealing the cut ends can let in moisture.
Always measure twice and cut once. Use sharp scissors and follow the cutting rules on the strip. After cutting, sealing the ends with silicone glue will help keep the LED strip light safe from water.
Poor Soldering Practices
Soldering connections the wrong way can cause big problems. Here are some common soldering mistakes:
Using frayed wires raises the chance of electrical arcing.
Too much solder can make positive and negative joints touch, causing damage.
Leaving copper pads open can lead to electrical arcing over time.
If any connection looks bad, take it off and start over. This keeps your installation strong. Always use the right tools and methods to make sure your connections are good.
Neglecting Waterproofing
Many people forget waterproofing steps when they install. This mistake can lead to serious problems, especially in wet areas. Common results include:
Damage to LED strips
Rust
Electrical shorts
Lighting system not working
To keep your LED strip lights safe, always use waterproof connectors and seal all connections with silicone. Resealing waterproof LED strip lights is very important for lasting performance. Remember, taking time to waterproof your setup can save you from expensive repairs later.
By avoiding these common mistakes, you can make sure your waterproof LED strip lights are installed well. Following good practices will help you enjoy bright, reliable lighting for many years.
Troubleshooting Waterproof LED Strip Lights
After you connect waterproof LED strip lights, you might have some problems. Fixing these issues can help keep your lights working well. Here are some common problems and how to solve them.
Identifying Connection Issues
You may see different connection problems with your waterproof LED strip lights. Here are the most common ones:
Bad Pin Connection: This happens when the pins are not inserted correctly or are backward. This can stop the lights from turning on.
Incorrect Power Source: Using the wrong voltage, like 12V or 24V, can make the lights not work right.
To find these issues, do these steps:
Use a multimeter to check the voltage along the circuit. Start from the power supply to the LED strip. If there is no voltage at the copper pads, there is a problem upstream.
Look for visible signs of short circuits, especially if you soldered wires. Make sure positive and negative wires are not touching.
Check for hidden short circuits with a multimeter. Measure resistance between the positive and negative pads. Infinite resistance means no short circuit, while any resistance shows a short circuit.
Fixing Waterproofing Problems
Waterproofing is very important for your LED strip lights to last. If you see any moisture or damage, act fast. Here are some materials you need to reseal connections:
A pair of scissors
A waterproof LED strip (IP67 or IP68)
A heat gun or lighter
Any color heat-shrink tubing
A pair of pliers with a flat tip
Dielectric silicone (Note: regular household silicone can cause short circuits.)
To fix waterproofing issues, follow these steps:
Cut the damaged part of the strip.
Use heat-shrink tubing to cover the exposed wires.
Put dielectric silicone around the connections to block moisture.
Ensuring Proper Functionality
After you install your lights, make sure they work correctly. Here are some steps to follow:
Choose the Right Connectors: Use waterproof connectors to keep electrical parts safe from water.
Apply Silicone Sealant: Seal around connectors with silicone sealant for extra moisture protection.
Seal the Ends: Use waterproof silicone at both ends of the strip to stop water from getting in.
Drainage Considerations: Make sure the installation lets water drain away from electrical parts.
Connect the Power Supply: Use an outdoor-rated power supply for safety.
Turn on the Lights: Check if the lights shine evenly without flickering.
Inspect for Consistency: Walk along the installation to see if all sections light up.
Regular Inspection: Check often for signs of damage or wear.
Also, keep your lights clean by dusting them and doing deep cleaning inside channels without using water. Regular checks can help you find any damage or overheating early.
By following these troubleshooting steps, you can keep your waterproof LED strip lights working well. This way, you will have the bright lighting you need.
Connecting waterproof LED strip lights needs careful attention. You should follow these important steps for a good installation:
Get your LED strip lights ready.
Cut the strips at the marked points and seal the ends.
Use soldering methods for strong connections.
Use waterproofing techniques to keep out moisture.
When you install these lights the right way, they can last about 50,000 hours. With good care, this time can go up to 100,000 hours. Regular checks and cleaning will help keep them bright and working well.
To make them last longer, think about these maintenance tips:
Maintenance Practice | Description |
|---|---|
Proper Installation Techniques | Use the right methods to avoid damage and ensure a strong setup. |
Control Temperature and Humidity Levels | Keep stable conditions to stop wear and rust. |
Use Outdoor-Rated LED Strip Lights | Choose lights made for outdoor use to handle tough weather. |
Protect Against Water and Dust Exposure | Use covers and clean often to avoid problems. |
Clean LED Strip Lights Regularly | Dust them off to keep them bright and working well. |
Inspect for Wear and Replace Damaged Sections | Regular checks help find and fix problems early. |
Use Timed Switches to Minimize On/Off Cycling | Set timers to reduce wear from turning on and off too much. |
By following this guide, you can enjoy dependable lighting for many years.
FAQ
What are waterproof LED strip lights?
Waterproof LED strip lights are made to keep out moisture and water. They work well outside or in places with a lot of humidity. This helps them provide reliable lighting even when it’s wet.
How do I choose the right waterproof LED strip lights?
Pick waterproof LED strip lights by looking at their IP rating. Choose ones with IP67 or IP68 ratings for the best water protection. Also, think about how bright you want the lights and what color temperature you need.
Can I cut waterproof LED strip lights?
Yes, you can cut waterproof LED strip lights. Just make sure to cut along the lines marked on the strip. After you cut, use silicone glue to seal the ends so they stay waterproof.
How do I connect waterproof LED strip lights?
To connect waterproof LED strip lights, use waterproof connectors or soldering methods. Make sure to seal all connections with silicone. This stops moisture from getting in and damaging the lights.
How long do waterproof LED strip lights last?
Waterproof LED strip lights can last up to 50,000 hours if you install and maintain them correctly. If you check and clean them regularly, they can last around 100,000 hours.
See Also
Effective Methods for Installing RGB LED Strip Lights
Steps to Properly Connect COB Lighting Strips
Ultimate Guide for Using Outdoor LED Light Strips


