Testing an LED strip is very important for safety and function. By regularly checking these strips, you can find broken LEDs, which can help stop electrical problems. Additionally, testing the power supply output ensures that the LED strips receive the right voltage, lowering the chance of fires. Furthermore, checking for continuity keeps connections strong, enhancing safety. A multimeter is very useful in this process, as it allows you to measure voltage, check continuity, and test resistance easily.
Key Takeaways
Test your LED strips often to catch problems early. This helps stop electrical issues and keeps you safe.
Use a digital multimeter for precise readings. It shows clear numbers, making it easy to check voltage, continuity, and resistance.
Always focus on safety when testing. Turn off the power, wear insulated gloves, and don’t touch exposed wires to avoid electric shock.
Do continuity tests to find breaks in the circuit. This step is very important for keeping your LED strips working.
Measure voltage across the LED strip to make sure it gets the right power. This helps prevent overheating and possible fire risks.
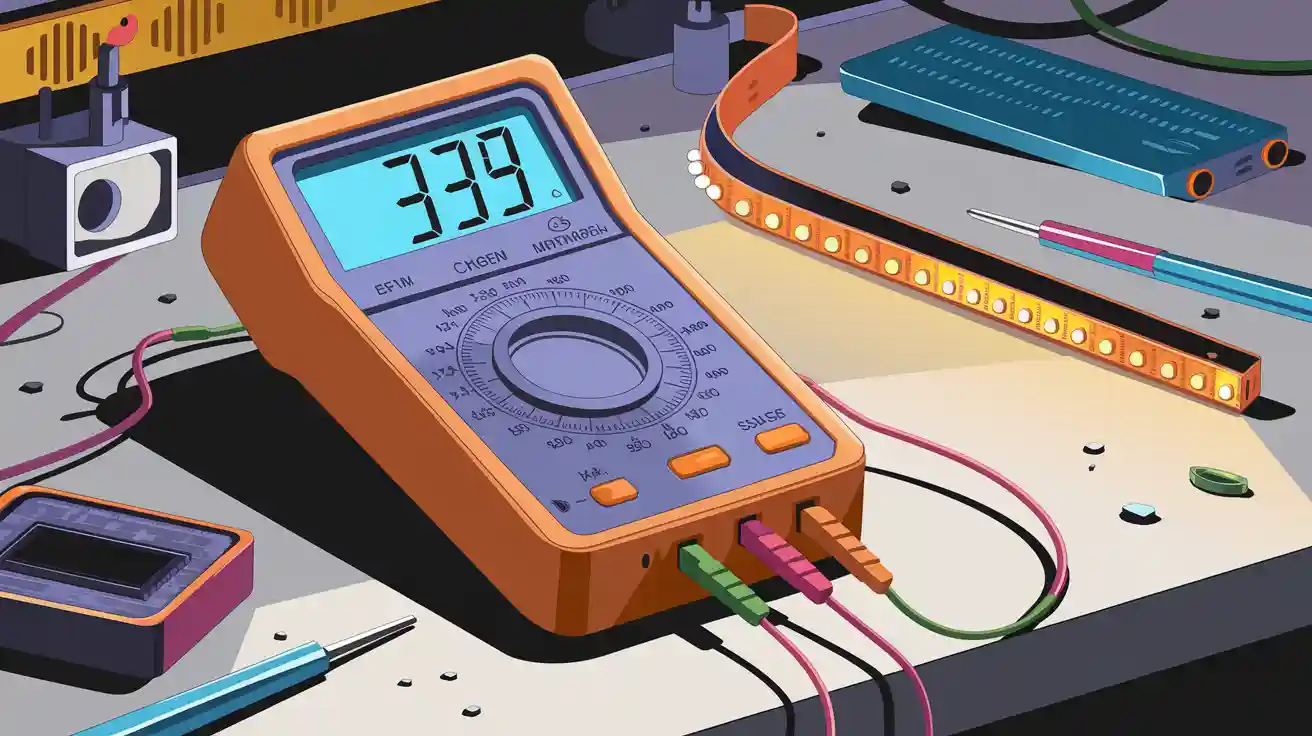
Multimeter Basics
Types of Multimeters
There are two main types of multimeters: analog and digital. Each type has good and bad points. These can change how you test your LED strips.
Feature | Analog Multimeter | Digital Multimeter |
|---|---|---|
Accuracy | More likely to misread measurements. | Gives exact numerical readings. |
Usability | Harder to use. | Simpler to operate. |
Analog multimeters show measurements with a needle. This can cause parallax errors. These errors happen when you look at the needle from the side, making it hard to read. Digital multimeters change analog signals into digital data. They show clear numbers. This helps reduce reading errors. So, digital multimeters are better for precise tasks like testing LED strips.
Key Features
Choosing the right multimeter for LED strip testing is very important. Here are some key features to think about:
Feature | Description |
|---|---|
Functionality | Different multimeters can measure voltage, current, and resistance. |
Accuracy | High accuracy is very important for reliable readings. |
Resolution | This is the smallest amount the multimeter can measure and show. |
Durability | Important for tough conditions; some multimeters can handle rough use. |
Safety Features | Look for overload protection and insulated test leads, especially for high voltage work. |
Ease of Use | Check how clear the display is and how buttons and dials are arranged. |
Price | Price can show quality and features; balance your budget with what you need. |
By focusing on these features, you can make sure your multimeter works well for testing LED strips.
Preparing for Testing a LED Strip
Tools and Materials
Before testing your LED strips, collect the tools and materials you need. Having the right gear helps you get accurate results and makes testing easier. Here’s a list of important items:
Tool/Material | Description |
|---|---|
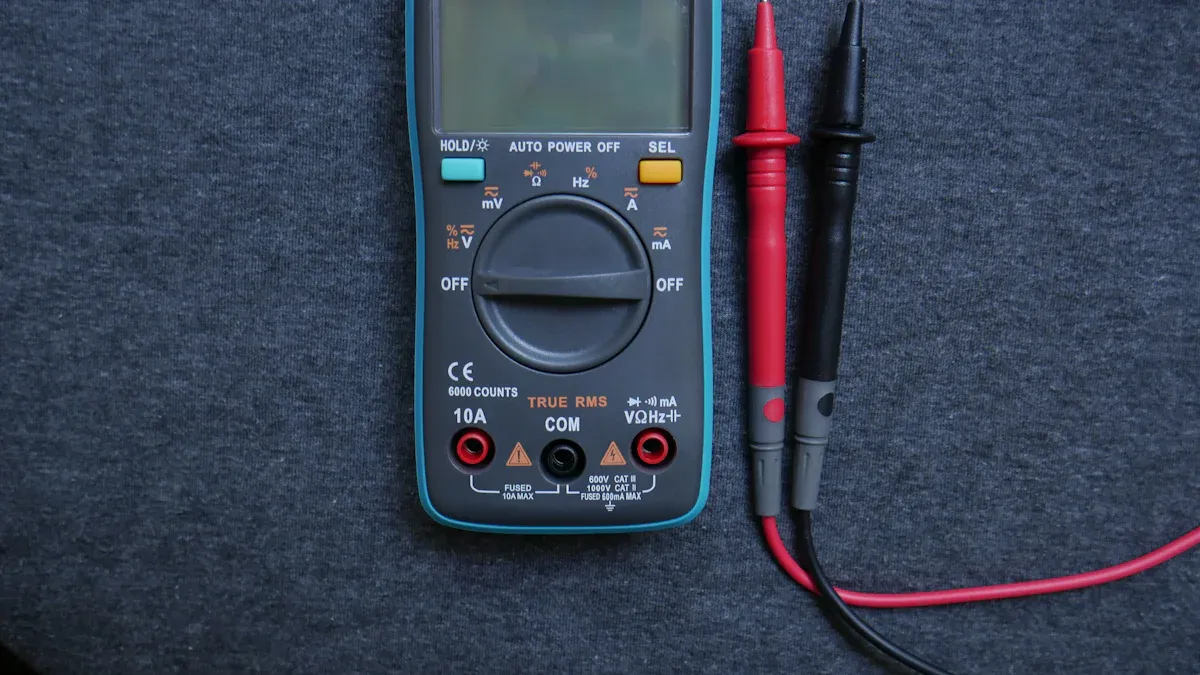
Digital Multimeter | Better than analog for clear readings and trustworthiness. |
Probes | You need two probes (red for positive, black for negative) for testing. |
Diode Test Mode | Change the multimeter to this mode for correct LED testing. |
Cost | A good mid-range multimeter costs about $50-100 USD. |
With these tools ready, you can start your testing with confidence.
Safety Precautions
Safety should always come first when working with electrical parts. Follow these tips to lower risks:
Ensure Power is Off: Always switch off the power source to reduce electrical hazards.
Use Insulated Gloves and Safety Glasses: These protect you and help avoid injuries.
Avoid Touching Exposed Wires or Metal Parts: Touching them can cause electric shock or serious harm.
Avoid Water: Test in a dry place to stop short circuits or shocks.
Also, be aware of common dangers when testing LED strips. Here are some tips to stay safe:
Avoid low-quality LED strips: Cheap strips can overheat because of bad materials.
Avoid using a poor power supply: Bad power supplies can cause overheating.
Ensure secure connections: Loose connections can raise resistance and heat.
Select the right wire size: Using the correct wire stops overheating and fires.
By following these safety tips, you can create a safe space for testing your LED strips well.
Testing a LED Strip with a Multimeter
Continuity Testing
Continuity testing helps find breaks in your LED strip’s circuit. Here’s how to do a continuity test:
Locate the Continuity Issue: First, unplug the LED strip. This is very important for safety. Make sure your multimeter works.
Choose the Proper Setting on Your Multimeter: Set your multimeter to the lowest resistance setting. Test it by touching the leads together; it should beep or show a low resistance.
Check for Continuity at the Source of the Problem: Put one probe on the broken solder joint of the LED strip. Touch the other probe to a good point on the strip.
Check Continuity Before and After the Problem Source: Test the points before and after the suspected break. This shows if the break is at the solder joint or somewhere else.
Tip: If you hear a beep or see a low resistance, the circuit is good. If not, you may need to fix the solder joint or replace the LED strip.
Voltage Measurement
Measuring the voltage across your LED strip makes sure it gets the right power. Follow these steps for accurate voltage measurement:
Set the Multimeter: Change your multimeter to the DC voltage setting that matches your LED strip. Common voltages are 12V, 24V, or 5V for USB strips.
Establish a Connection: Connect the multimeter probes to the positive and negative pads of the LED strip. Make sure they touch securely to avoid wrong readings.
Record Measurements: Look at the voltage reading on the multimeter. Compare this to the expected voltage for your LED strip.
Type of LED Strip | Voltage Range |
|---|---|
Low Voltage | 12V, 24V |
USB | 5V |
High Voltage | 110V, 220V |
Note: High voltage LED strips can run at 110V or 220V, which allows for longer runs. Be careful when working with high voltage to avoid electrical dangers.
Resistance Checks
Resistance checks help you see if the LED strip works well. Here’s how to do a resistance check:
Set the Multimeter to Resistance Mode: Change your multimeter to the resistance (Ω) setting.
Test the LED Strip: Place the probes on the LED strip terminals. A reading close to zero means a good connection, while a high reading shows a problem.
Compare Readings: If you have different sections of the LED strip, compare the resistance readings. Big differences may mean a fault in the strip.
Tip: Always make sure the LED strip is off before doing resistance checks to protect your multimeter.
By following these steps for continuity testing, voltage measurement, and resistance checks, you can test an LED strip using a multimeter. Regular testing helps keep your LED lights working well and safe.
Troubleshooting Common Issues

Identifying Faulty LED Strips
When you test LED strips, you might find some problems. Here are some signs that show a faulty LED strip. You can find these using a multimeter:
Some parts of the LED strip have wrong colors.
The brightness is not the same across the strip.
Certain sections do not have continuity when tested.
To tell if it’s just one bad LED or a bigger problem, do these steps:
Check for hidden short circuits: Use your multimeter to test resistance along the LED strip. This helps find any hidden short circuits that could cause issues.
Measure the voltage along the LED strip: Check the voltage at different spots. If the voltage drops, there might be a problem with the circuit that needs checking.
If you see any of these signs, act quickly to fix the issue. Ignoring them can lead to bigger problems later.
Common Multimeter Errors
While using a multimeter, you might get strange readings. These changes can happen for many reasons. Here are some common reasons for inconsistent readings when testing LED strips:
A loose connection can give wrong measurements.
Problems with the LED strip itself can also cause reading changes.
To fix these problems, try these helpful solutions:
Check Voltage and Power Supply: Use your multimeter to measure voltage levels. Make sure there is enough voltage all along your LED strip. If you see a drop, add power injection points to keep the brightness steady.
Re-solder and Fix Bad Connections: Look for any broken or weak solder joints. Re-solder connections tightly to get stable lighting again.
Power Injection for Voltage Drop: Check your LED strip setup for voltage drops. Add power injection points at good spots to keep voltage steady and brightness even.
Look for and Replace Bad Parts: Carefully check your strips, connectors, and controllers for any hidden damage. Replace any faulty parts quickly to keep everything working well.
By following these troubleshooting steps, you can fix common problems with your LED strip lights and make sure they work great.
To sum up, testing LED strips with a multimeter has some important steps. First, do continuity tests to find breaks. Next, measure voltage to check the power supply. Finally, do resistance checks to make sure connections are good.
Using your multimeter often helps you feel more confident and improves your skills. Here are some benefits of getting good at using this tool:
Benefit | Description |
|---|---|
Voltage Checking | A multimeter checks voltage from the power supply. This makes sure the LED strips get enough power. |
Continuity Testing | It checks for continuity in connections. This helps find any breaks in the circuit. |
Troubleshooting | A multimeter helps troubleshoot problems by measuring both AC and DC current. |
By adding these practices to your routine, you can keep your LED strips working well and safe. Happy testing! 🎉
FAQ
What is the best multimeter for testing LED strips?
A digital multimeter is the best choice for testing LED strips. It shows clear numbers, which helps with accuracy. Look for one that can measure voltage, check continuity, and test resistance.
How often should I test my LED strips?
You should test your LED strips every few months. Also, check them if you see problems like flickering or uneven brightness. Regular testing keeps them working well and safe.
Can I use an analog multimeter for LED strip testing?
Yes, you can use an analog multimeter, but it might not be as accurate. Digital multimeters give clearer readings and are easier to use. This makes them better for testing LED strips.
What should I do if my LED strip doesn’t light up?
First, check the power supply and connections. Use your multimeter to test for voltage and continuity. If everything looks fine, check the LED strip for any damaged parts.
Is it safe to test LED strips without experience?
Testing LED strips can be safe if you follow the right steps. Always turn off the power, wear insulated gloves, and don’t touch exposed wires. If you are unsure, ask someone with experience for help.
See Also
Understanding Cob Led Strips And Their Functionality
Evaluating Bright LED Strips For Various Uses
Selecting The Perfect LED Strip Lights For Linear Lighting


