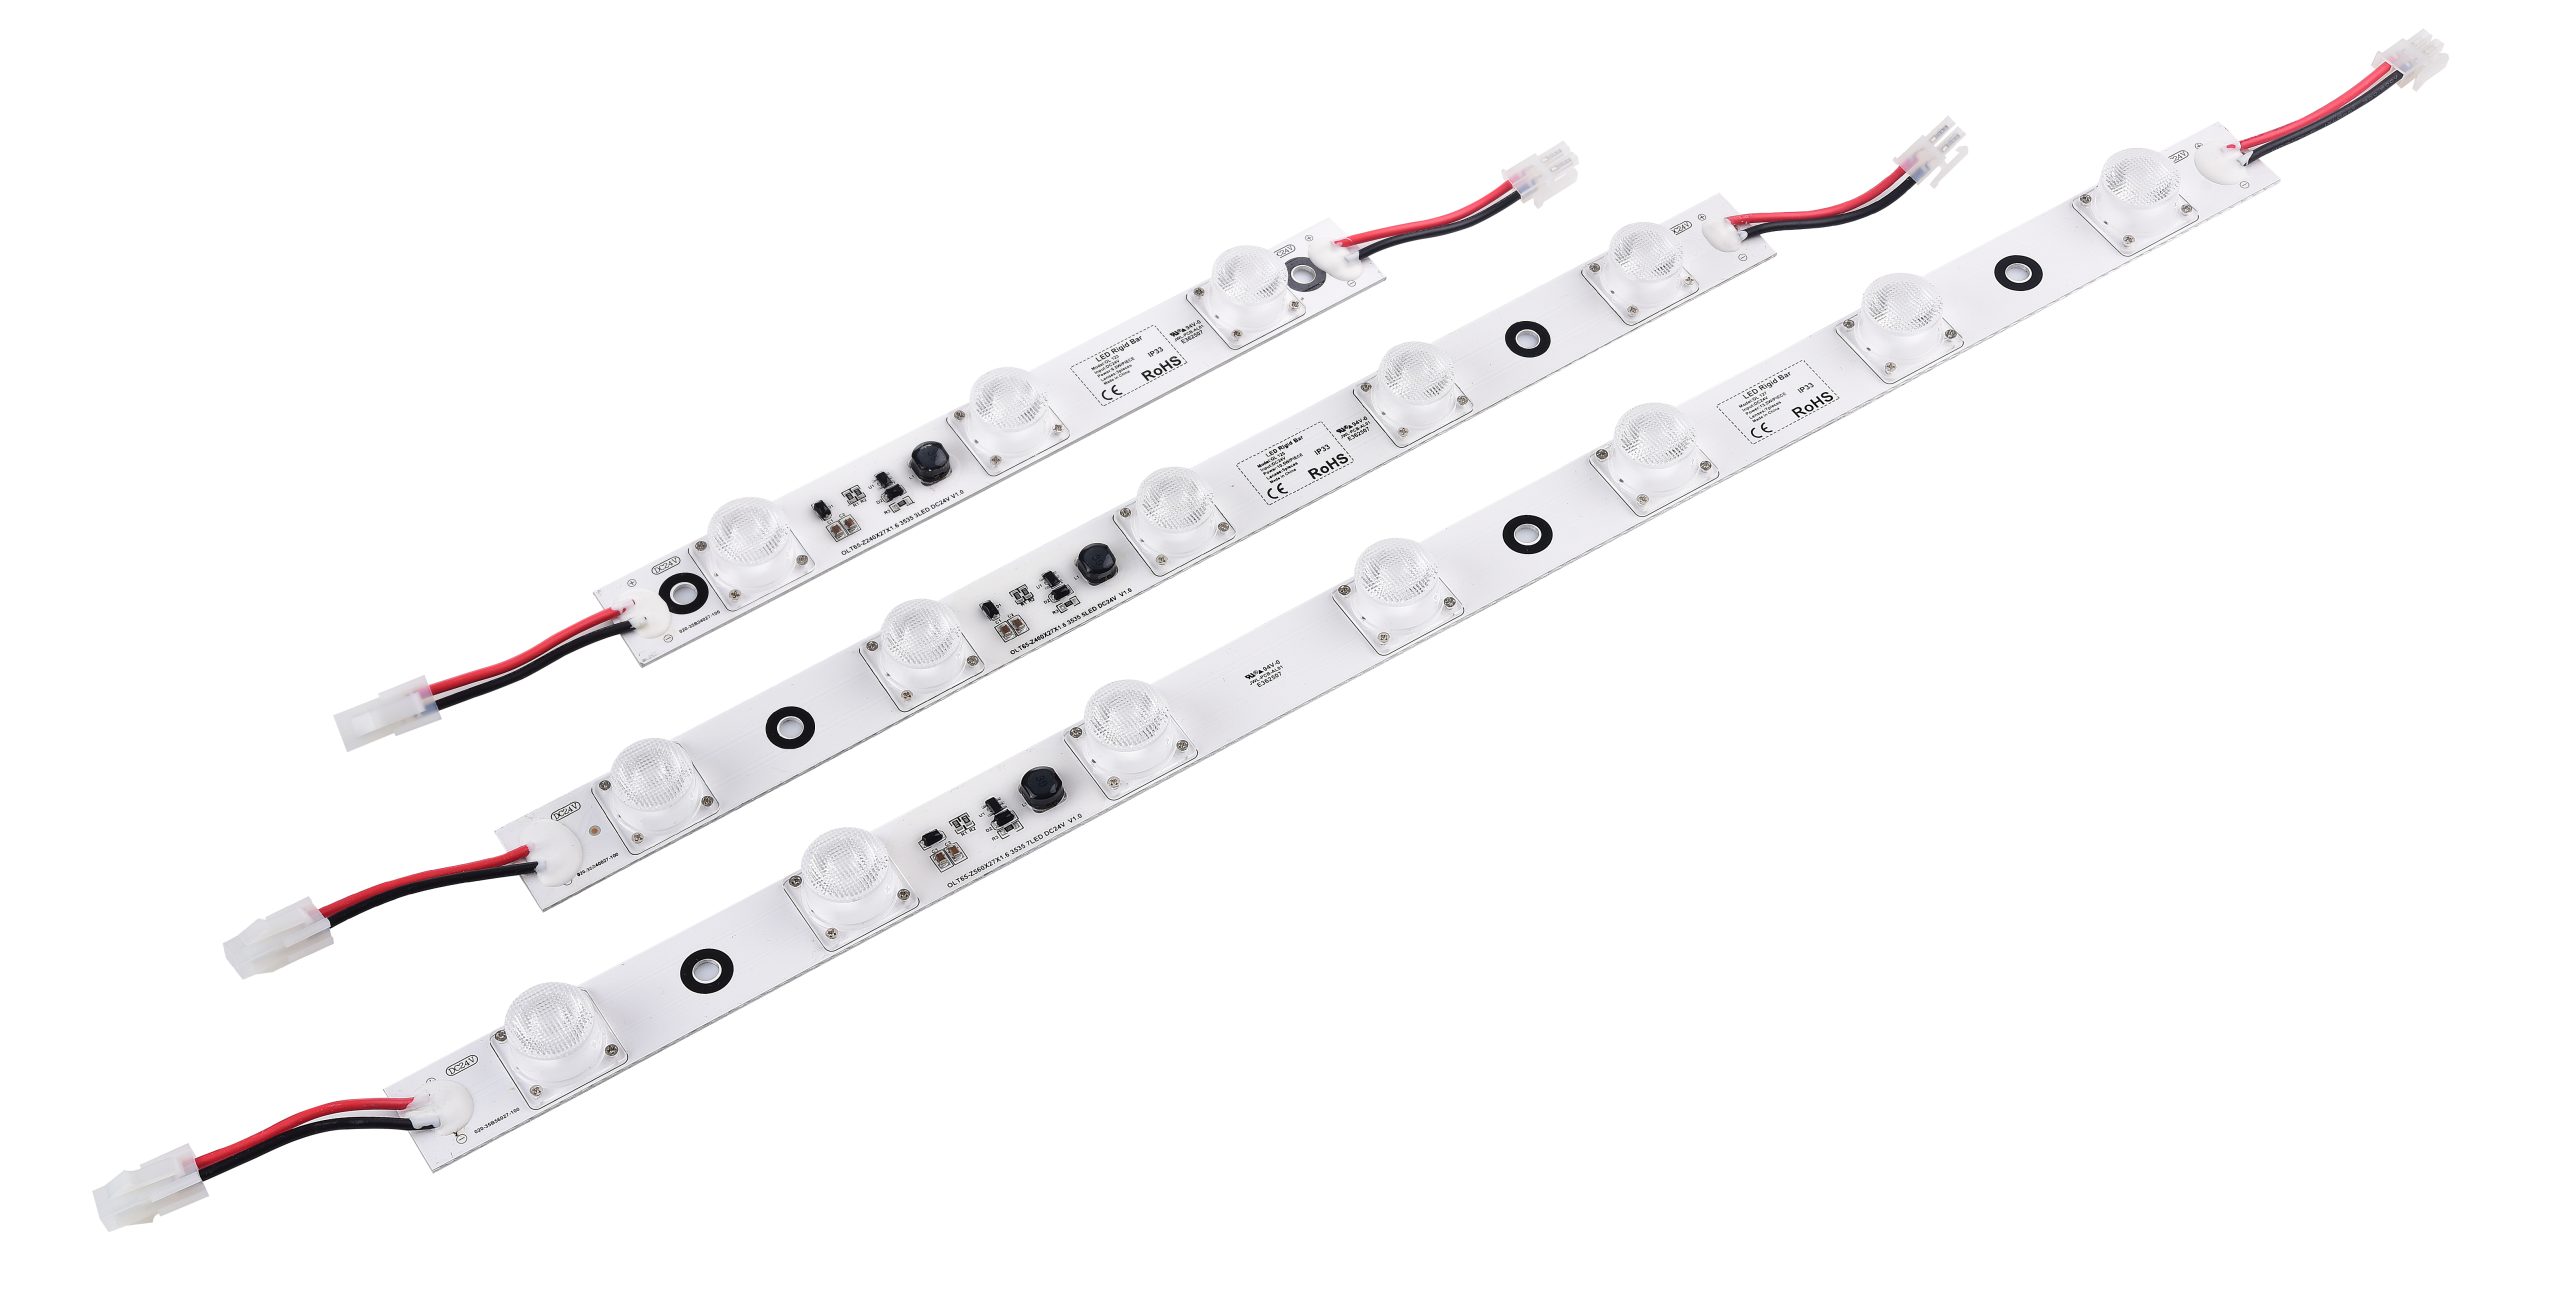
Wiring an LED light bar can transform your vehicle’s lighting, offering enhanced visibility and safety. Whether you’re navigating dark trails or simply want a brighter road view, understanding how to wire these lights is crucial. You’ll find that LED light bars are not only energy-efficient but also durable, making them perfect for challenging environments. When dealing with different types, like a rigid light bar, knowing their specific wiring needs ensures optimal performance. So, let’s dive into the essentials of wiring and get your light bar shining bright!
Tools and Materials Needed
Before you start wiring your LED light bar, gather the right tools and materials. Having everything ready will make the process smoother and more efficient.
Essential Tools
To get started, you’ll need a few basic tools:
Screwdrivers: These are essential for loosening and tightening screws during installation. Make sure you have both flathead and Phillips screwdrivers on hand.
Wire Strippers: You’ll use these to strip the insulation from the wires, allowing for proper connections. Choose a pair that fits the wire gauge you’re working with.
Multimeter: This handy tool helps you measure voltage, current, and resistance. It’s crucial for testing your connections and ensuring everything is working correctly.
Drill: A drill is necessary for mounting the light bar. You’ll need it to create holes for screws or brackets.
Soldering Iron: Use this to solder wires together for a secure and reliable connection. It ensures that your wiring won’t come loose over time.
Required Materials
Once you have your tools, gather the materials needed for the installation:
LED硬灯条: The star of the show! Choose one that fits your vehicle and meets your lighting needs.
Wiring Kit: This kit typically includes a wiring harness, which simplifies the process by providing pre-measured wires and connectors.
Switch: You’ll need a switch to control the light bar. Choose one that’s easy to access and fits your vehicle’s interior.
Connectors: These are used to join wires securely. Crimp-style connectors are popular for their ease of use and reliability.
Relay: A relay is crucial for controlling the power flow to the light bar. It allows a low current switch circuit to manage a high current load.
Correct Gauge Wire: Using the right gauge wire is important to ensure proper power delivery and prevent overheating. Check your light bar’s specifications to determine the appropriate gauge.
With these tools and materials, you’re well-equipped to wire your LED light bar. Remember, preparation is key to a successful installation. So, gather everything you need before you begin, and you’ll be ready to light up the night!
Safety Precautions
When wiring an LED light bar, safety should be your top priority. Taking the right precautions can prevent accidents and ensure a smooth installation process. Let’s break down the essential safety measures you need to follow.
Electrical Safety
Handling electrical components requires care and attention. Here are some steps to keep you safe:
Disconnecting the Battery
Before you start working on your vehicle’s electrical system, always disconnect the battery. This simple step prevents accidental shocks and protects your vehicle’s electronics from damage. By removing the negative terminal, you cut off the power supply, making it safe to work on the wiring.
Using Insulated Tools
Using insulated tools is crucial when dealing with electrical components. These tools have non-conductive handles that protect you from electric shocks. Make sure your screwdrivers, pliers, and other tools are insulated to keep you safe while working on the wiring.
Personal Safety
Your personal safety is just as important as electrical safety. Follow these guidelines to protect yourself during the installation:
Wearing Protective Gear
Always wear protective gear when working on your vehicle. Safety glasses shield your eyes from debris, while gloves protect your hands from cuts and burns. Wearing the right gear minimizes the risk of injury and keeps you comfortable throughout the process.
Ensuring a Stable Work Environment
A stable work environment is essential for a successful installation. Make sure your workspace is well-lit and free of clutter. Organize your tools and materials to avoid tripping over cables or equipment. According to the US Consumer Product Safety Commission, poorly managed cables can lead to injuries like lacerations and fractures. Keeping your workspace tidy helps prevent accidents and ensures a smooth installation process.
By following these safety precautions, you can confidently wire your LED light bar without compromising your safety. Remember, taking the time to prepare and protect yourself is always worth it in the long run.
Mounting the LED Light Bar

Mounting your LED light bar is a crucial step in the installation process. It ensures that your light bar is securely attached and positioned for optimal performance. Let’s explore how to choose the right mounting location and secure your light bar effectively.
Choosing the Mounting Location
Selecting the perfect spot for your LED light bar involves considering both functionality and aesthetics. You want a location that maximizes light output while maintaining a sleek look.
Considerations for Rigid Light Bars
When dealing with a rigid light bar, you need to think about its size and shape. These bars are typically longer and more robust, making them ideal for roof mounts or front bumpers. Ensure the location allows for a wide beam spread, enhancing visibility during off-road adventures. Keep in mind that a higher mount can provide better coverage, but it might also increase wind resistance.
Considerations for Lightbox Applications
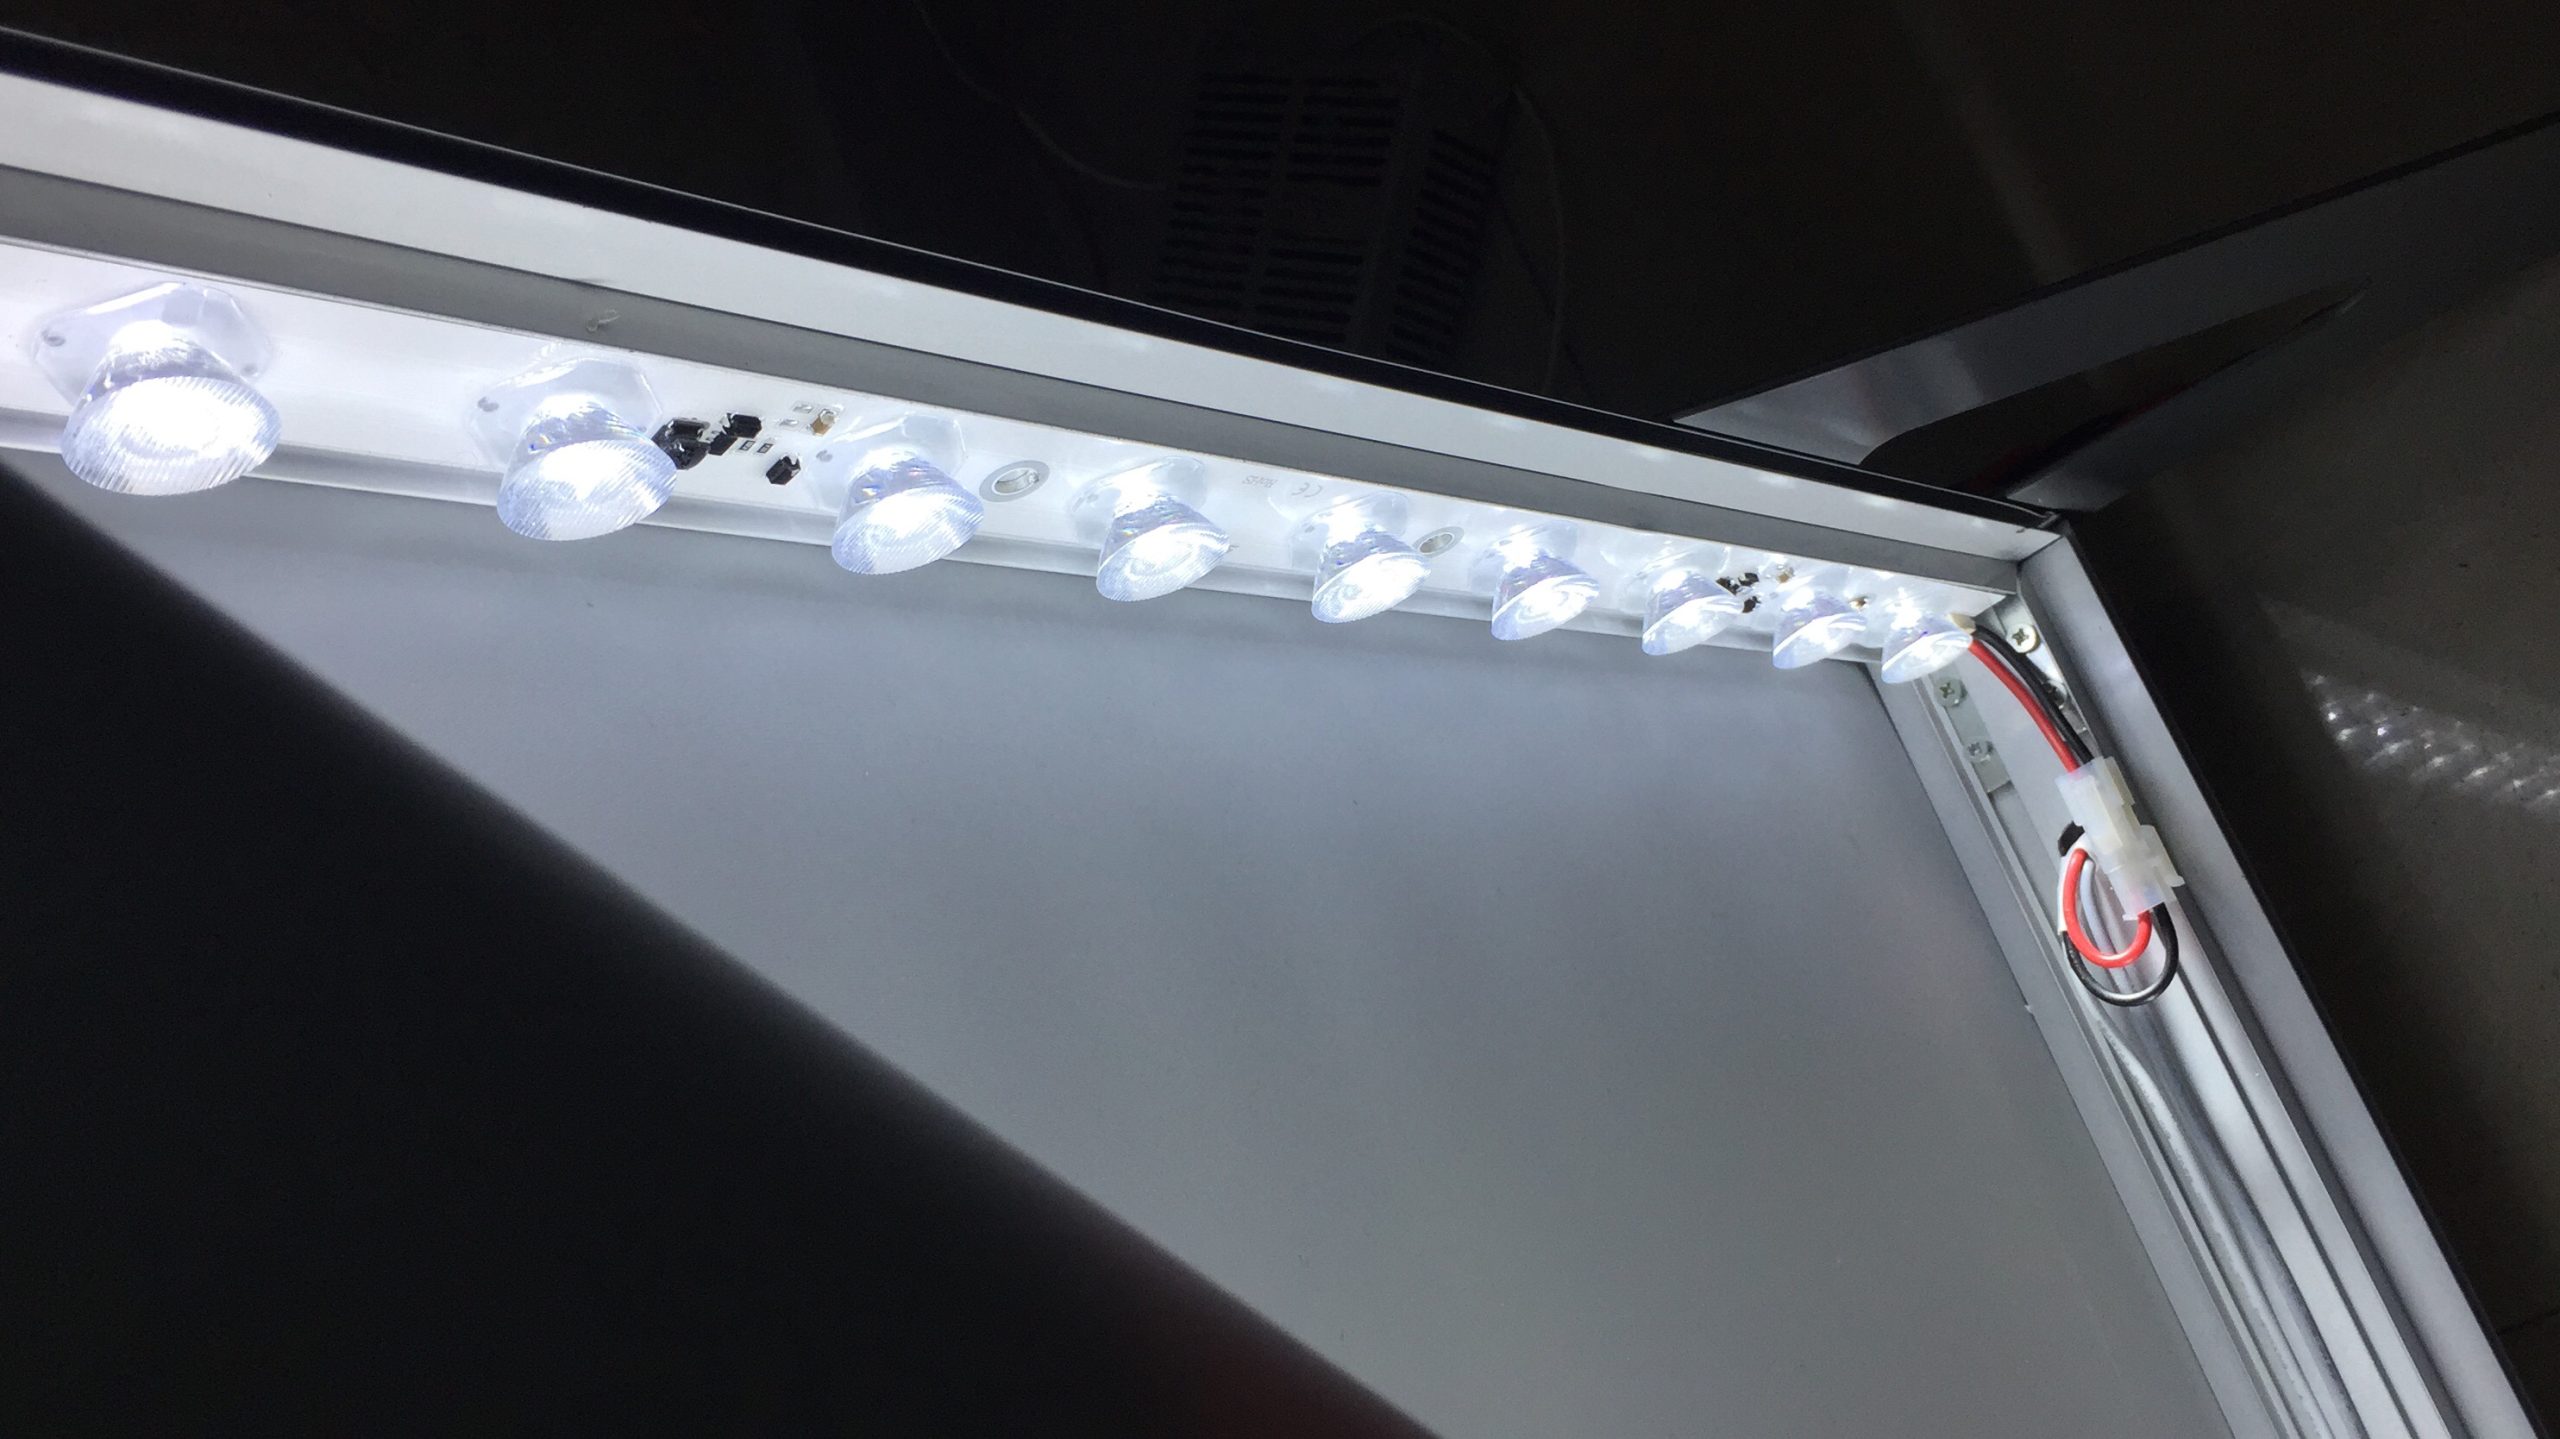
If you’re using your LED light bar for a lightbox application, placement becomes even more critical. You want to ensure even light distribution across the surface. Consider mounting it inside the lightbox frame to prevent shadows and achieve a uniform glow. This setup is perfect for advertising displays or decorative lighting.
Securing the Light Bar
Once you’ve chosen the ideal location, it’s time to secure your LED light bar. Proper mounting ensures stability and longevity.
Using Brackets
Brackets are your best friend when it comes to mounting a rigid light bar. They provide a sturdy base and allow for easy adjustments. Attach the brackets to your chosen location using screws or bolts. Make sure they’re tightly fastened to prevent any movement while driving. For a seamless look, opt for brackets that match your vehicle’s color or finish.
Ensuring Stability
Stability is key to a successful installation. Double-check that your LED light bar is firmly attached and doesn’t wobble. Use additional support if necessary, such as rubber gaskets or washers, to absorb vibrations. This not only protects the light bar but also enhances its performance by reducing flickering.
By carefully choosing the mounting location and securing your LED light bar, you ensure it performs at its best. Whether you’re using a rigid light bar for off-roading or a lightbox application, these steps will help you achieve a professional and reliable installation. So, get ready to light up the night with confidence!
Setting Up Electrical Connections

Setting up the electrical connections for your LED light bar is a crucial step in the installation process. This ensures that your light bar functions correctly and efficiently. Let’s walk through the steps to connect the wires and test the connections.
Connecting the Wires
Properly connecting the wires is essential for a successful installation. Follow these steps to ensure everything is set up correctly.
Identifying Positive and Negative Wires
First, identify the positive and negative wires from your LED light bar. Typically, the red wire represents the positive terminal, while the black wire indicates the negative terminal. It’s important to connect these wires correctly to avoid any electrical issues.
Tip: Before you start, sketch a wiring diagram. This helps you visualize the connections from the light bar to the relay and switch, ensuring you don’t miss any steps.
Using Connectors
Next, use connectors to join the wires securely. Crimp-style connectors are popular because they provide a reliable connection. Make sure to match the red wire to the red wire and the black wire to the black wire. This ensures that the power flows correctly through the system.
Pro Tip: Cover any exposed wires with electrical tape or heat shrinkable tubes. This prevents electric leakage and keeps your connections safe.
Connecting to Power Source and Ground
Now, it’s time to connect the power leads. Attach the positive wire to the positive terminal of your vehicle’s battery and the negative wire to the ground. This setup provides the necessary power for your LED light bar to operate efficiently.
Remember: Secure the wires with zip ties to prevent them from interfering with other vehicle components. This keeps your wiring neat and organized.
Testing the Connections
After connecting the wires, testing the connections is vital to ensure everything works as expected.
Using a Multimeter
A multimeter is a handy tool for checking your electrical connections. Use it to measure the voltage and current flowing through the wires. This helps you confirm that the power is reaching the LED light bar correctly.
Quick Check: If the LED light bar isn’t working, double-check the wiring diagram and switch connections. Ensure that the switch is wired correctly and functioning as it should.
Ensuring Proper Functionality
Finally, turn on the switch to test the LED light bar. Observe the light output to ensure it’s functioning properly. If you notice any flickering or dimming, inspect the wiring for loose connections or incorrect voltage settings.
By following these steps, you can confidently set up the electrical connections for your LED light bar. Proper wiring and testing ensure that your light bar performs at its best, providing you with the visibility and safety you need on the road.
Installing the Switch
Installing the switch for your LED light bar is a key step in the wiring process. It allows you to control the light bar easily and ensures that it functions as intended. Let’s explore how to choose the right location for your switch and wire it correctly.
Choosing the Switch Location
Selecting the perfect spot for your switch involves considering both accessibility and aesthetics. You want a location that’s easy to reach and looks good in your vehicle’s interior.
Accessibility Considerations
When choosing a location for your switch, think about how often you’ll use it. You want it within arm’s reach, so you can turn the light bar on and off without taking your eyes off the road. Consider placing it on the dashboard or near the steering wheel for easy access. This setup ensures that you can operate the switch quickly and safely.
Aesthetic Considerations
Aesthetics matter too. You want the switch to blend seamlessly with your vehicle’s interior. Look for a spot that complements the design and doesn’t look out of place. Some switches come with customizable faceplates, allowing you to match them with your vehicle’s color scheme. This attention to detail enhances the overall look of your installation.
Wiring the Switch
Once you’ve chosen the ideal location, it’s time to wire the switch. Proper wiring ensures that your LED light bar operates smoothly and reliably.
Connecting to Power Source
Start by connecting the switch to the power source. You’ll need to run a wire from the switch to the positive terminal of your vehicle’s battery. This connection provides the necessary power for the switch to control the light bar. Make sure the wire is securely attached to prevent any power loss.
Tip: Use a fuse in the power line to protect the circuit from overloads. This simple addition can prevent damage to your vehicle’s electrical system.
Securing the Switch
After wiring the switch, secure it in place. Use screws or adhesive to attach it firmly to your chosen location. Ensure that it’s stable and doesn’t move when you press it. A well-secured switch not only looks professional but also functions better over time.
By carefully choosing the switch location and wiring it correctly, you ensure that your LED light bar is easy to control and operates efficiently. This step completes the installation process, allowing you to enjoy the enhanced visibility and safety that your light bar provides.
Securing the Wiring
Securing the wiring of your LED light bar is essential for a clean and professional installation. Proper organization and protection of the wires not only enhance the appearance but also ensure long-term functionality. Let’s dive into how you can achieve this.
Organizing the Wires
Keeping your wires organized is crucial for preventing tangling and ensuring a tidy setup. Here’s how you can manage your wires effectively:
Using Cable Ties
Cable ties are your best friend when it comes to organizing wires. They help keep everything in place and prevent the wires from moving around. Simply gather the wires together and secure them with a cable tie. This method not only keeps your wiring neat but also reduces the risk of accidents. A well-organized wiring system can prevent trip and fall accidents, making it safer for everyone.
Tip: Use colored cable ties to differentiate between different wire groups. This makes it easier to identify and troubleshoot any issues later on.
Avoiding Tangling
Tangling can lead to a messy and inefficient wiring setup. To avoid this, plan your wiring route carefully. Keep the wires as straight as possible and avoid crossing them over each other. This simple step can save you a lot of time and hassle in the future.
Pro Tip: Use wire clips or adhesive mounts to guide the wires along a specific path. This helps maintain order and prevents tangling.
Protecting the Wiring
Protecting your wiring is just as important as organizing it. Proper protection ensures durability and prevents damage from external factors.
Using Conduit
Conduit provides an extra layer of protection for your wires. It shields them from physical damage and environmental elements. Simply run your wires through a conduit before securing them in place. This method is especially useful for outdoor installations where the wires are exposed to harsh conditions.
Note: Choose a conduit that matches the size of your wires for a snug fit. This prevents the wires from moving inside the conduit and ensures maximum protection.
Ensuring Durability
Durability is key to a long-lasting wiring setup. Use high-quality materials and connectors to ensure that your wiring can withstand wear and tear. Regularly inspect your wiring for any signs of damage and address them promptly.
Quick Check: Look for any frayed wires or loose connections. Fix these issues immediately to prevent further damage.
By organizing and protecting your wiring, you ensure a secure wiring setup that performs reliably over time. These steps not only enhance the appearance of your installation but also contribute to its overall safety and efficiency. So, take the time to secure your wiring properly and enjoy the benefits of a well-installed LED light bar.
Troubleshooting Common Issues
Even with a well-planned installation, you might encounter some hiccups with your LED light bar. Don’t worry! Troubleshooting these common issues can often be straightforward. Let’s dive into some typical problems and how you can fix them.
Light Bar Not Turning On
If your light bar refuses to illuminate, it’s time to roll up your sleeves and investigate.
Checking Connections
First, examine all the connections. Loose or disconnected wires are often the culprits. Ensure that each wire is securely attached to its respective terminal. Double-check the positive and negative connections to make sure they’re correctly aligned. A quick inspection can often reveal a simple fix.
Tip: Tug gently on each wire to confirm it’s firmly connected. If any wire feels loose, reattach it securely.
Testing the Switch
Next, focus on the switch. A faulty switch can prevent your light bar from turning on. Test the switch by using a multimeter to check for continuity. If the switch isn’t working, consider replacing it with a new one. A functional switch is crucial for controlling your light bar effectively.
Quick Fix: If you suspect the switch is the issue, try bypassing it temporarily to see if the light bar turns on. This can help confirm whether the switch is faulty.
Flickering Lights
Flickering lights can be annoying and may indicate an underlying problem. Let’s explore how to address this issue.
Inspecting the Wiring
Start by inspecting the wiring. Damaged or frayed wires can cause flickering. Look for any visible signs of wear and tear. If you find any damaged sections, replace them promptly. Ensuring your wiring is in good condition is key to maintaining a steady light output.
Pro Tip: Use electrical tape or heat shrink tubing to cover any exposed wires. This adds an extra layer of protection and prevents further damage.
Ensuring Stable Power Supply
A stable power supply is essential for consistent lighting. Check the battery and alternator to ensure they’re providing adequate power. Low voltage can lead to flickering lights. If necessary, charge the battery or replace it if it’s old and unable to hold a charge.
Note: Consider using a relay to stabilize the power supply. A relay helps manage the electrical load and can prevent flickering caused by voltage fluctuations.
By addressing these common issues, you can keep your LED light bar functioning smoothly. Remember, a little troubleshooting goes a long way in ensuring your light bar performs at its best. So, take the time to inspect and fix any problems, and you’ll be back to enjoying bright, reliable lighting in no time!
Wiring an LED light bar transforms your vehicle’s lighting, enhancing both visibility and safety. By following the steps outlined, you can confidently tackle this DIY project. Remember to test your light bar before installation to ensure it functions properly. Regular maintenance, like cleaning with soap and water, keeps your light bar in top shape. If issues arise, check connections and switches first. Understanding the wiring process empowers you to troubleshoot and maximize your light bar’s potential. Always prioritize safety and enjoy the brighter, more efficient lighting your LED light bar provides!
See Also
Selecting The Perfect LED Strip Lights For Your Space
Ultimate Resource For Choosing Outdoor LED Light Strips


