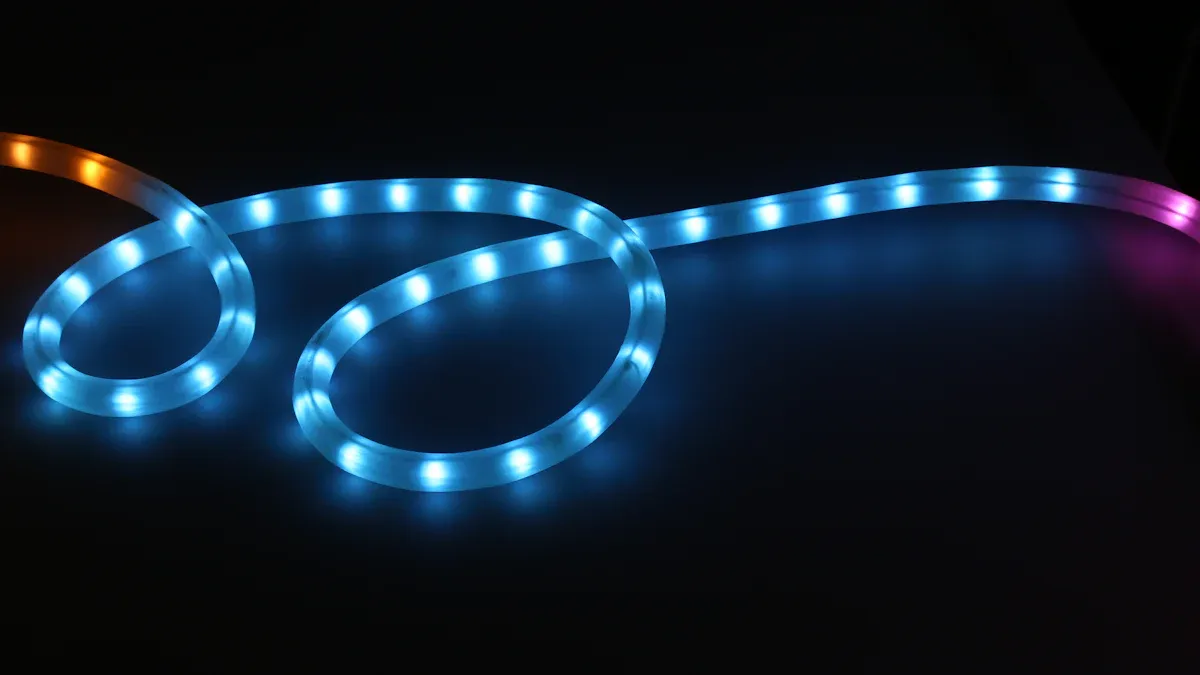
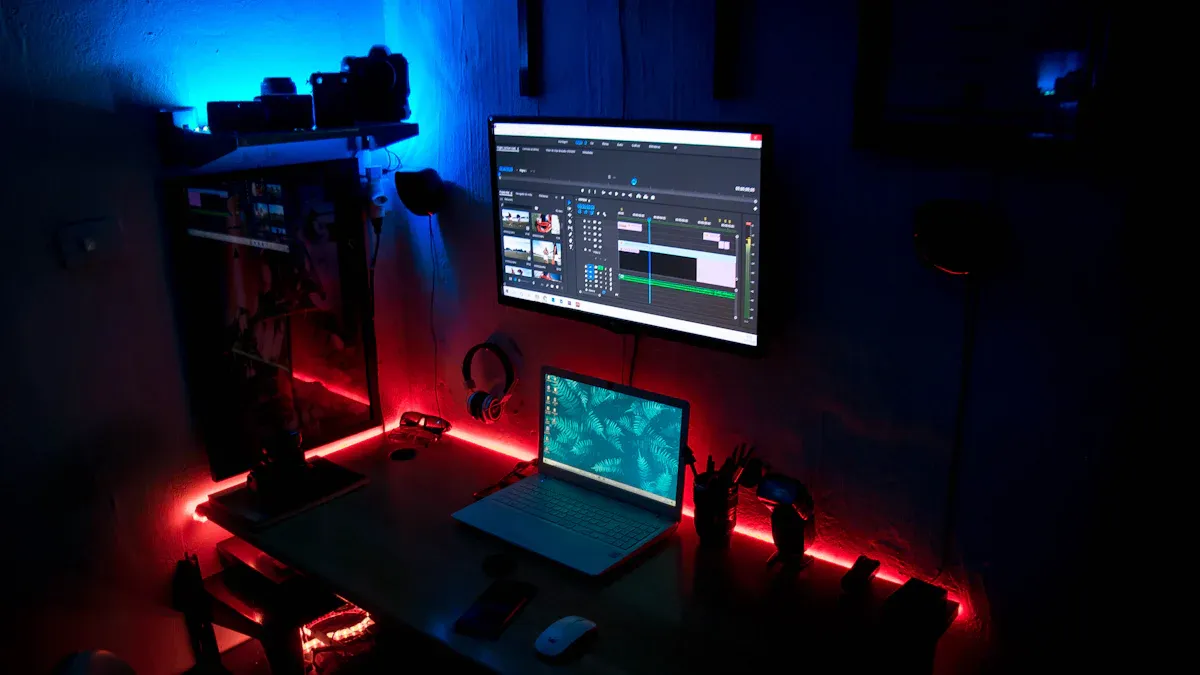
LED strip lights can change any area with their flexibility and bright shine. You can use them in many places, like stores to show off products, offices for work lighting, and homes to set the mood in kitchens or staircases. Learning how to connect LED strip lights correctly helps you get the most out of them and enjoy your setup.
Key Takeaways
Get important tools like wire strippers, screwdrivers, and a volt meter before you start your LED strip light project. – Always unplug the power before you install anything. This keeps you safe and stops electrical shocks. – After connecting your LED strip lights, test them. Look for flickering or dim spots to make sure everything works well.
Tools to Connect LED Strip Lights
Essential Tools for Installation
Before starting your LED strip light project, get the right tools. Having the right equipment makes it easier and faster. Here’s a list of tools you will need:
Wire Strippers: These help cut and strip wires to the right lengths.
Screwdrivers: A small flathead or Phillips screwdriver is needed to secure LED parts.
Volt Meter: This tool helps check electrical connections and voltage.
Wire Connectors, Electrical Tape, and Heat Shrink: These items are important for making strong connections.
Solder Iron (Optional): For a neat finish, think about soldering your connections. This method copies factory connections, giving a smooth look and reducing connection problems.
Required Materials for LED Strip Lights
Now that you have your tools, let’s discuss the materials you need for a strong and lasting connection. Here are some important items to think about:
Power Supply Selection: Ensure the power supply fits the voltage and wattage needs of your LED strip lights.
Surface Preparation: Clean the surface well to help the LED strips stick properly.
Waterproofing: If you’re installing in wet areas, use waterproof or water-resistant LED strips and connectors.
Heat Dissipation: Good ventilation is very important. Think about using aluminum channels or heat sinks to control heat well.
By gathering these tools and materials, you prepare yourself for success when installing LED strip lights. Happy installing!
How to Connect LED Strip Lights: Step-by-Step Guide
Preparing the Installation Area
Before you start connecting your LED strip lights, get your area ready. This step is very important for a safe setup. Here are some safety tips to remember:
Unplug the Power: Always unplug or turn off the power before you start. This helps keep you safe from electrical shocks.
Avoid Overloading: Make sure the power source isn’t overloaded. This is especially important for long LED strips.
Keep Away from Flammable Materials: Don’t place LED strips near anything that can catch fire. This reduces the risk of fires.
Clean the Surface: Clean the area where you will mount the strips. Use rubbing alcohol and a lint-free cloth. This helps the strips stick better.
Use Mounting Clips for Uneven Surfaces: If your surface isn’t flat, use mounting clips or aluminum channels. This helps the strips stick well.
By taking these steps, you will create a safe place to install your lights.
Cutting and Connecting the Strips
Now that your area is ready, it’s time to cut and connect the strips. Follow these steps to do it correctly:
Identify the Cut Line: Find the marked cut lines on the LED strip. These lines are usually at regular spots. Cutting here prevents damage.
Gather Your Tools: Use sharp scissors or a utility knife for clean cuts. You may also need measuring tape and connector clips.
Make the Cut: Line up your cutting tool with the cut line and cut straight across. This helps avoid damage to the circuit board.
Prepare the Cut Ends: After cutting, check the ends for exposed copper contacts. These are needed for making connections.
When you’re ready to connect the strips, you can use different methods, like soldering or connector clips. If you solder, heat the soldering iron and apply solder to the copper contacts for a strong connection.
Wiring Multiple LED Strip Lights
If you want to connect several LED strip lights to one power source, follow these best practices:
Determine the Length and Illumination Needs: Figure out how long your LED strips will be and how much light you need.
Choose Wiring Method: Decide if you want to wire in series or parallel. Series is good for small setups, while parallel works better for larger ones.
Select the Right Power Supply: Make sure your power supply can handle the total wattage of all strips. For example, if you have a 32.8 ft strip that uses 5.5 watts per foot, you need a power supply with at least 216.5 watts.
Using an LED splitter can make this easier. It lets you connect multiple strips to one power source. Just check that your power supply has enough wattage for all strips.
Testing Your LED Strip Lights
Before you finish your installation, it’s important to test your LED strip lights. Here’s how:
Plug Everything In: Connect your strips to the power source and controller you will use.
Check Functionality: Make sure your lights work as they should. Look for flickering or dim spots, which might mean there are connection problems.
Testing your setup before the final installation can save you time and trouble later. If everything works well, you’re ready to secure your strips in place!
By following these steps, you can connect LED strip lights and enjoy their bright glow in your space.
Troubleshooting LED Strip Lights Issues
When you set up LED strip lights, you might face some common problems. Don’t worry! Most issues are easy to fix. Let’s look at some tips for fixing flickering lights, incomplete connections, and voltage drop.
Flickering LED Strip Lights
Flickering can be annoying, but it usually means a simple problem. Here are some reasons why your LED strip lights might flicker:
Voltage Issues: If the voltage changes, your lights may flicker.
Current Problems: Not enough current can cause uneven lighting.
Poor Connections: Loose or bad connections can also make lights flicker.
To fix flickering, first check your power supply. Make sure it matches the voltage needs of your LED strip lights. If everything looks good, check the connections. Ensure they are tight and not rusty. If you see any loose wires, reconnect them tightly.
Incomplete Connections
Sometimes, your LED strip lights might not turn on at all. This usually means there’s an incomplete connection somewhere. Here’s how to find and fix the problem:
Inspect and Secure All Connections: Look at each connection point on your LED strip. Make sure connectors and wires are tightly attached. Reconnect any loose parts.
Replace Faulty or Incompatible Connectors: Find connectors that don’t fit your LED strip type or look broken. Change them with the right connectors.
Verify Proper Voltage and Power Supply: Use a multimeter to check voltage levels. Make sure there is enough voltage along your LED strip. If you see a voltage drop, add power injection points.
Re-solder and Repair Poor Connections: Look for any damaged solder joints or connection points. Re-solder connections tightly to keep the lights working well.
Common signs of incomplete connections include flickering or dim lights, loose wires, and parts of LED segments not working. By following these steps, you can quickly find and fix the issue.
Voltage Drop Considerations
If your LED strip lights are long, you might see uneven brightness or color changes. This often happens because of voltage drop. As LED strips get longer, the voltage at the end gets lower, making the LEDs dimmer. This is especially true for lower voltage strips like 12V.
To reduce voltage drop, try these tips:
Use thicker wire to lower resistance.
Run LED strips in parallel to keep voltage levels steady.
Choose higher voltage strips (like 24V) to reduce current and voltage drop.
Keeping the voltage drop below 10% of the total voltage is important for steady performance. Regular maintenance, like checking connections and cleaning the strips, can also help them last longer.
By fixing these common issues, you can enjoy your LED strip lights without problems. Remember, troubleshooting is part of the process, and with a little patience, you can solve most issues easily.
Connecting LED strip lights can be easy if you follow these important steps:
Calculate LED Light Strip Wattage: Find out how much wattage your strips need.
Find a Suitable Power Supply: Pick one that works at 80% capacity for better efficiency.
Connect LED Strip to Power Supply: Make sure the polarity is correct for a strong connection.
By doing these steps, you will have a good installation. If you face problems, remember that troubleshooting can really help you enjoy your lighting setup. Happy lighting! 🌟
FAQ
What type of power supply do I need for my LED strip lights?
You need a power supply that matches the voltage and wattage requirements of your LED strips.
Can I cut LED strip lights anywhere?
No, only cut at the marked lines on the strip to avoid damaging the circuit.
How do I prevent my LED strip lights from overheating?
Ensure proper ventilation and use heat sinks or aluminum channels to dissipate heat effectively. 🌡️


