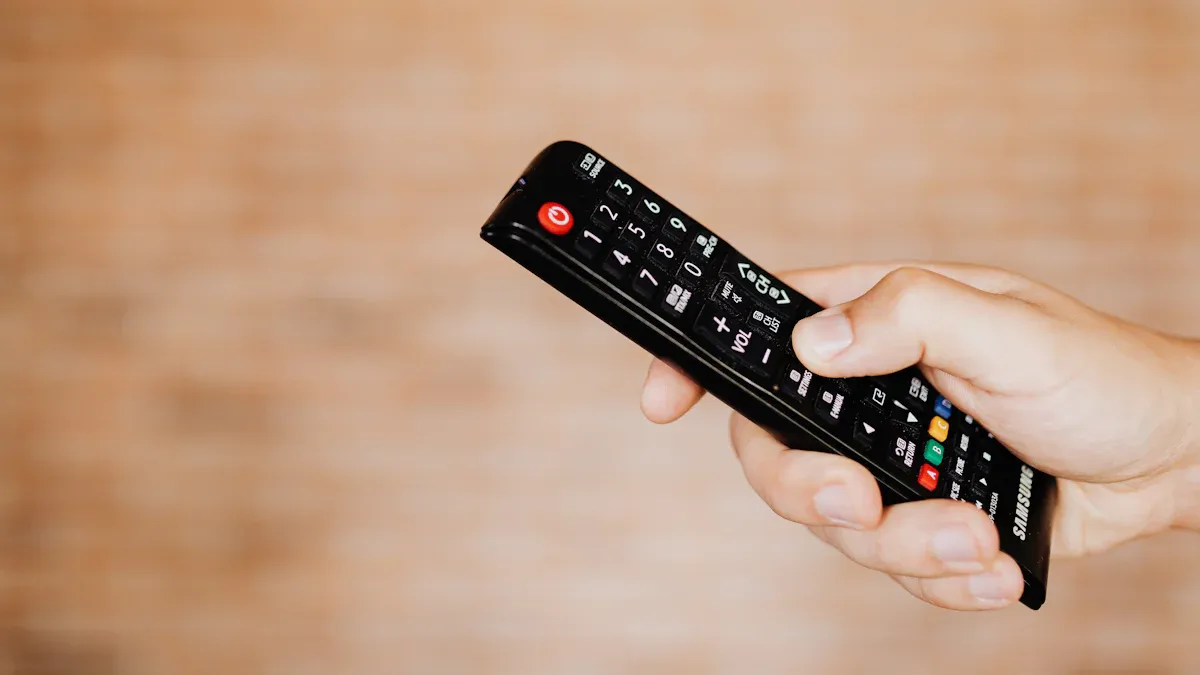
Using a remote control for your LED strip lights with remote has many benefits. It provides you with more options, allowing you to create different types of lighting in various locations. The adhesive backing makes installation straightforward. Additionally, remote controls enable you to manage several strips simultaneously, which assists in creating cohesive lighting effects.
It is crucial that your LED strip lights with remote function effectively with the remote control. Ensure you have the correct components, including the LED strip lights, remote control, and power supply. This will facilitate a smooth connection.
Key Takeaways
Using remote controls for LED strip lights is easy and flexible. You can manage many lights without trouble.
Make sure your LED strip lights, remote control, and power supply work together. This helps avoid problems when setting up.
Good preparation is important. Gather your tools and plan your layout for a smooth installation.
Follow simple steps to connect your LED strip lights. Pair them with the remote control for the best performance.
Taking care of your LED strip lights and remote can make them last longer. This will improve your lighting experience.
Components for LED Strip Lights with Remote

When you connect your LED strip lights with remote, you must know the important parts needed. Each part is important for a good setup.
LED软灯带
LED strip lights are bendable boards with small LED bulbs. These strips come in different lengths and colours. This lets you make special lighting effects. When picking LED strip lights, think about these things:
Voltage Compatibility: Most LED strips work on 12V or 24V. Make sure the voltage matches your power supply.
Wattage Capacity: Know how much power your strip uses. The power supply should be at least 20% stronger than the total wattage of the LED strip to last longer.
Remote Control
The remote control helps you change your lighting. Look for features that make it easy to use, like:
Easy Colour Changes: Pick a remote that lets you change colours easily.
Brightness Adjustments: Make sure the remote can change brightness levels for different moods.
Voice Control: Some remotes have voice control, which is handy.
Power Supply
The power supply changes standard voltage to the low voltage needed for your LED strip lights. It is important for them to work well. Here are some key points to think about:
Voltage Type: Make sure the power supply matches the voltage your LED strip needs. Wrong voltage can cause problems or damage.
Current Calculation: Find out the current needed using this formula: Current (A) = total power (W) ÷ voltage (V). For example, a 12V, 50W strip light needs about 4.17A.
Power Supply Ratings: Always pick a power supply that can give at least 5A output for the best performance.
By knowing these parts, you can make sure your LED strip lights and remote control connect well, improving your lighting experience.
Preparation Steps for LED Strip Lights
Before connecting your LED strip lights, you need to get ready. This helps make the installation easy and ensures everything works well.
Gather Your Tools
First, collect the tools you need for the installation. You will need:
A tape measure to measure your space correctly.
A level to check that your LED strip lights hang straight.
Scissors or a cutting tool to cut the LED strips to the right length.
Wire connectors or soldering equipment if you want to join several strips.
Adhesive or mounting brackets to hold the strips in place.
Having these tools ready will make the installation easier and quicker.
Check Compatibility
Next, check that your parts work together. Make sure your LED strip lights, remote control, and power supply are compatible. Here are some important points to think about:
Voltage: Check that the voltage of your LED strip lights matches your power supply.
Wattage: Ensure your power supply can support the total wattage of all LED strip lights. This stops overheating and damage.
Remote Control: Make sure your remote control is made for the type of LED strip lights you have. Some remotes only work with certain brands or models.
Plan Your Layout
Planning your layout is important for the best lighting effects. Keep these tips in mind:
Measure your wall carefully before installation.
Plan where to place the LED strip lights and any panels you might use.
Use a tape measure and level to mark where the LED strips will go.
Make sure there is even spacing that matches panel sizes and your desired lighting effects.
By preparing well, you set yourself up for success when connecting your LED strip lights. This preparation helps avoid common problems and improves your overall lighting experience.
Connection Steps for LED Strip Lights

Connecting your LED strip lights with a remote control is easy. Just follow these steps for a successful setup.
Connecting the Power Supply
First, connect the power supply to your LED strip lights. This is important for getting the right voltage and current. Here’s how to do it safely:
Disconnect Power: Always turn off the power before starting. This keeps you safe.
Check Voltage: Make sure the LED strip’s voltage matches the power supply. Wrong voltage can cause damage.
Connect Wires: Pay attention to polarity when connecting wires. Connect the positive wire from the power supply to the positive terminal of the LED strip. Do the same for the negative wire.
Secure Connections: Use proper insulation for all connections to avoid shocks. Make sure all connections are tight to stop flickering and overheating.
Safety Tips:
Never overload the power supply; it should be at least 20% stronger than the LED strip’s needs.
Use the right wire gauge to prevent overheating.
Think about fuses and circuit protection for bigger setups.
Here are some common wiring setups for LED strip lights:
Wiring Configuration | Description |
|---|---|
Parallel Connection | Connect several LED strips to a power supply, controller, or amplifier to avoid voltage drop issues. |
Both Ends Connection | Connect both ends of the LED strip to the same power source, controller, or amplifier. |
Series Connection | NOT recommended; do not connect multiple strips in series to a power supply, controller, or amplifier. |
Attaching the LED Strip Lights
Now that you have connected the power supply, it’s time to attach the LED strip lights. Good installation keeps them in place and working well. Here are some good methods:
Double-Sided Adhesive Tape: This is the easiest way. Clean the surface where you will stick the strip, then peel off the backing and press it down firmly.
Mounting Brackets: Use brackets for a stronger hold. These can screw into surfaces and keep the LED strip in place.
Aluminium Channels: These look professional and help with sticking. They also help cool the strips.
Recessed Profiles: These let you install the strips into walls or ceilings for a neat look.
Magnetic Fasteners: If you want flexibility, use magnetic fasteners that allow easy removal and reattachment.
Note: LED strips falling down can be annoying. Using these methods can save you time and trouble.
Pairing the Remote Control
After attaching the LED strip lights, you need to pair the remote control for the first time. Follow these steps:
Plug In the LED Strip and Power It On: Connect the LED strip to the controller, plug it into the power supply, and make sure the power adapter is in an outlet. The strip should briefly flash or light up.
Put the Remote Into Pairing Mode: Depending on the brand, press and hold the ON button for 3–5 seconds or follow specific instructions for your brand.
Wait for a Blink or Flash to Confirm: Once synced, the strip may blink or change colour, showing successful pairing.
Common Mistakes to Avoid:
Ensure the LED strip’s voltage rating matches the power supply.
Choose a power supply rated for at least 20% more than the total wattage of the LED strips.
Connect the positive and negative wires correctly to avoid circuit problems.
By following these steps, you can easily connect your LED strip lights with a remote control, improving your lighting experience.
Testing to Turn On LED Strip Light
After you finish installing, you should test your LED strip lights. This checks if they work properly. You will turn them on and see if the remote control works.
Powering On
To turn on your LED strip light, do these steps to make sure everything is right:
Confirm Compatibility: Check that your power supply’s voltage and current match your LED strip. This is important for safety.
Check Power Supply: Make sure your power supply works. You can test it by plugging it into another device.
Isolate Accessories: If you have other devices on the same circuit, check and separate them. This stops any interference that could cause problems.
Inspect Connections: Look for any loose connections. Tighten any that seem weak.
After these checks, plug in your power supply and turn it on. Your LED strip should light up. If it doesn’t, go back and check the steps above for problems.
Testing Remote Functions
Now that your LED strip light is on, it’s time to test the remote control. This makes sure you can use your lighting setup fully. Here are the main functions to check:
Dimming Functionality: Change the brightness to see if the dimming works well.
Changing Colours: If you have RGB strips, test the colour-changing options. Make sure you can switch through the colours easily.
Flashing Modes: Try different flashing modes to see if they work as they should.
Remote Indicator Light: Press the buttons on the remote and see if the indicator light turns on. This shows the remote is working with the receiver.
Pairing Troubleshooting: If the remote doesn’t work, check the pairing process again. Make sure you did the steps right to connect the remote with the LED strip.
By doing these tests, you can be sure your LED strip lights are ready to use. If you find any problems, look back at the earlier sections for help.
Troubleshooting LED Strip Lights Issues
When you have problems with your LED strip lights, it can be annoying. Here are some common issues and their fixes to help you sort them out.
No Response from Remote
If your remote control isn’t working, try these steps:
Check battery placement: Make sure the batteries are in the right way, matching the positive and negative ends as shown on the remote.
Replace the batteries: Use CR2025, CR2032, or CR2026 batteries, depending on your remote type.
Clean the contacts: Use a cotton swab with rubbing alcohol to clean the metal parts inside the remote and on the batteries.
Power cycle everything: Unplug the LED strip and take out the remote’s batteries for 30 seconds to reset both.
Reconnect the controller: Plug the strip back in and put the batteries back, waiting for the LED controller’s light to stop blinking.
Force pairing mode: Hold the remote’s “Power” and “Mode” buttons for 5 to 10 seconds until the lights flash.
Check the warranty: If it’s still under warranty, contact the maker for a replacement or repair.
Consider professional repair: If it’s out of warranty, look for professional help to fix it.
Replace the remote: If you can’t repair it, buy a new remote that works with your LED lamp.
Test the adapter: Unplug and check for burns, bent prongs, or loose wires, and swap it with a working adapter if needed.
Inspect connections: Make sure all wires are tight in the LED controller and strip, checking for exposed copper or rust.
Flickering Lights
Flickering lights can ruin your lighting. Here are some common reasons and fixes:
Voltage fluctuations: LED lights don’t like voltage changes. Make sure you have a steady power supply to stop flickering.
Incompatible dimmer switches: Using the wrong dimmer switch can cause flickering. Always use dimmers made for LEDs.
Overloading the circuit: Too many LEDs on one circuit can make them flicker. Spread the lights across different circuits to fix this.
Quality of LED drivers: Bad quality drivers can cause flickering. Buy good quality drivers for better results.
Temperature sensitivity: Extreme temperatures can affect how LEDs work. Install them in suitable places to avoid flickering.
Aging or defective LEDs: Old or broken LEDs may flicker. Replace them with new, good-quality LEDs to fix this.
Incompatible Components
If your LED strip lights, remote control, and power supply don’t work together, it can cause problems. Here’s how to find and fix these issues:
Power supply issues: If the LED doesn’t light up, check if the power supply is broken. Try different LED power supplies on the same plug board to see if it works.
LED strip not turning on: If the LED strip light won’t turn on, it might be a bad strip or a broken power supply. Test the power supply before throwing away the strip.
Remote control not working: Make sure the remote is within 5-10 metres and check for a good connection between the receiver, power supply, and LED strip. If needed, reset the remote and reconnect it with the light strip.
By following these troubleshooting tips, you can fix common problems with your LED strip lights, making sure your lighting experience is smooth and enjoyable.
Tips for Optimal Use of LED Strip Lights
Customising Settings
Changing the settings on your LED strip lights can make your lighting better. You can change different settings to create the right mood for any event. Here are some popular features you might want to try:
Feature | Description |
|---|---|
Colour Control | Pick from many colours, with options for preset colours or custom mixes. |
Brightness Adjustment | Easily dim or brighten lights to set the right mood for any event. |
Mode Selection | Enjoy different lighting effects, like static, flashing, fading, and music sync options. |
Custom Colour Patterns | Make unique lighting effects by mixing different colours to match your mood or event. |
Timer Settings | Set lights to turn on/off at certain times for convenience and to save energy. |
Trying out these settings lets you personalise your space. You can create a calm place for relaxing or a lively atmosphere for parties. Don’t be afraid to experiment until you find what you like best.
Maintenance and Care
Taking care of your LED strip lights and remote control helps them last longer and work better. Here are some important tips to remember:
Maintenance Practice | Description |
|---|---|
Proper Installation and Mounting | Make sure they are installed correctly to avoid damage and stress, helping them last longer. |
Using Lighting Controls and Dimming | Adjust brightness to reduce wear by not always using full power. |
Keeping Stable Operating Temperatures | Prevent overheating by ensuring proper heat release, which is important for LED lifespan. |
Regular Maintenance Practices | Clean them often to keep brightness and efficiency by removing dust and dirt. |
Checking the Dimmer | Regularly check for wear or damage to avoid big problems, ensuring they work well. |
To take care of your remote control, follow these routines:
Routine | Recommendation |
|---|---|
Cleaning Remote | Use a soft cloth to gently clean surfaces and buttons to remove dirt and dust. |
Avoiding Damage | Don’t use harsh chemicals or moisture that could harm the remote’s parts. |
Regular Inspections | Check the buttons and battery area regularly to ensure they work well. |
Battery Maintenance | Change batteries often with good quality alkaline or lithium batteries. |
Safe Storage Practices | Keep remotes in dry places away from extreme temperatures and protect from hits. |
By following these tips, you can keep your LED strip lights and remote control in great shape, giving you lovely lighting for many years.
Connecting LED strip lights to a remote control has a few important steps:
Plan where to put the lights for the best light spread.
Measure the strips you need for each spot, making sure they fit.
Solder wires to the LED strips and make sure the connections are strong.
Using remote controls has many benefits. Here’s a quick look:
Advantage | Description |
|---|---|
Automation | Remote-controlled LED lights make it easier to manage your lighting. |
Ease of Use | You can turn lights on and off with a button, making it simple to use from anywhere. |
Wireless Operation | Wireless systems let you install lights without worrying about wires. |
Remote Dimming and Colour Adjustment | You can change how bright the lights are and their colour from far away, giving you more options. |
Try out different settings and setups. Enjoy how easy and flexible remote controls make your lighting!
FAQ
What types of LED strip lights are available?
There are different types of LED strip lights. You can find RGB, RGBW, and single-colour strips. Each type has different colours and brightness levels. This helps you pick what you need for your lighting.
How do I change the batteries in my remote control?
To change the batteries, find the battery compartment on the back of the remote. Open it, take out the old batteries, and put in new ones. Make sure the positive and negative ends are in the right places.
Can I cut LED strip lights to fit my space?
Yes, you can cut LED strip lights. Look for cut lines on the strip. Use sharp scissors to cut cleanly. Be careful not to damage the other parts of the strip.
Why are my LED strip lights flickering?
Flickering can happen because of voltage changes, wrong dimmer switches, or loose connections. Check your power supply and connections to make sure everything is tight and works together.
How can I extend the length of my LED strip lights?
To make your LED strip lights longer, use compatible connectors or solder more strips together. Make sure the power supply can handle the extra wattage to prevent overheating or damage.


