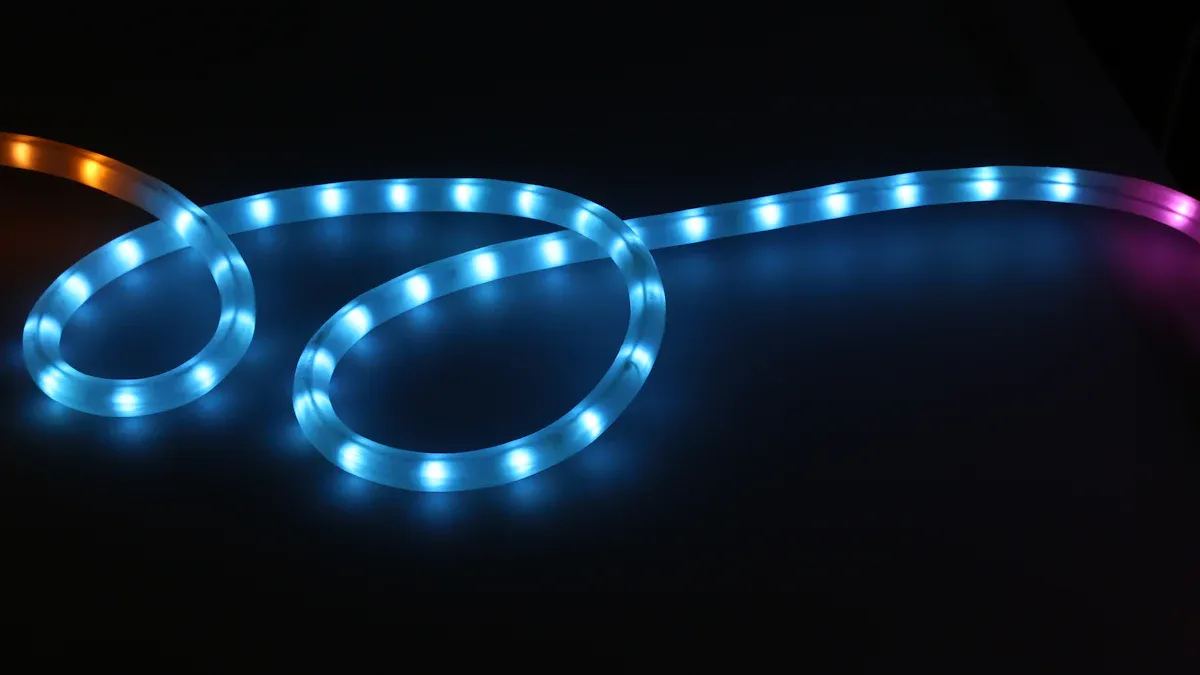
Knowing where to cut LED strips is very important. It helps you get the best performance and looks. You may worry about cutting in the wrong places. This can hurt your LED strip. People often worry about using the wrong tools. This can cause rough edges. They also forget about electrical safety. This can cause short circuits. Also, if you don’t measure correctly, you can waste material. This can mess up your project design. Understanding these things will help you make smart choices when cutting LED strip lights for your projects.
Key Takeaways
Find cutting points by looking for scissor icons or copper pads on the LED strip. This helps you make safe and good cuts.
Always unplug the LED strip before you cut it. This stops electrical risks and keeps you safe while you work.
Use sharp scissors or a utility knife for clean cuts. Dull tools can make rough edges and hurt the strip.
After cutting, think about reusing leftover pieces in fun ways. You can improve lighting in your workspace or garden with them.
Cut LED Strip Locations

When you want to cut your LED strip, knowing where to cut is very important. You need to keep the lights working well and looking good. Here’s how to find the right places to cut.
Identifying Cutting Points
To cut LED strips the right way, look for special signs. Here are some important points to help you:
Scissor Icon: Most LED strips have a scissor icon. This shows where you can safely cut the strip.
Copper Pads: Look for exposed copper pads. On RGB strips, you usually see four pads (R, G, B, V+). For single-color strips, there are usually just two.
Cutting Line: Always cut on the line, not close to it. This helps you avoid damaging the strip.
Manufacturer Instructions: If you don’t see any signs or copper pads, check the manual or ask the manufacturer before you cut.
Tip: Cutting in the wrong spots can cause problems like dimming or uneven lighting. Always cut at the right points to keep your LED strip working well.
Manufacturer Guidelines
Manufacturers give guidelines to help you cut LED light strips safely. Here are some key things to remember:
Minimum Cutting Length: Different types of LED strips have certain minimum cutting lengths. For example:
Type of LED Strip | Minimum Cutting Length |
|---|---|
High-Density | 2.5 cm |
Standard | 10 cm |
Maximum Lengths: Know the maximum lengths for your LED strips. For example:
DC 12 volts: 16.4 ft / 5 mtr
DC 24 volts: 32.8 ft / 10 mtr
Designated Cut Points: Always look for cut points marked by lines or scissors icons. These signs help you avoid cutting in the wrong spots.
Note: Addressable LED strips also have cut points, usually marked by a line or scissors icon. Always follow these rules to make sure your LED strip works well after cutting.
By following these tips and rules, you can cut your LED strips confidently without hurting their performance or look.
How to Cut LED Strip Lights

Cutting LED strip lights needs the right tools and a clear plan. If you follow these steps, you can make a clean cut and keep your LED strips working well.
Tools for Cutting
Before you start, get these tools ready:
Sharp Scissors or Utility Knife: Use these for clean cuts. Dull tools can make rough edges.
Ruler or Measuring Tape: Good measurements stop waste and help fit perfectly.
Marker or Pen: Clearly mark where to cut to avoid mistakes.
Safety Glasses: Protect your eyes from any bits that might fly off when cutting.
Tip: Using the wrong tools can cause uneven cuts, damage the LED lights or wires, and create safety risks. Always use the right tools for the job.
Step-by-Step Guide
Follow these steps to cut your LED strip lights safely and correctly:
Disconnect Power: Make sure to unplug everything to avoid electrical risks and damage.
Locate the Cut Marks: Find the cutting points marked by copper pads or scissor icons along the strip.
Measure Carefully: Check your measurements again before cutting to avoid waste and ensure a good fit.
Make a Clean Cut: Use sharp scissors or a utility knife to cut right through the center of the marked point in one smooth motion.
Note: Always turn off and unplug the LED strip lights before cutting. This keeps you safe from shocks or damage while you work.
By following these steps, you can cut LED strips without hurting their performance. Remember, after cutting, the voltage needs stay the same, but the current needs might change based on how long the strip is now. Make sure your power supply can handle the total wattage of the new LED strip setup.
If you have problems after cutting, like the strip not working, do these troubleshooting steps:
Unplug the LED Strip and Power Supply.
Find the Damaged Area.
Cut the Strip at the Nearest Copper Pads.
Reconnect Using Connectors or Solder.
Secure and Insulate the Joint.
Test Before Reinstallation.
By taking these steps and following the guide, you can cut LED light strips safely and keep them working well.
What to Do with Cut LED Light Strips
After you cut your LED strips, you may wonder what to do with the leftover pieces. You can connect them again or find fun ways to use them. Here’s how to make the most of your cut LED light strips.
Connecting Leftover Strips
You can easily connect the leftover parts of your LED strips. Follow these steps for a strong connection:
Clean the Copper Pads: Make sure both cut ends are clean and free from dust.
Strip and Prep the Wires: Get the wires ready by stripping them to show clean tips.
Match the Wires: Line up the wires with the matching copper pads (+12V, G, R, B).
Solder or Twist the Wires: Securely attach the wires to the pads.
Test the Connection: Before finishing, check if the connection works and cover the joints.
You can also use connectors for an easier way:
Select Your Connector: Pick a connector type that fits your needs.
Peel Back Adhesive: Remove about 1 cm of adhesive from the cut end.
Insert the Strip End: Put the cut end into the connector, making sure all copper dots are included.
Click the Connector Shut: Close the connector carefully to avoid hurting nearby LEDs.
Plug In and Test: Turn on the strip to make sure everything is working.
Creative Uses for LED Strips
Leftover LED strips can be used for many things beyond their original purpose. Here are some fun ideas:
Enhance Workspace Lighting: Put LED strips under desks or shelves to brighten up the area and help you work better.
Illuminate Garden Pathways: Use LED strips to outline paths, making outdoor spaces safer and nicer.
Transform Wall Decor: Outline your favorite wall art or photos with LED strips for a cool visual effect.
These creative uses let you repurpose your cut LED light strips well, adding style to your home or workspace.
Cutting your LED strip the right way is very important. It helps keep it working well and lasting a long time. Here are some key things to remember:
Always unplug the strip before you cut it.
Use sharp scissors or a precise knife for clean cuts on the lines.
Be careful not to hurt the LED chips or wires while cutting.
By using these tips, your LED strip lights will work better and last longer. Don’t forget about the leftover pieces! You can reuse them to help the environment and reduce waste. You can also use those extra strips to make your home or workspace look nicer.
Follow these steps, and enjoy your LED strip projects!
FAQ
How do I know where to cut my LED strip?
Look for scissor icons or copper pads on the strip. These indicate safe cutting points. Always cut along the designated lines to avoid damaging the strip.
Can I connect cut LED strips together?
Yes! You can connect leftover strips using connectors or soldering. Ensure you clean the copper pads and match the wires correctly for a secure connection.
What tools do I need to cut LED strips?
You need sharp scissors or a utility knife, a ruler or measuring tape, a marker, and safety glasses. These tools help you make clean cuts and stay safe.
What happens if I cut in the wrong place?
Cutting in the wrong spot can cause dimming or uneven lighting. Always follow the designated cutting points to maintain the strip’s performance.
Can I reuse leftover LED strips?
Absolutely! You can use leftover strips for creative projects, like enhancing workspace lighting or illuminating garden pathways. Repurposing helps reduce waste and adds style to your space.
See Also
Techniques For Cutting A COB LED Strip Light
Adjustable Brightness Options For COB LED Strips
Understanding COB LED Strips And Their Functionality


