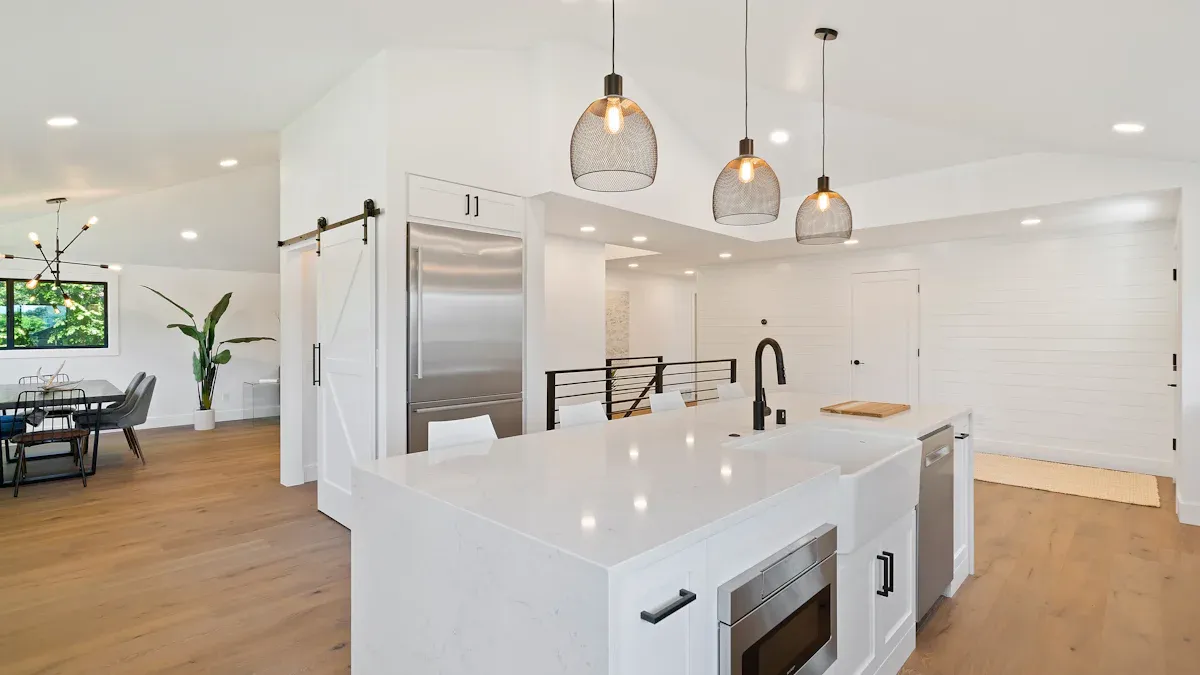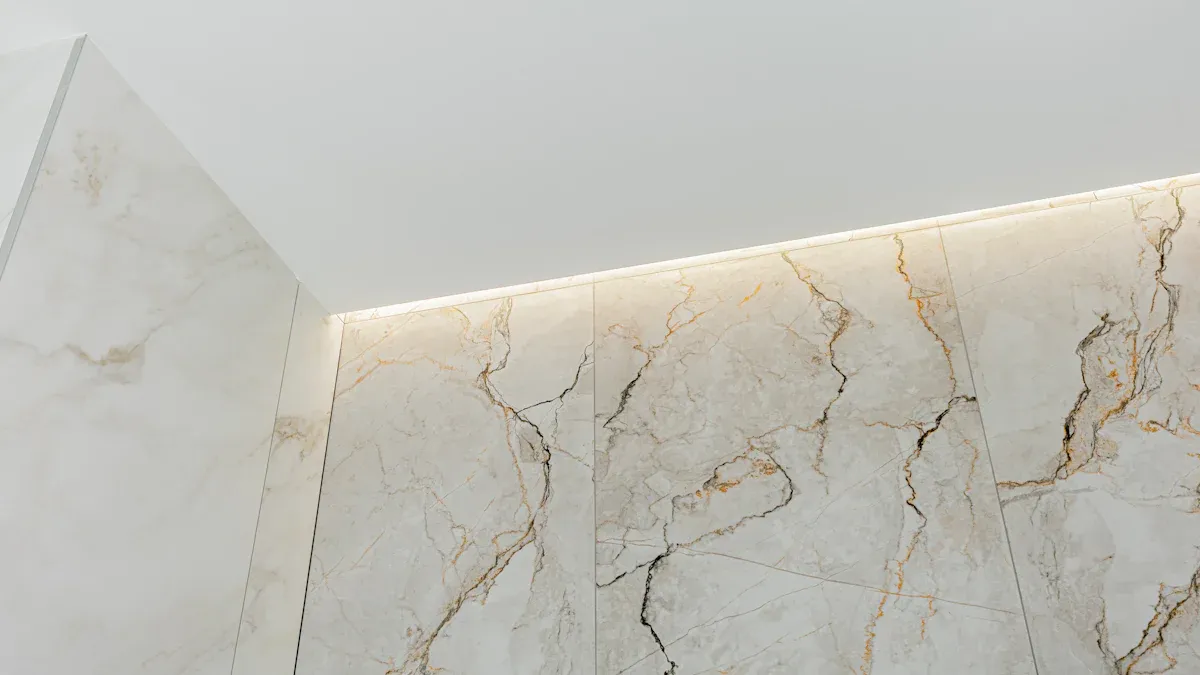
Under cabinet LED strip lights change your kitchen. They make it look better and work better. These lights give a modern style and help you see better in work areas. About 45–50% of homeowners now pick under cabinet lighting, like LED strip lights, for their kitchens.
You can put these lights up easily with few tools. Common choices are adhesive strips and clips. The benefits are many:
Aesthetic Appeal: Hidden placement improves your kitchen’s style.
Improved Visibility: Lights up work areas, lowering cooking accidents.
Versatility: Comes in different colours to fit your kitchen design.
With these benefits, putting in kitchen under cabinet LED lights can really improve your cooking space.
Key Takeaways
Under cabinet LED strip lights make your kitchen look better. They also help you see better while cooking. This makes cooking safer and more fun.
Before you start, gather important tools. You will need measuring tape, scissors, and adhesive tape. This will help the installation go smoothly.
Always keep safety first. Turn off the power. Check the certifications. Follow the installation instructions carefully.
Measuring correctly is very important. Measure each cabinet section one by one. This will help your LED strips fit perfectly.
Regular maintenance is important too. Clean the lights and check the connections. This helps your LED strip lights last longer and work better.
Preparation for Installation

Before you start putting up your under cabinet LED strip lights, collect all the tools you need. This helps everything go smoothly and makes it look professional. Here’s a list of important tools you will need:
Measuring tape
Scissors to cut the strips
Clean cloth to prepare the surface
Drill or screwdriver (if needed for mounting)
Cable connectors
Extra adhesive tape (3M tape)
LED strip mounting clips
Mounting track (for a professional finish)
Utility knife (for adjustments)
Having a bright working area and using a level for alignment can really improve how the installation looks in the end.
Tip: Make sure the surface where you will put the LED cabinet lights is clean and dry. This step is very important for the lights to stick well and last longer.
Safety Precautions
Safety should always be your top priority when you install LED cabinet lighting. Follow these safety tips to keep yourself safe and make sure the installation goes well:
Safety Precaution | Description |
|---|---|
Check For Certification | Make sure the lights meet international standards and certifications like UL, ETE, and RoHS. |
Follow Installation Instructions Carefully | Read and follow the manual instructions that come with the lights for proper installation. |
Turn Off Power Before Installation | Always turn off the power before you start to avoid electrical dangers. |
Avoid Overloading Outlets | Use different outlets for the lights to stop overloading and possible fire risks. |
Use Outdoor-Rated Lighting for Wet Areas | Choose lights with the right IP ratings for outdoor use to stop damage from weather. |
Keep Flammable Materials Away | Keep flammable items away from lights to prevent fire risks. |
By following these safety tips, you can avoid common mistakes during preparation. For example, make sure you do not connect different voltages or overload the power supply. Ignoring these details can cause problems or even damage your LED strips.
Measuring for Under Cabinet LED Strip

Getting the right measurements is very important when you put up under cabinet LED strip lights. You want the strips to fit just right in your kitchen. Here’s how to measure well:
Grab your tape measure: Start by measuring the length of each cabinet section where you want to put the LED strips. This step helps you know how much strip you need.
Measure each area individually: If you have more than one cabinet, measure each one on its own. This way, you can notice any differences in length.
Purchase the necessary length: Based on your measurements, buy the right length of LED strip. It’s better to have a bit extra than to be short.
Tip: Accurate measurements are key to getting good lighting. Having a bit more length is better than being short.
When you cut the LED strips, not all strips can be cut. Look for special cut points, which are usually shown by a line or a scissors icon. Be careful not to damage the solder pads when cutting, as they are important for electrical connections. For example, the recommended 480 LEDs/m COB LED Strip from AiDiWatt Lighting can be cut every 25mm, making it easier to customise your setup.
By following these steps, you can make sure that your LED strips fit perfectly under your cabinets. This will improve both the look and use of your kitchen.
Step-by-Step Installation of LED Strip Lights
Positioning for Optimal Lighting
It is very important to place your under cabinet LED strip lights correctly. This helps you get the best lighting effect. Here are some good ways to think about:
Placement in the Middle: This choice spreads light evenly. It lights up both the backsplash and the front of the counter. It balances task and ambient lighting well.
Front Placement: This is great for task lighting. It makes sure more light reaches the counter. This is especially helpful for things like food preparation.
Back Placement: This option is good for accent lighting. But, it might not give enough light for cooking tasks.
When you place your lights, think about how dense the LED strips are. Low-density strips can make hot spots. This leads to uneven lighting. Make sure you pick strips with the right light density for a steady glow. Also, if your cabinets are in wet areas, choose LED strips with the right IP ratings to avoid damage.
Attaching the LED Strips
Before you stick the LED strips on, clean the surface well. A clean surface helps them stick better. Follow these steps for a good installation:
Clean the Surface: Use alcohol or a damp cloth to wipe away dirt or grease. Make sure the area is completely dry before moving on.
Attach the Frame to the Cabinets: If you have a mounting frame, drill holes into it. Then screw it into the bottom of the cabinets. Sand down any rough edges for a smooth finish.
Attach the Strips of Lights: Start sticking the LED strips from one end of the cabinets. Stick the lights to the bottom, making sure they line up properly. If you want to hide the cables, cut them and run them through the inside of the cabinets.
Drill Holes for Power Cords: If needed, drill holes to route the power cord neatly. This keeps your installation looking tidy.
Connect the Power Cord: Once everything is set, connect the power cord and test the lights to make sure they work well.
By following these steps, you can get a professional-looking installation. This will improve both how your kitchen looks and how it works.
Connecting Power for Undercabinet LED Lighting
Connecting power to your under cabinet LED strip lights is very important. You need to pick the right power source. This helps your lights work well and safely. Here are some good options for powering your undercabinet LED lighting:
Plug-in Adapter: This connects straight to a wall socket. It is easy to install.
Hardwire Power Supplies: These work with your current wiring. They give a more permanent solution.
Dimmable Power Supply: This lets you use regular dimmers. You can control how bright the lights are.
Batteries: You can use 12V battery packs or holders for a portable option.
Tip: Always check that all connections are tight and insulated. This helps avoid electrical problems and makes your installation last longer.
Integrating a Dimmer Switch
Adding a dimmer switch to your under cabinet LED strip lights has many benefits. Here are the advantages:
Advantage | Description |
|---|---|
Enhanced Control | You can change brightness levels. This saves energy and makes it more comfortable. |
Extended Bulb Lifespan | Dimming lowers heat, which helps bulbs last longer and saves energy. |
Customisation of Ambiance | You can create different moods without needing extra lights. |
Improved Lighting Design | Dimmers fit into modern systems, giving you flexible options for looks and function. |
When you install a dimmer switch, follow the instructions carefully. Make sure the dimmer works with your LED strips to stop flickering or damage.
Testing the Installation
After you finish the installation, testing your under cabinet LED strip lights is very important. Here are some good ways to check that everything works:
Use painter’s tape to hold the lights in place. This lets you try different spots and angles before making it permanent.
Always turn off the power when working with electrical parts. This keeps you safe.
After putting the lights together, connect bare wires to the coaxial connector. Loosen the screw, insert the wires, and tighten them.
If you are unsure about anything, ask a professional electrician. Safety is very important when working with electricity.
By following these steps, you can make sure your undercabinet LED lighting installation is safe and works well.
Troubleshooting Common Issues
When you set up under cabinet LED strip lights, you might face some common problems. Fixing these issues quickly can save you time and stress. Here are some steps to help you troubleshoot:
Check Connections: If your lights do not turn on, first check the connection between the power supply and the LED strip. Make sure it is tight and secure. Look at the copper pad to see if it touches the solder pad of the connector. Press on the connector to test if it is stable. If you are using a third-party connector, try connecting the lights straight to the power supply.
Inspect the Power Supply: Make sure the power supply is working properly. If it is broken, replace it. Check the connections between the LED strip and the power supply to ensure they are tight. If you are using a splitter or connector, try connecting the LED strip directly to the power supply to find the problem. If your LED strip uses batteries, change them for new ones.
Address Flickering or Uneven Lighting: Flickering can happen because of poor connections, especially with solderless connectors. Make sure the LED strip and driver work well together for dimming. A faulty or overloaded power supply can also cause flickering. If the LED strip is damaged, think about replacing it.
Resolve Dimming or Shutdown Issues: If your lights dim suddenly or turn off completely, check for loose connections or broken wires. Reseal or solder any loose connections to restore the electricity flow. Sometimes, using better quality parts can help your installation last longer.
Here’s a quick reference table summarising common issues and their resolutions:
Issue | Resolution |
|---|---|
Damaged LED chips causing dim sections | Check and replace broken LED chips to fix the problem. |
Compromised waterproofing leading to short-circuiting | Make sure waterproofing is correct and replace damaged parts to stop moisture from getting in. |
Malfunctioning remote controller | Look at the remote controller and replace it if it does not send signals to the lights. |
Color inconsistencies in RGB strips | Change voltage levels using an RGB controller or replace the faulty parts of the strip light. |
Short lifespan due to poor components | Use good quality parts and ensure proper installation to make them last longer. |
Loose connections or damaged wires | Reseal or solder loose connections to restore the electricity flow. |
Faulty power supply | Change the power supply for one that meets the needed specifications. |
Overheating due to lack of heat dissipation | Use proper heat dissipation methods to stop early failure. |
By following these troubleshooting steps, you can make sure your under cabinet LED strip lights work well and improve your kitchen experience.
Putting up under cabinet LED strip lights can change your kitchen. Here are some important steps for a good installation:
Collect your tools and keep safety in mind.
Measure carefully to get the right size.
Clean the surfaces before sticking on the strips.
Connect the power properly and test the lights.
To keep your LED strip lights working well for a long time, try these tips:
Regular Cleaning: Dust can make them dim. Wipe your lights gently with a dry cloth.
Check Connections: Look at the wires and connections often to avoid problems.
Prevent Physical Damage: Be careful during renovations to stop crushing the lights.
For better lighting, place your strips at the front edge for the best view while cooking. This setup cuts down shadows and makes cooking easier.
By following these tips, you can have nice and useful lighting in your kitchen for many years.
FAQ
What type of LED strip lights should I choose for my kitchen?
Choose LED strip lights with a high lumen output for bright illumination. Look for options with a colour temperature between 2700K and 3000K for a warm, inviting glow.
Can I cut LED strip lights to fit my cabinets?
Yes, you can cut LED strip lights. Look for designated cut points, usually marked with a line or scissors icon. Ensure you do not damage the solder pads during cutting.
How do I clean my LED strip lights?
To clean your LED strip lights, gently wipe them with a dry cloth. Avoid using water or cleaning solutions, as moisture can damage the electrical components.
Are under cabinet LED strip lights energy-efficient?
Yes, under cabinet LED strip lights are energy-efficient. They consume less power than traditional lighting options, helping you save on electricity bills while providing excellent illumination.
How long do LED strip lights last?
LED strip lights typically last between 25,000 to 50,000 hours. Proper installation and maintenance can extend their lifespan, ensuring you enjoy bright lighting for years to come.


