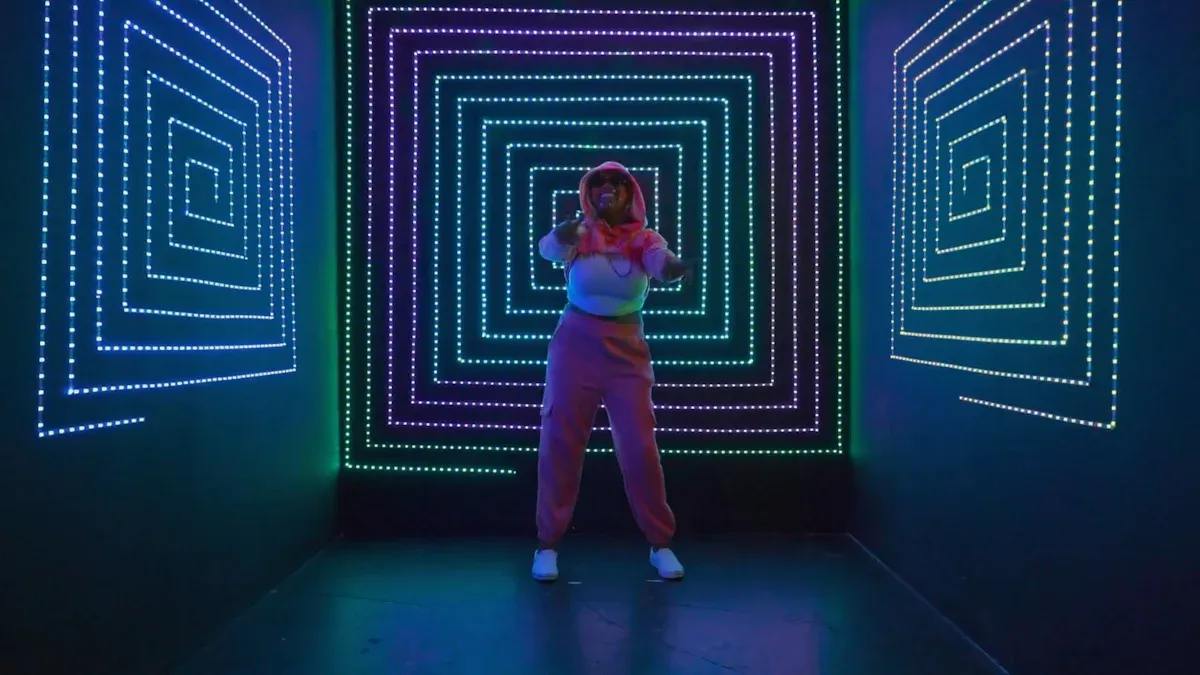
Programming LED strips allows you to create impressive programmable LED strip effects. You can adjust colors, brightness, and patterns to match your personal style. These LED strip effects provide numerous creative possibilities for projects such as home decor or art. Even if you’re a beginner, it’s simple to learn and experiment with dynamic lighting.
Key Takeaways
Gather the right tools: Get LED strips, an Arduino, and a good power source to make cool lighting effects.
Try coding: Use the Arduino program and FastLED library to change colors, adjust brightness, and make fun light patterns.
Match lights to music: Use sound controllers to make lights move with music, making parties or events more exciting.
Basics of LED Strips and Their Components
Types of LED light strips (RGB, RGBW, addressable)
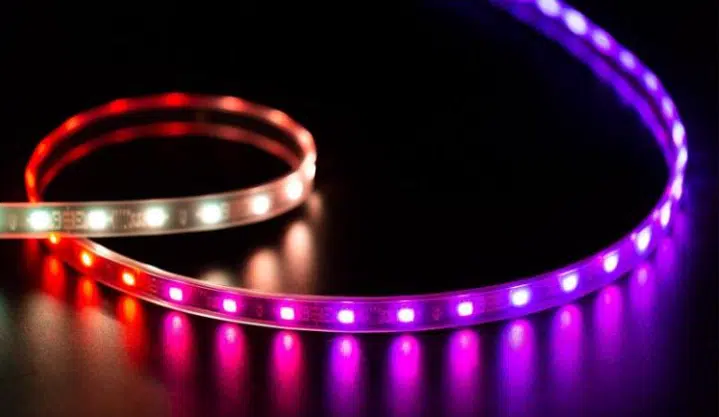
LED light strips come in different types with special features. RGB strips are popular and mix red, green, and blue to make colors. RGBW strips include a white LED for brighter light and more tones. Addressable strips allow control of each LED separately. This lets you create effects like moving lights or smooth color changes. Addressable strips are great for projects needing custom and dynamic lighting.
Key components for programming LED light strips
To program LED strips, you need these important parts:
LED Strips: The main lights, available as RGB, RGBW, or addressable.
Microcontroller: Tools like Arduino Uno send commands to the LEDs.
LED Driver: Powers the strips and adjusts brightness.
Wiring and Connectors: Keep connections safe and working properly.
Programming Tools: Software like Arduino IDE and FastLED library help create effects.
Each part is important for making programmable LED strip effects work.
How programmable LED strip effects work
Programmable LEDs work by getting signals from a microcontroller. The microcontroller sends messages to chips on the strip. These chips control how bright and colorful each LED is. Advanced programming can make effects like fading colors or matching lights to music. Addressable strips can also connect to systems like DMX512 for professional effects. This makes programmable lighting perfect for creative and business uses.
Tools and Setup for Programming LED Light Strips
Important hardware for programming LED strips
To program LED strips, you need the right tools. Start with a microcontroller like Arduino, which controls the setup. Add an LED driver to provide steady power and dimming options. Brands like Meanwell and Inventronics are strong and reliable. Use insulated wires and connectors for safe and smooth connections. A DC power supply (5V, 12V, or 24V) is also needed to run the LED strips.
Here’s a simple list of the main parts:
Component | Description |
|---|---|
LED Driver | Gives steady power and allows dimming for LED strips. |
Wiring and Connectors | Safe wires for sending signals and electricity to the LEDs. |
Arduino IDE | Free software to write and send code to the microcontroller. |
FastLED Library | Makes programming LEDs easier with simple coding tools. |
Software choices for programming LED strips
Picking the right software helps make cool lighting effects. Arduino IDE is a favorite for programming LED strips. It’s free and works with many microcontrollers. The FastLED library works well with Arduino IDE and has easy tools for effects. For harder designs, try LedEdit. It’s simple to use and works with special controllers for detailed animations. Both programs make programming LED strips easy and fun.
Setting up your workspace for lighting effects
A tidy workspace helps with programming and installing LED strips. Keep tools, parts, and wires in order to avoid messes. Use a flat surface with good light to work better. Make sure the area has airflow, especially when soldering or working with wires. A clean space lets you focus on making amazing lighting effects without distractions.
Step-by-Step Guide to Programming LED Strips
Writing your first program for LED light strips
Making your first program for LED strips is simple. First, download and install the Arduino IDE on your computer. This program helps you write and send code to your microcontroller. Then, connect your LED strip to the microcontroller. Make sure the wires are connected correctly to match the strip’s polarity. Open Arduino IDE and add the FastLED library. This library makes programming LEDs much easier.
Here’s an easy example to try:
#include <FastLED.h>
#define NUM_LEDS 30
#define DATA_PIN 6
CRGB leds[NUM_LEDS];

void setup() {
  FastLED.addLeds<WS2812, DATA_PIN, GRB>(leds, NUM_LEDS);
}

void loop() {
  for(int i = 0; i < NUM_LEDS; i++) {
    leds[i] = CRGB::Red;
    FastLED.show();
    delay(100);
    leds[i] = CRGB::Black;
  }
}
This code lights up each LED in red, one by one. It creates a simple animation. Upload the code to your microcontroller and watch your LED strip light up!
Tip: Test your setup after uploading the code. This ensures everything works properly.
Controlling colors, brightness, and patterns
Programming LED strips lets you change colors, brightness, and patterns. Use the FastLED library to adjust these settings. For example, add FastLED.setBrightness(50); to your code. This lowers the brightness to 50%, saving power while keeping colors bright.
You can also create patterns like fading colors or chasing lights. Addressable LED strips let you control each LED separately. This allows smooth color changes and cool effects. Some people use apps or Bluetooth controllers to save and use custom scenes. These tools make it easy to match lights to your mood or activity.
Creating basic dynamic lighting effects
Dynamic lighting effects make your space more exciting. Start with simple ideas like switching colors or fading between shades. For example, program your LED strip to show a rainbow by cycling through colors. This creates a fun and colorful display.
Programmable LED strips are great for decorating your home or setting a mood. You can use warm colors for a cozy night or bright colors for a party. Some people even sync their lights with music, making them move to the beat. Try different effects to find what works best for your project.
Note: Check your LED strips often for damage. Clean them to keep them bright and working well.
Advanced Techniques for Programming LED Strips
Making animations for programmable LED strip effects
Designing animations for LED strips makes your lighting projects exciting. With addressable LED strips, you can control each light separately. This lets you create smooth movements and cool patterns. For example, you can make colors move like waves or create a glowing effect that looks like breathing. These animations can turn any room into a lively space.
Studies show animations improve experiences in many places. For example:
Soft lighting animations help people focus better at work.
Moving lights in games can affect choices and performance.
Custom lighting at home can feel calming or energizing.
To make animations, try tools like Arduino or Raspberry Pi. These let you try advanced ideas, like syncing lights with sensors or timers. Adding sensors makes your lighting more interactive and fun.
Matching LED light strips with music
Syncing LED strips with music makes a fun experience. You can program lights to match beats, rhythms, or melodies. Use a controller or software that reacts to sound. Place a microphone near the music or connect to the audio source for better timing. Adjust settings to fit the music’s speed and style.
Steps to sync LED strips with music:
Get a sound-sensitive controller or software.
Put a microphone near the sound or connect to audio.
Change settings to match the music type.
This is great for parties, concerts, or relaxing at home. Addressable LED strips can make lights move with beats or fade with melodies.
Connecting LED strips to smart home systems
Adding LED strips to smart home devices makes life easier. You can use voice commands or apps to change colors, brightness, or schedules. Make sure your LED controller works with systems like Google Home, Alexa, or Apple HomeKit. Use the app to connect the controller to your smart home network.
Steps to connect LED strips to smart homes:
Check if your system supports the LED controller.
Use the app to link the controller to your network.
Control lights with voice or the app.
This setup lets you create lighting scenes for different times. For example, use soft colors at night or bright ones in the morning. You can also set schedules so lights change automatically.
Tip: Smart LED strips save energy and make life more convenient.
Troubleshooting Programming Issues
Finding and solving hardware problems
Hardware problems can stop your LED strip projects from working. Spotting these issues early keeps things running smoothly. First, check all connections. Loose wires or clips often cause flickering or dead LEDs. Look for damaged or worn wires. If the strip doesn’t light up, check the power supply. A broken or weak supply might not work well. For dim strips, try a stronger power supply to handle the load.
Overheating is another problem to watch for. Make sure there’s enough airflow around the strips and power supply. Too much heat can damage your LEDs over time. Clean the strips often to remove dust that traps heat. Simplify your setup to find problems faster. Updating firmware and software can also fix many hardware bugs.
Fixing code problems for LED strips
Code mistakes can make your LED strips act strangely. Fixing your code is key to solving these problems. Go through your program step by step. Look for typos or wrong numbers. For example, wrong color codes can make LEDs show the wrong colors. If the lights flicker, check the refresh rate in your code. A low rate can cause unstable effects.
Use the serial monitor in Arduino IDE to see how your code works. This tool shows where the program has issues. If the LEDs still don’t work, check the data pin and make sure the microcontroller sends signals. Always test your code on a small part of the strip before using it on the whole thing.
Avoiding common mistakes when programming LED strips
Avoiding simple mistakes saves time when programming LED strips. One common error is using the wrong power supply voltage. Always match the voltage and current to the strip’s needs. Another mistake is leaving connections loose. Loose wires can cause problems or damage parts.
Skipping updates for firmware or software is another issue. Updates often fix bugs that affect your LED strips. Also, not reading the manufacturer’s guide can lead to setup errors. Always follow the guide for proper instructions. Lastly, don’t overload your power supply. Add up the power your strips need to ensure the supply can handle it.
Tip: Clean and check your LED strips often to avoid future problems.
Practical Uses of Dynamic Lighting Effects
Decorating homes and setting moods with LED strips
Programmable LED strips can make your home feel special. You can change colors and brightness to match your mood or event. For example, soft colors make a room cozy, while bright ones are great for parties. Addressable LED strips let you create custom lighting, like a gentle glow for movies or fun effects for celebrations.
In kitchens, LED strips light up counters, making cooking safer and easier. Bedrooms can have soft lights for relaxing or brighter ones for reading. You can even set timers to change lights during the day. This saves energy and makes life more convenient.
Fun DIY projects with programmable LED strips
DIY fans enjoy using programmable LED strips for creative ideas. These strips are great for projects like music-reactive lights or custom lamps. For example, you can program LED strips to flash with music beats. This adds excitement to gaming setups or home theaters.
Some people use LED strips to decorate cars or create event lighting. A restaurant once used them to change colors and brightness, improving the dining vibe. With easy guides, you can learn to program and care for these strips for long use.
Creative and business uses for LED strips
LED strips are changing how industries use lighting. Stores use them to mix colors and make products stand out. Event spaces sync LED strips with music for amazing shows. Architects use them to highlight building designs and improve looks.
The entertainment world uses LED strips for cool stage effects. Advertisers love their moving lights, which grab attention. Whether for homes, workspaces, or events, LED strips offer unique lighting that improves any space.
Use Area | Advantages |
|---|---|
Entertainment Industry | Cool stage effects with programmable lights |
Architectural Design | Highlights building features beautifully |
Advertising | Moving lights attract more attention |
Tip: Clean your LED strips often to keep them bright and lasting longer.
Using programmable LED light strips lets you be creative and practical. Here’s a quick guide to program them well:
Prepare Your Workspace: Keep tools ready, clear your space, and set up parts.
Learn Basic Programming: Connect strips, change colors, adjust brightness, and make patterns.
Try Advanced Programming: Match addressable strips with music or link to smart systems.
Dynamic lighting is useful in many ways. Check out these ideas:
Use Case | Advantages | Creative Ideas |
|---|---|---|
Home Theater | Adds mood with colorful lighting | Makes watching movies fun with adjustable effects. |
Retail Store | Saves energy and looks neat | Draws attention with bright displays and mood lighting. |
Festive Events | Changes colors for any celebration | Creates party vibes with custom light themes. |
Interior Design | Fits into stylish designs | Highlights spaces and makes rooms feel welcoming. |
Smart Home Features | Lets you control colors and brightness easily | Gives full control to match lights with activities. |
Playing with programmable LED strips helps you get creative. Use addressable strips for decorating or work projects. Start simple, learn step by step, and let your ideas grow!
FAQ
How can I pick the best LED strip?
Think about what your project needs. RGB strips are good for simple colors. RGBW strips add white for brighter light. Addressable strips let you control each LED for cool effects like animations.
Tip: Use addressable strips for projects needing detailed lighting control.
Can I program LED strips if I don’t know coding?
Yes, it’s possible! Arduino IDE and FastLED library make it easy. Begin with simple examples. As you practice, try harder effects to improve your skills.
How do I power long LED strips properly?
Choose a power supply that matches the strip’s voltage and current. For long strips, add extra power points to keep lights even and bright.
Note: Always check the total power needed to avoid problems with your supply.


