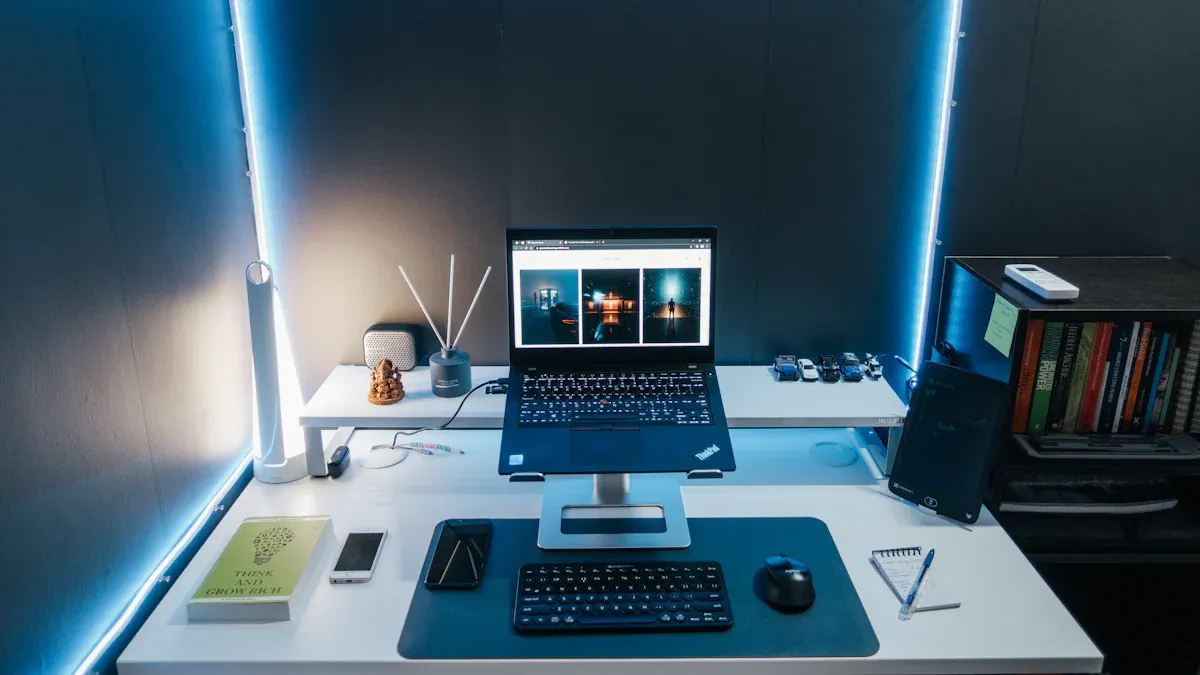
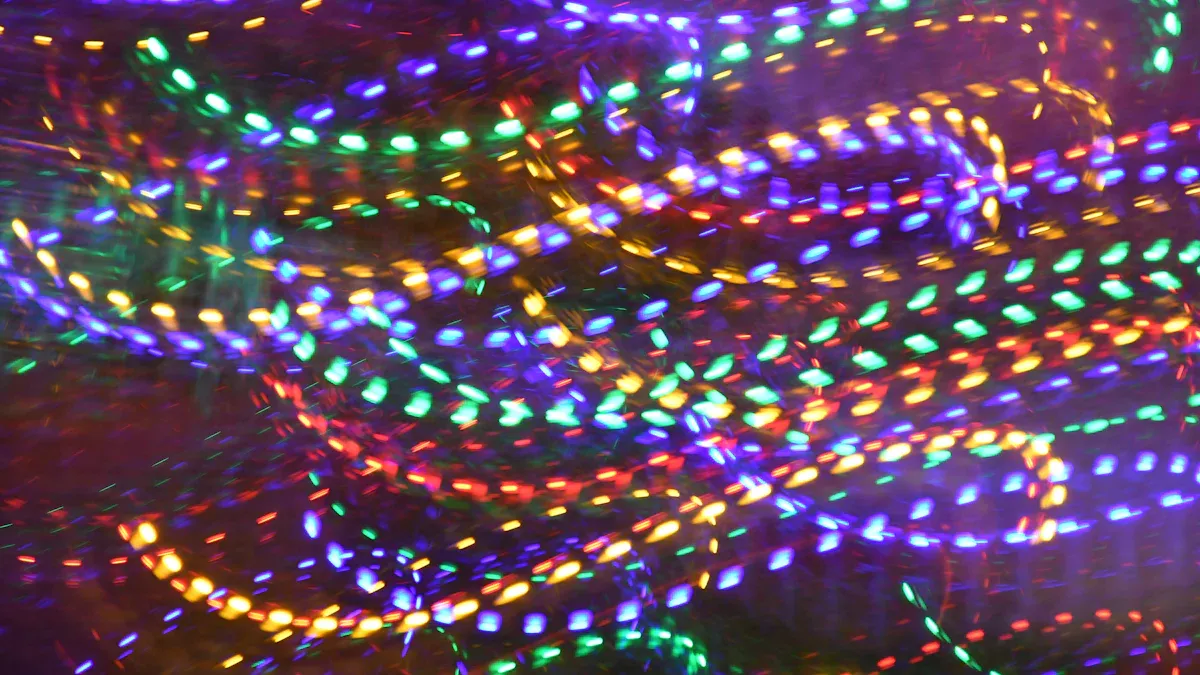
Transforming your space with LED strip lights is easier than you might think. These versatile lights can add a modern touch to any room, whether it’s your living room, bedroom, or even your kitchen. Installing LED strip lights doesn’t require professional skills or expensive tools. With step-by-step instructions, you can achieve an easy installation that looks polished and professional.
Tip: LED strip lights are perfect for DIY home lighting projects. They’re flexible, energy-efficient, and simple to install.
If you’re ready to install LED strip lights, grab your tools and let’s get started. You’ll be amazed at how quickly you can brighten up your space!
Key Takeaways
LED strip lights are simple to set up and great for DIY. They can change how a room looks with little work.
Plan carefully before starting. Measure the area and pick a flat surface for better sticking.
Clean the area well. A clean and dry spot helps the lights stick better and stay in place.
Use the correct tools and supplies. Pick the right LED strips, power sources, and adhesives for a good setup.
Test the lights first. This helps you find problems early and fix them easily.
Planning and Preparation
Before starting, take time to plan and prepare. A little planning now can save time later and make installation easier.
Choosing the Surface
First, decide where to place your LED strip lights. The surface you pick affects how they look and work. Smooth surfaces like wood, metal, or plastic are best. These allow the adhesive to stick well. Avoid rough or bumpy surfaces, as they can cause the lights to fall off.
Think about why you’re using the lights. Are they for a cozy bedroom or a stylish living room? For outdoor areas, pick a surface that can handle weather like rain or sun.
Tip: Test a small spot with the adhesive first. This ensures it sticks before you install everything.
Measuring the Space
Measuring correctly is important for a neat installation. Use a tape measure to check the length of the area. Write down the numbers so you don’t forget. If there are corners or curves, include those in your measurements. Flexible LED strips work well for tricky shapes or rounded edges.
Drawing your layout on paper or using a design app can help. This lets you see how it will look and plan where to hide wires for a tidy finish.
Pro Tip: Lay the LED strip lights on the surface without sticking them. This helps you check the fit before making it permanent.
Selecting Materials and Tools
Having the right tools makes the job easier. Here’s what you’ll need:
LED strip lights: Pick ones that fit your space, like waterproof ones for outside or dimmable ones for indoors.
Power supply: Make sure it matches the voltage and power needs of your lights.
Adhesive or mounting clips: These hold the strips in place.
Scissors or cutting tool: Use these to cut the strips to the right size.
Optional materials: Add silicone or epoxy for extra strength, especially outdoors or in tough areas.
Material | Features | Best Use |
|---|---|---|
Silicone | Flexible, UV-safe | Outdoor spaces |
Epoxy | Strong, heat-safe | Indoor areas |
Polyurethane | Scratch-resistant | Industrial places |
Note: Always unplug the LED strip lights before cutting or connecting them. This prevents electrical problems.
By planning carefully, you’ll make installation easy and get great results.
Preparing the Surface
Before you start installing your LED strip lights, preparing the surface is a crucial step. A clean and smooth surface ensures the lights stick properly and stay in place for a long time. Let’s dive into how you can get your surface ready.
Cleaning the Surface
Start by cleaning the surface where you’ll install the LED strip lights. Dust, grease, or moisture can weaken the adhesive and cause the lights to fall off. Use a damp cloth to wipe down the area and remove any dirt or grime. For tougher spots, soapy water or rubbing alcohol works wonders. Just make sure to use a soft microfiber cloth to avoid scratching the surface.
Once you’ve cleaned the area, let it dry completely. A dry surface is essential for proper adhesion. Even a small amount of moisture can interfere with the adhesive backing. Take your time here—it’s worth it to ensure your lights stay in place.
Tip: If you’re placing adhesive strip lights on a surface that’s been painted recently, wait at least 24 hours for the paint to cure before cleaning and installing.
Ensuring Proper Adhesion
After cleaning, check the surface for any bumps or uneven areas. Smooth surfaces like wood, glass, or metal work best for LED strip lights. If the surface feels rough, lightly sand it down to create a flat base. This step helps the adhesive stick better and prevents peeling over time.
When you’re ready, peel the adhesive backing from the LED strip lights carefully. Press the strip firmly onto the surface, applying even pressure along the entire length. This ensures the adhesive bonds well and keeps the lights secure.
Pro Tip: For extra durability, especially in humid or outdoor areas, consider using mounting clips or additional adhesive like silicone. These can provide extra support and keep your lights in place longer.
By taking the time to clean and prepare the surface, you’ll set yourself up for a smooth installation process. Plus, your LED strip lights will look great and stay put for years to come.
Installing LED Strip Lights

Cutting the LED Strips
Cutting LED strip lights the right way is very important. First, measure how long you need the strip to be. Look for the small cut marks or scissor icons on the strip. Only cut along these marks to avoid breaking the circuit. Use sharp scissors or a cutting tool to make a clean cut.
Tip: Measure twice before cutting to avoid mistakes. A strip that’s too short can’t be fixed!
If you’re using more than one strip, plan how to connect them. This will help the lights look smooth and shine evenly.
Connecting the Strips
After cutting, it’s time to connect the strips. You can choose from a few methods:
Solderless Connectors: These are simple and great for beginners. Snap or clip them to join strips without tools.
Soldering Techniques: This method is stronger but needs a soldering iron. It creates a solid connection.
Wiring Best Practices: Use the right wire size to avoid overheating or power loss.
If you want dimmable lights, use PWM or 0-10V dimming methods. These keep your LED strip lights working safely and smoothly.
Pro Tip: Test your connections before sticking the strips down. This saves time if something doesn’t work.
Mounting the Strips
Now it’s time to attach the LED strip lights! Peel off a small part of the adhesive backing. Press the strip firmly onto the surface, working in small sections. For bumpy surfaces, add mounting clips or double-sided tape every 1 to 2 feet.
Make sure the surface is clean and dry before sticking the strips. Dirt or grease can make the adhesive weak, causing the lights to fall off. If you’re putting lights in a bedroom, hide them behind furniture or along the ceiling edges for a cool, modern look.
Note: Don’t pull or stretch the strips while installing. This can break the circuit and make the lights stop working.
Follow these steps to install your LED strip lights securely and make them look amazing!
Connecting to Power
Choosing the Power Supply
Picking the right power supply is very important. Using the wrong one can harm your LED strip lights or cause problems. Always check what voltage your LED strips need. Most strips use 12V or 24V DC, so your power supply must match.
You also need to figure out how much power your strips use. For example, a 5-meter strip at 12V uses about 24 Watts or 2 Amps. Choose a power supply with a bit more capacity, like 36W (3A). This extra power keeps everything safe and working well.
Tip: Check the product datasheet for the power supply’s capacity. Make sure it matches your LED strip’s needs.
If you’re using more than one strip, add up their power needs. Then pick a power supply that can handle the total amount. This keeps your lights bright and your setup safe.
Connecting the Power Supply
After choosing the right power supply, connect it to your LED strips. Most setups are simple and let you plug the strips in easily.
Follow these steps for a secure connection:
Find the positive (+) and negative (-) ends on the LED strip and power supply.
Match the ends correctly to avoid mistakes.
Attach the wires tightly for a strong connection.
If your strips are dimmable, check that the dimmer works with your power supply. Also, remember that low-voltage systems need a Class 2 power supply to meet safety rules.
Pro Tip: Test the connection before attaching the power supply permanently. Fixing problems is easier this way.
By picking and connecting the right power supply, your lights will work safely and make your space look great.
Testing and Troubleshooting
Testing the Lights
After setting up your LED strip lights, test them to ensure they work. Connect the power supply and turn on the lights. Check if the whole strip lights up evenly. If parts are dim or not lit, there may be a problem with the connections or the strip.
Here are some simple checks to try:
Check the power supply: Ensure it’s plugged in and working.
Inspect the LED strip: Look for any damage like bends or breaks.
Test the controller: If using a remote or app, confirm it works.
Check the environment: Humidity or extreme heat can cause issues.
Replace remote batteries: If the remote doesn’t work, try new batteries.
You can also use these performance measures:
Metric | What It Tells You |
|---|---|
Lumen | Shows how bright your LED strips are. |
CRI | Tells how true colors look under the light. |
Ingress Protection (IP) | Rates how well the strips resist dust and water, great for outdoor use. |
Maximum Run Length | Ensures brightness stays even across the strip without losing power. |
Testing now helps avoid problems later.
Troubleshooting Common Issues
If your LED strip lights don’t work right, don’t panic. Most problems are easy to fix. Here are common issues and solutions:
Flickering lights: This might mean loose wires or a wrong power supply. Check the wiring and make sure the power matches the strip’s needs.
Dim lights: A weak power supply could be the cause. Use one with more wattage.
Dead sections: Check the cut areas and connections. Replace damaged parts if needed.
No lights at all: Make sure the power supply works and connections are tight.
Pro Tip: Test everything before sticking the strips down. Fixing problems is easier when you can reach everything.
By following these steps, you’ll fix issues quickly and enjoy perfect lighting!
Putting up LED strip lights is easy and exciting. Their sticky backing makes them simple to install without needing help. These lights are safe because they don’t get very hot. You can use them in many creative ways. Highlight cool parts of your room or make it feel warm and cozy. Whether you add them under cabinets or in bedroom corners, there are so many options.
Tip: Try different designs and colors to make your lights stand out!
FAQ
How do I know if my LED strip lights are compatible with my power supply?
Check the voltage and wattage requirements of your LED strip lights. Match these with the specifications of your power supply. For example, if your strips need 12V and 24W, your power supply should provide at least 12V and 30W for safe operation.
Tip: Always choose a power supply with slightly higher wattage than required.
Can I cut LED strip lights to fit my space?
Yes, you can cut LED strip lights, but only at the marked cut points. These are usually indicated by small scissor icons on the strip. Cutting elsewhere can damage the circuit and stop the lights from working.
Pro Tip: Measure carefully before cutting to avoid mistakes.
What should I do if my LED strip lights fall off?
If your lights fall off, clean the surface again and reapply them. Use extra adhesive, like double-sided tape or mounting clips, for better support. For humid areas, silicone adhesive works well to keep the strips secure.
Are LED strip lights safe to use outdoors?
Yes, but only if they’re rated for outdoor use. Look for strips with a high IP rating, like IP65 or higher. These are water-resistant and can handle rain or moisture.
Note: Use waterproof connectors and a weatherproof power supply for outdoor setups.
Can I control my LED strip lights with a smartphone?
Absolutely! Many LED strip lights come with smart controllers that connect to apps via Wi-Fi or Bluetooth. These let you change colors, brightness, and even set schedules right from your phone.
Emoji Tip: 📱 Look for “smart LED strips” when shopping for app-controlled options.
See Also
Effective Methods for Installing LED Strip Lights in 2025
Best Practices for Installing RGB LED Strip Lights
Choosing the Perfect LED Strip Lights for Linear Lighting
Utilizing Smart LED Strips for Home Lighting in 2025
Understanding COB LED Strips and Their Functionality


