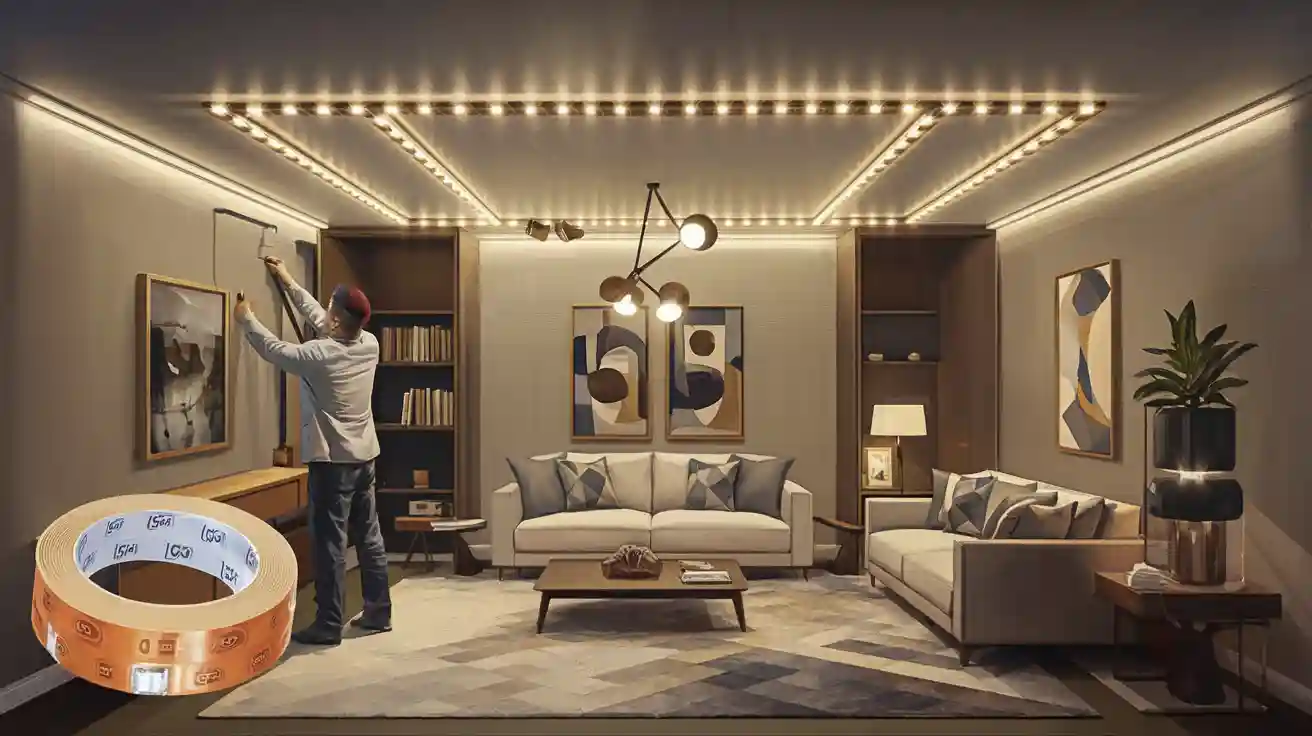
Uniform lighting makes your space look neat and well-lit. The cob strip RGBW application helps you achieve this easily. These strips provide a smooth line of light with no gaps, ensuring that the brightness remains even across your room or area. COB LED lights also deliver stronger and more uniform illumination, even when positioned closely together.
Installing them correctly is crucial to obtain the best results. Follow simple steps to set them up properly for excellent lighting. Whether it’s for your home or a shop, these LED strips offer steady and flexible lighting that works perfectly.
Key Takeaways
Collect all tools and materials you need before starting. Being ready saves time and makes installation easier.
Measure your area carefully to find the right LED strip length. Check measurements twice to avoid mistakes and get even lighting.
Pick good-quality LED drivers and diffusers. These parts improve how the lights work and last longer.
Test the LED strips before installing them fully. This helps you spot problems early and ensures the lights work well.
Check and clean your LED strips often. Keeping them tidy and connected properly makes them last longer and work better.
Preparing for Installation
Tools and materials needed
Before starting, gather all the tools and materials you’ll need. Being prepared saves time and makes installation easier. Here’s what you should have:
COB RGBW LED strips: Pick the right size for your project.
LED driver: This powers the strips and keeps them steady.
Controller or dimmer: Adjust brightness and colours with this tool.
Adhesive tape or mounting clips: These hold the strips in place securely.
Wire connectors: Use these to link strips or connect to power.
Measuring tape: Measure carefully to avoid cutting mistakes.
Scissors or a sharp blade: Cut the strips only at marked points.
Cleaning supplies: Clean surfaces help the strips stick better.
Having these ready will make the setup quick and stress-free.
Choosing high-quality LED drivers and diffusers
Good LED drivers and diffusers are key for great lighting. A quality LED driver gives steady power, stops flickering, and makes the strips last longer. Choose one that matches your strip’s voltage and wattage.
Diffusers are just as important. They soften the light and remove harsh spots, giving a smooth glow. This helps create even lighting in your space. Pick durable diffusers that can handle heat and last a long time.
Using top-notch drivers and diffusers improves how your lights work and look. Don’t settle for cheap parts if you want professional results.
Planning the Installation Area
Measuring the space accurately
Measuring correctly is key to a smooth installation. Use a measuring tape to check the size of the area. Measure the length and width carefully, noting any corners or obstacles. This helps you pick the right length of LED strip and avoid waste.
If there are multiple sections, divide the area into smaller parts. Measure each part separately to ensure even lighting everywhere. Write down your measurements and check them twice to avoid mistakes. A small error now can cause uneven lighting later.
Tip: Measure twice to be sure. It saves time and avoids problems.
Designing the layout for uniform lighting
After measuring, plan where the LED strips will go. Think about how the light will spread across the area. Draw a simple sketch showing the placement of the strips. Include power outlets and wiring lengths in your plan.
Keep the spacing between strips even for smooth lighting. Don’t place them too close to walls or shiny surfaces to avoid harsh spots. For larger spaces, use diffusers to spread the light evenly. This makes the lighting look neat and professional.
Pro Tip: Test your setup temporarily before installing. Adjust it if needed for the best results.
Cutting and Preparing the LED Strip
Finding cut points on COB strips
Finding the right cut points is very important. These spots let you cut without breaking the strip. Follow these steps to find them:
Search for the marked cut points on the strip.
These are shown by a dashed line or scissor symbol.
Only cut at these marks to keep the strip working.
By following these steps, you can adjust the strip safely.
Tip: Check the cut points twice before cutting to avoid mistakes.
How to cut accurately
Cutting the COB LED strip neatly is very important. A clean cut helps it fit well and work properly. Use these tips for better results:
Measure the length you need before cutting. Start longer, as trimming is easier than fixing a short piece.
Place the strip near edges or corners for better fitting.
Always cut on the marked line to avoid breaking the circuit.
Check the table below for cutting intervals and distances:
Cutting Interval | Cutting Distance |
|---|---|
10 cm | 5 cm |
2.5 – 5 cm | 4.2 cm |
5 cm | N/A |
These tips help your strip fit perfectly and light up evenly.
Note: Use sharp scissors or a blade for smooth cuts and neat edges.
Wiring and Connecting the COB LED Strips
Understanding wiring configurations
Wiring your LED strip properly helps it work well and last longer. Before starting, learn the basic wiring setups. Most COB strips are either single-colour or multi-colour. For RGBW strips, there are four or five wires: red, green, blue, white, and sometimes a shared positive wire.
Check the manufacturer’s guide to know your strip’s wiring type. Match each wire to the correct terminal on the controller or dimmer. If using more than one strip, keep the wiring order the same. Wrong wiring can cause uneven light or damage the strip.
Tip: Mark the wires while setting up to avoid mistakes later.
Connecting to the power supply
To connect the power supply, use a method that is safe and steady. Soldering is a good option if you have the skills. It is flexible and cost-effective. If you want an easier way, solderless connectors are great. These let you join the strip to the power supply without special tools.
Pick a power supply that matches your strip’s voltage and wattage. Too little power causes flickering, while too much can harm the strip. Once you have the right power source, attach the wires tightly to the terminals. Check the polarity to avoid short circuits.
Note: Test the setup before finishing to make sure it works.
By following these steps, you’ll set up a strong and efficient lighting system for your space.
Testing the LED Strip Lights
Steps to test functionality
Before finishing the setup, check if your LED strip lights work. Testing helps you spot problems early and fix them. Follow these easy steps to test the lights:
Get a digital multimeter that can check diodes. This tool shows if electricity flows properly in the strip.
Attach the red and black leads to the multimeter. Make sure they are connected tightly for accurate results.
Turn on the LED strip lights and check their brightness and colour. Watch for flickering or any dim parts.
Test each part of the strip one by one. This helps you find any broken sections that might need fixing or replacing.
By doing these checks, you’ll know if your lights are ready to use.
Tip: Always test in a safe place to avoid electrical risks.
Troubleshooting common issues
If your LED strip lights don’t work right, don’t panic. Most problems are simple to solve. Here are some common issues and how to fix them:
Flickering lights: This might happen if the power supply doesn’t match. Check the voltage and wattage. Replace the power supply if needed.
Dim sections: Loose wires or damaged connections can cause uneven light. Check the wiring and fix any loose parts.
No power: If the strip stays off, check the wire connections. Reversed wires can stop the strip from working.
Incorrect colours: Wrongly connected wires in RGBW strips can mix up colours. Make sure each wire is in the right terminal.
Note: If the issue continues, read the manufacturer’s guide or ask an expert for help.
Testing and fixing your LED strip lights ensures they work perfectly, giving you smooth and even lighting.
Installing the COB LED Strips
Cleaning the surface for adhesion
Before sticking the COB LED strips, make sure the surface is clean. Dirt, grease, or water can make the adhesive weak. This might cause the strip to fall off later. Use a soft cloth and mild cleaner to wipe the area. For tough stains, rubbing alcohol works really well.
Tip: Don’t use strong chemicals. They can harm the surface and reduce stickiness.
Let the surface dry fully after cleaning. Even a little moisture can stop the adhesive from working properly. A clean and dry surface helps the strip stay in place for a long time.
Attaching the strips securely
Now, stick the strip to the surface. Slowly peel off the adhesive backing bit by bit. Press the strip firmly as you stick it down. This stops the adhesive from sticking to the wrong spots and keeps the strip straight.
For corners or bumpy areas, use mounting clips. These clips give extra support and hold the strip tightly. If you’re putting the COB LED strips on a ceiling or wall, clips are very useful.
Pro Tip: Press gently along the whole strip after sticking it. This makes the bond stronger and removes air bubbles.
Check the strip’s position once it’s attached. A properly placed strip looks neat and gives even lighting. Follow these steps to install the COB LED strips easily and confidently.
Configuring the Controller or Dimmer
Picking the right controller or dimmer
Choosing the right controller or dimmer is very important. Think about what features you need for your lighting. For RGBW LED strips, pick a controller that handles multi-colour options. It should also allow smooth changes between colours. Look for easy-to-use controls like a remote or app support.
A good dimmer is just as important. It lets you change brightness levels exactly how you want. This helps set the mood for different occasions. Make sure the dimmer works well with your LED driver and strip. Some dimmers only work with certain voltage ranges, so check if it fits your setup.
Tip: Choose a controller or dimmer with memory features. It saves your favourite settings for quick adjustments later.
Setting up and changing settings
Follow the wiring guide from the manufacturer to connect the controller. Match each wire to the correct terminal on the controller. Tighten the connections to stop power problems. If you’re using more than one strip, connect them side by side for even brightness everywhere.
After connecting, adjust the settings to match your needs. Test the colour options and brightness levels first. Try different setups to see what looks best in your space. If your controller has an app, use it to make changes easily.
Pro Tip: Test the controller in a dark room. This makes it easier to see how each setting changes the lighting.
By choosing the right tools and setting them up properly, your COB RGBW LED strips will work at their best.
Activating and Adjusting the Lighting
Powering on the system
Turning on your LED strip lights the right way is important. It helps them last longer and work better. Follow these steps to turn them on safely:
First, switch on the control computer. Wait for it to stabilise.
Next, turn on the power supply for the strips. Light them up slowly to avoid sudden power surges.
Wait until the lights are steady. Then, adjust the display settings as needed.
Do not start the system with a full white screen. This can damage the strips by causing a strong current. Leave at least five minutes between turning the system on and off. This helps reduce wear on the parts.
Keep an eye on the room temperature when turning on the lights. Good heat control helps them work well. Regular checks for loose wires or broken parts keep your COB RGBW LED strips running smoothly.
Tip: Turning on the lights slowly protects them and ensures even brightness.
Fine-tuning for uniform illumination
To get even lighting, make small adjustments. Look at how the light spreads in the area. If some spots are too bright or dim, move the strips slightly. Make sure they are straight and evenly spaced.
Use the controller or dimmer to change the brightness. Adjust the colours and intensity to fit the mood or purpose. For example, soft light is good for relaxing, while bright light is better for working.
Test the lights in both daylight and darkness. This helps you spot any uneven areas and fix them. If some parts are dim, check the wires or replace damaged strips.
Pro Tip: Try different settings to find the best mix of brightness and colour. This makes your COB RGBW LED strips look professional and stylish.
Fine-tuning makes sure your lights are even and smooth. It turns your space into a bright and welcoming place.
Setting up COB RGBW LED strips can make your space look bright and even. Following the steps ensures an easy process, from start to finish. Good planning and careful work are very important. They help you avoid mistakes and get smooth lighting.
To keep your lights working well, follow these tips:
Make sure all wires are connected tightly.
Don’t overload the strip and allow air to cool it.
Begin with a basic setup to fix problems easily.
Update the controller’s software for better performance.
Check the manufacturer’s guide for helpful instructions.
With proper care and regular checks, your LED strip will last long and give perfect lighting.
FAQ
1. Can I set up COB RGBW LED strips by myself?
Yes, you can do it! Just follow the steps in this blog. Gather all the tools, measure properly, and connect the wires carefully. With patience and focus, you can get great results like a pro.
Tip: If you’re unsure about wiring, ask an expert for help.
2. How do I pick the right power supply for my strips?
Match the power supply’s voltage and wattage to your strip’s needs. Check the guide from the manufacturer for exact details. Using the wrong power supply can cause problems like flickering or damage.
Note: Choose a good-quality power supply for better performance.
3. What if my LED strips don’t stick well?
Clean the surface properly before sticking the strips. Use rubbing alcohol to remove dirt or grease. For extra hold, try mounting clips or stronger adhesive tape.
Pro Tip: Don’t stick strips on wet or uneven surfaces for better results.
4. Are COB RGBW LED strips good for saving energy?
Yes, they are! COB technology uses less power but gives brighter and smoother light. These strips are perfect for saving energy and being eco-friendly.
5. How do I keep my LED strips working well for a long time?
Keep the strips clean and dust-free. Don’t overload the power supply. Check for loose wires or broken parts often. Taking care of them helps them stay bright and last longer.
Reminder: Follow the manufacturer’s care tips for the best results.
See Also
Effective Methods for Installing RGB LED Strip Lights
Choosing the Ideal RGB+W COB LED Strip for You
Steps to Connect Your COB Lighting Strip Easily


