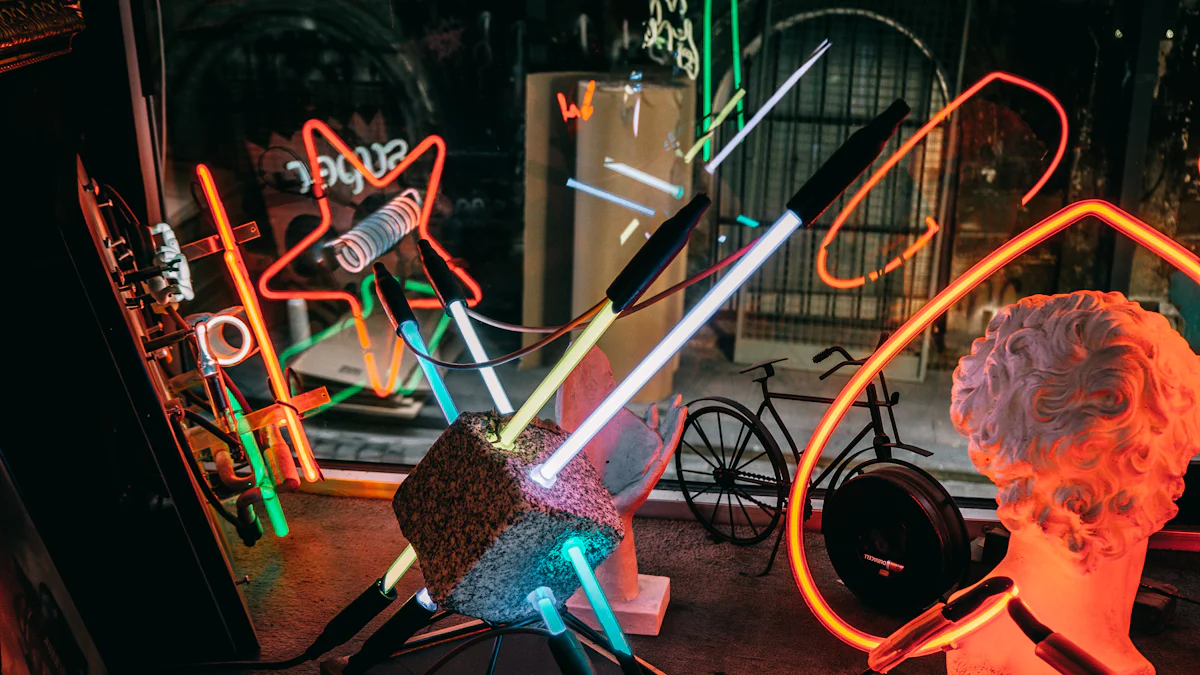
Dive into the vibrant world of LED neon signs! These energy-efficient and customizable lighting solutions have become a popular choice for both personal and commercial spaces. You can create stunning designs that reflect your unique style. With this guide, you’ll learn how to make neon signs using LED technology, which offers bright colors and flexibility. Whether you’re crafting a name sign or a creative shape, the process is straightforward and rewarding. Get ready to transform your ideas into glowing reality!
Materials and Tools for LED Neon Signs

Creating your own LED neon sign starts with gathering the right materials and tools. This section will guide you through the essentials needed to bring your design to life.
Essential Materials
LED Neon Flex
LED Neon Flex is the star of your project. This flexible strip houses light-emitting diodes (LEDs) that mimic the look of traditional neon. It’s durable, energy-efficient, and offers a lifespan of up to 50,000 hours. You can bend it into various shapes, making it perfect for custom designs. Whether you’re crafting a simple word or an intricate shape, LED neon flex provides the versatility you need.
Power Supply and Connectors
To illuminate your sign, you’ll need a reliable power supply. Choose one that matches the voltage requirements of your LED neon flex. Connectors are equally important as they ensure a secure connection between the power supply and the LED strip. Look for connectors that are easy to use and provide a stable connection.
Backing Material Options
The backing material serves as the foundation for your sign. Common options include acrylic, wood, or metal. Each material offers different aesthetics and durability. Acrylic is lightweight and easy to cut, while wood provides a rustic look. Metal, on the other hand, offers a sleek and modern finish. Choose a backing that complements your design and fits your space.
Necessary Tools
Cutting Tools
You’ll need cutting tools to shape your LED neon flex and backing material. A sharp utility knife or scissors works well for the flex, while a saw might be necessary for tougher backing materials. Ensure your tools are sharp and suitable for the materials you’re working with.
Adhesives and Fasteners
Adhesives and fasteners secure the LED neon flex to the backing. Use strong adhesives like silicone glue for a permanent bond. Fasteners such as screws or clips can provide additional support, especially for larger signs. Make sure your adhesive is compatible with both the LED flex and the backing material.
Measuring and Marking Tools
Precision is key in creating a professional-looking sign. Use measuring tools like rulers or tape measures to ensure accuracy. Marking tools such as pencils or markers help outline your design on the backing material. Accurate measurements and markings will guide your cutting and assembly process.
With these materials and tools, you’re well-equipped to start your LED neon sign project. Gather everything you need, and you’ll be ready to move on to the exciting design phase.
Designing Your LED Neon Sign
Designing your LED neon sign is where creativity meets practicality. This stage allows you to express your unique style and vision. Let’s explore how you can choose the perfect design and create a template that brings your ideas to life.
Choosing a Design
When it comes to choosing a design, you have several exciting options. Each type of sign offers its own charm and appeal.
Word and Name Signs
Word and name signs are popular choices for personalizing spaces. You can create a sign with your name, a favorite word, or an inspiring quote. These signs add a personal touch to any room or event. Consider the font style and size to ensure your message stands out.
Shaped Signs
Shaped signs allow you to get creative with forms and figures. Whether it’s a heart, star, or custom shape, these signs can make a bold statement. Think about the shapes that resonate with your theme or brand. Shaped signs are perfect for adding a playful or artistic element to your decor.
Outline Signs
Outline signs focus on the silhouette of an object or symbol. They offer a minimalist yet striking look. You can outline anything from animals to abstract designs. These signs work well in modern settings, providing a sleek and sophisticated appearance.
Creating a Template
Once you’ve chosen your design, it’s time to create a template. This step ensures precision and guides you through the building process.
Sketching Your Design
Start by sketching your design on paper. This helps you visualize the final product and make necessary adjustments. Use a pencil for easy corrections. Pay attention to proportions and spacing to achieve a balanced look.
Using Design Software
For more complex designs, consider using design software. Programs like Adobe Illustrator or free alternatives like Inkscape offer tools to refine your sketch. You can experiment with colors and effects digitally before committing to the final design. This step provides a clear blueprint for your LED neon sign.
Expert Testimony: Designers at Cue Signs emphasize that “creating the perfect custom neon sign involves more than just picking colors and fonts.” By carefully planning your design, you ensure that your sign not only looks amazing but also serves your goals effectively.
With your design and template ready, you’re set to move forward in crafting your LED neon sign. Remember, each element contributes to a sign that truly makes a statement.
How to Make Neon Signs: Building Process

Creating your LED neon sign involves a few key steps. Let’s dive into the building process, where you’ll cut, shape, and attach your LED neon flex to bring your design to life.
Cutting and Shaping the LED Neon Flex
Measuring and Marking
Start by measuring the LED neon flex according to your design template. Use a ruler or tape measure for accuracy. Mark the flex with a pencil or marker where you need to cut. Precise measurements ensure that your sign looks professional and matches your design.
Cutting Techniques
Once you’ve marked the flex, it’s time to cut. Use a sharp utility knife or scissors for clean cuts. Hold the flex steady and cut along the marked lines. Take your time to avoid mistakes. If your design includes curves or intricate shapes, make small cuts and gradually shape the flex. This approach helps maintain control and precision.
Attaching the LED Neon Flex to the Backing
Adhesive Application
With your LED neon flex cut and shaped, you’re ready to attach it to the backing. Apply a strong adhesive, like silicone glue, to the back of the flex. Spread the glue evenly to ensure a secure bond. Press the flex onto the backing material, following your design template. Allow the adhesive to dry completely before moving on to the next step.
Securing with Fasteners
For added stability, especially for larger signs, use fasteners like screws or clips. Position them strategically along the flex to hold it firmly in place. Make sure the fasteners don’t obstruct the LED lights. This step ensures that your sign remains secure and durable over time.
By following these steps, you can successfully build your LED neon sign. The process of how to make neon signs becomes straightforward with careful planning and execution. Enjoy watching your design transform into a vibrant, glowing reality!
Wiring and Powering Your LED Neon Sign
Now that you’ve crafted your design, it’s time to bring your LED neon sign to life with wiring and power. This step is crucial for ensuring your sign lights up beautifully and safely.
Connecting the LED Neon Flex
To start, you’ll need to connect the LED neon flex to your power source. This involves either soldering or using connectors.
Soldering or Using Connectors
Soldering: If you’re comfortable with soldering, this method provides a strong and reliable connection. Heat the soldering iron and apply it to the wire ends of the LED neon flex. Add solder to create a secure bond. Make sure the connections are clean and free of excess solder.
Connectors: For a simpler approach, use connectors. These handy tools allow you to join wires without soldering. Just insert the wire ends into the connector and secure them by tightening the screws or clips. Connectors are great for beginners and offer a quick solution.
Ensuring Secure Connections
After connecting, double-check that all connections are secure. Loose connections can lead to flickering lights or even electrical hazards. Tug gently on the wires to ensure they hold firm. A secure connection ensures your LED neon sign operates smoothly and safely.
Power Supply Setup
With your connections in place, it’s time to set up the power supply. This step ensures your sign receives the right amount of power to shine brightly.
Choosing the Right Power Supply
Select a power supply that matches the voltage and current requirements of your LED neon flex. Most LED neon signs operate at low voltage, making them safer and more energy-efficient than traditional neon signs. Check the specifications of your LED flex and choose a power supply that meets those needs.
Testing the Sign
Before finalizing everything, test your sign. Plug in the power supply and turn on the sign. Watch for any flickering or dim areas. If everything looks good, you’ve successfully powered your LED neon sign! If not, revisit your connections and power supply to troubleshoot any issues.
Safety Tip: Regular maintenance and inspections can prevent electrical issues. According to the Australian Energy Regulator, over 60% of neon sign malfunctions stem from electrical problems that could have been avoided with regular checks.
By following these steps, you ensure your LED neon sign not only looks fantastic but also operates safely and efficiently. Enjoy the glow of your custom creation!
Customization and Finishing Touches for LED Neon Signs
Now that you’ve built your LED neon sign, it’s time to add those final touches that make it truly unique. Customizing your sign with colors and effects can transform it from simple to spectacular. Let’s explore how you can enhance your creation.
Adding Color and Effects
Adding color and effects to your LED neon sign can elevate its visual appeal. Here’s how you can do it:
Using Colored LED Flex
Colored LED flex offers a fantastic way to introduce vibrant hues to your sign. You can choose from a wide range of colors to match your theme or mood. Whether you want a single color or a combination, colored LED flex provides the flexibility to achieve your desired look. This material is not only visually appealing but also shockproof and heat resistant, making it a durable choice for your project.
Incorporating Dimmers or Controllers
Incorporating dimmers or controllers allows you to adjust the brightness and create dynamic lighting effects. You can set the mood by dimming the lights for a softer glow or brighten them for a more striking appearance. Controllers also enable you to program different lighting patterns, adding an interactive element to your sign. This customization enhances the functionality and aesthetic of your LED neon sign.
Final Assembly and Display
Once you’ve customized your sign, it’s time to think about how you’ll display it. The final assembly and display considerations are crucial for showcasing your work effectively.
Mounting Options
Mounting your LED neon sign securely ensures it stays in place and looks professional. You have several options depending on your space and design. Wall mounting is popular for indoor displays, providing a clean and modern look. For a freestanding option, consider using a base or stand. Ensure that your mounting method supports the weight and size of your sign.
Display Considerations
When displaying your sign, consider the environment and audience. Think about the height and angle for optimal visibility. If your sign is for a business, place it where it attracts the most attention. For home decor, choose a spot that complements your interior design. Also, consider the lighting conditions in the area to ensure your sign shines brightly without being overshadowed.
By focusing on these customization and finishing touches, you can create an LED neon sign that not only looks amazing but also functions perfectly in its intended space. Enjoy the process of bringing your vision to life and watch as your sign becomes a centerpiece of admiration.
Maintenance and Troubleshooting for LED Neon Signs
Keeping your LED neon signs in top shape ensures they shine brightly and last longer. Regular maintenance and quick troubleshooting can prevent minor issues from becoming major problems. Let’s dive into some practical tips and solutions.
Regular Maintenance Tips
Maintaining your LED neon sign doesn’t have to be complicated. With a few simple steps, you can keep it looking its best.
Cleaning the Sign
Dust and dirt can dull the vibrant glow of your neon sign. Use a soft, dry cloth to gently wipe the surface. For stubborn spots, a slightly damp cloth works wonders. Avoid harsh chemicals that might damage the LED flex or backing material. Regular cleaning not only enhances the sign’s appearance but also extends its lifespan.
Checking Connections
Loose connections can lead to flickering or dim lights. Periodically inspect the wires and connectors. Ensure everything is snug and secure. If you notice any wear or damage, replace the affected parts promptly. This proactive approach helps maintain consistent performance and prevents electrical issues.
Troubleshooting Common Issues
Even with regular maintenance, you might encounter some common problems. Here’s how to tackle them effectively.
Flickering Lights
Flickering lights often result from faulty wiring or loose connections. Start by checking all connections. Tighten any loose wires and ensure connectors are properly secured. If the problem persists, inspect the power supply. A malfunctioning transformer can also cause flickering. Replacing it might resolve the issue.
Power Supply Problems
A faulty power supply can lead to dim or non-functioning signs. First, verify that the power supply matches the voltage requirements of your LED neon flex. If the sign doesn’t light up, test the power supply with a multimeter. Replace it if it’s not delivering the correct voltage. Regular checks can prevent power-related issues and keep your sign glowing brightly.
Quick Tip: LED neon signs are more durable and require less maintenance than traditional neon signs. Their flexible, shatter-resistant materials make them a long-lasting choice for any space.
By following these maintenance and troubleshooting tips, you can ensure your LED neon sign remains a stunning focal point. Regular care and attention will keep it shining brightly for years to come.
You’ve now explored the vibrant world of LED neon signs, from gathering materials to adding those final touches. Remember, the key steps include designing your sign, cutting and shaping the LED flex, and ensuring secure connections. Don’t hesitate to experiment with different designs and colors to make your sign truly unique. Regular maintenance, like cleaning and checking connections, keeps your sign glowing brightly. Enjoy the process and let your creativity shine as you craft a sign that reflects your style and personality.
See Also
Creating Your Personalized Neon LED Sign Step By Step
Selecting The Perfect LED Strip Lights For Linear Lighting
Steps To Properly Wire A LED Light Bar


