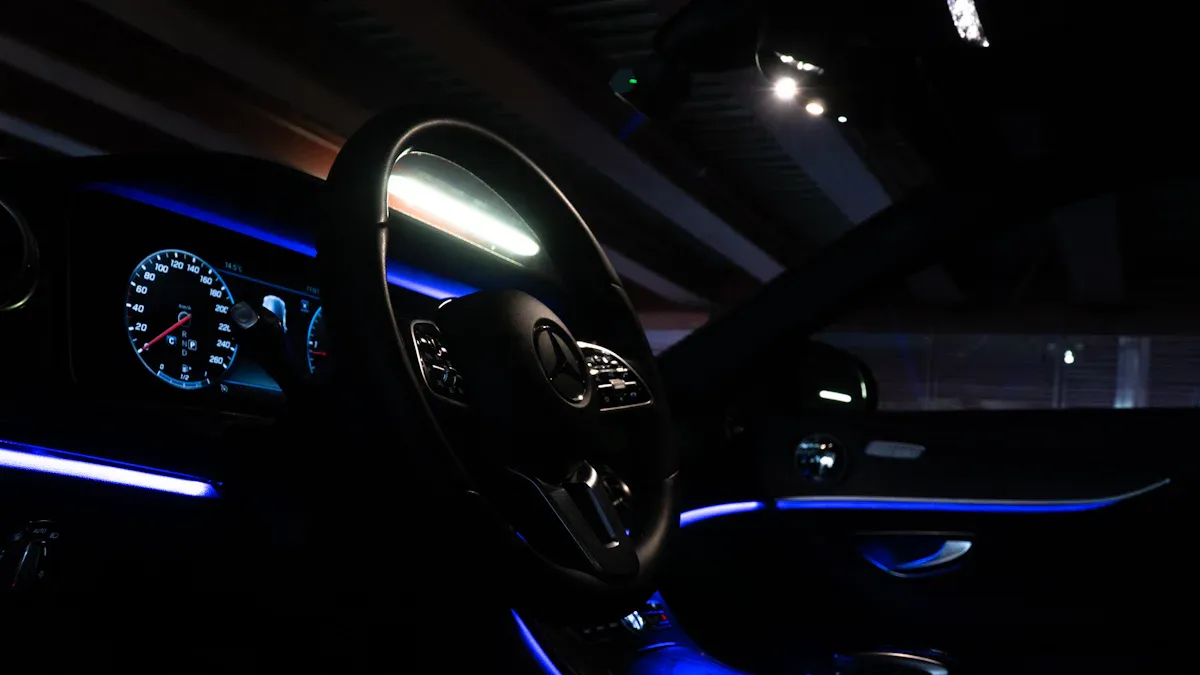
Adding LED strip inside your car can change how you feel while driving. These lights not only enhance the aesthetics of your vehicle but also improve visibility at night. Imagine getting into a car that shines with a warm light from the LED strip inside your car. It makes the car feel more welcoming!
The best part is that installing LED strip inside your car is an easy DIY project. You only need a few simple tools like scissors and glue. You can create your own special lighting. So, get ready to brighten up your ride with LED strip inside your car—this project is easy for anyone!
Key Takeaways
Putting LED strips in your car is a simple DIY project. It makes your car look better and helps you see better.
Collect important materials like LED strips, basic tools, and extra supplies. This will help you install them successfully.
Think about where to place your LED strips. This will help you get the best light and avoid mistakes.
Check your LED setup after you install it. Make sure all connections are tight and working well.
Change your car’s lights with different colors and remote control options. This will make your driving experience special.
Materials for LED Strip Inside Car
When you want to put LED strips inside your car, it’s important to know what materials you need. Let’s divide it into three main groups: types of LED strips, tools you need, and extra supplies.
LED Strip Types
You have many choices for LED strips for your car. Here’s a quick look at the most popular types:
Type of LED Strip | Features | Benefits |
|---|---|---|
3014 Led Strip Lights | High quality, Small size, Customizable, Double layer | Waterproof, High density, High power, Each light can change color and brightness |
2835 Led Strip Lights | Very bright, Double layer pure copper 2oz PCB, 12V/24V options | Very powerful, long-lasting, brightness can be changed for different moods |
Addressable Led Strip | Many color effects, Very flexible | Each LED can be controlled, bright light, matches your mood |
5050 Led Strip Lights | 60 bright LED nodes per meter, Not waterproof, Many colors available | Even brightness, Easy to install with sticky tape |
Choosing the right LED strip inside your car can make driving better and create a nice atmosphere.
Tools Required
To start, you’ll need some basic tools. Here’s a list to help you get ready:
Scissors or a utility knife
Measuring tape
Wire strippers
Soldering iron (optional, for stronger connections)
Adhesive or mounting clips
These tools will help make the installation easier and faster.
Additional Supplies
To make sure your LED strip inside your car lasts, think about these extra supplies:
Voltage regulator: This keeps a steady 12V, which is important for LED strips.
Resistors or current drivers: These control the current going through the LEDs, stopping damage.
Heat shrink tubing: Use this to protect your connections from water and wear.
By gathering these materials, you prepare for a successful installation that looks great and lasts longer.
Preparation Steps for DIY Installation
Before you start putting in your LED strip lights, take some time to get ready. Good preparation can really change how your car lighting looks. Here are the important steps to follow:
Planning the Layout
First, think about where you want to put the LED strips. A good plan makes your lighting look better and work well. Here’s a helpful table to help you choose where to place your LED strips:
Location | Purpose |
|---|---|
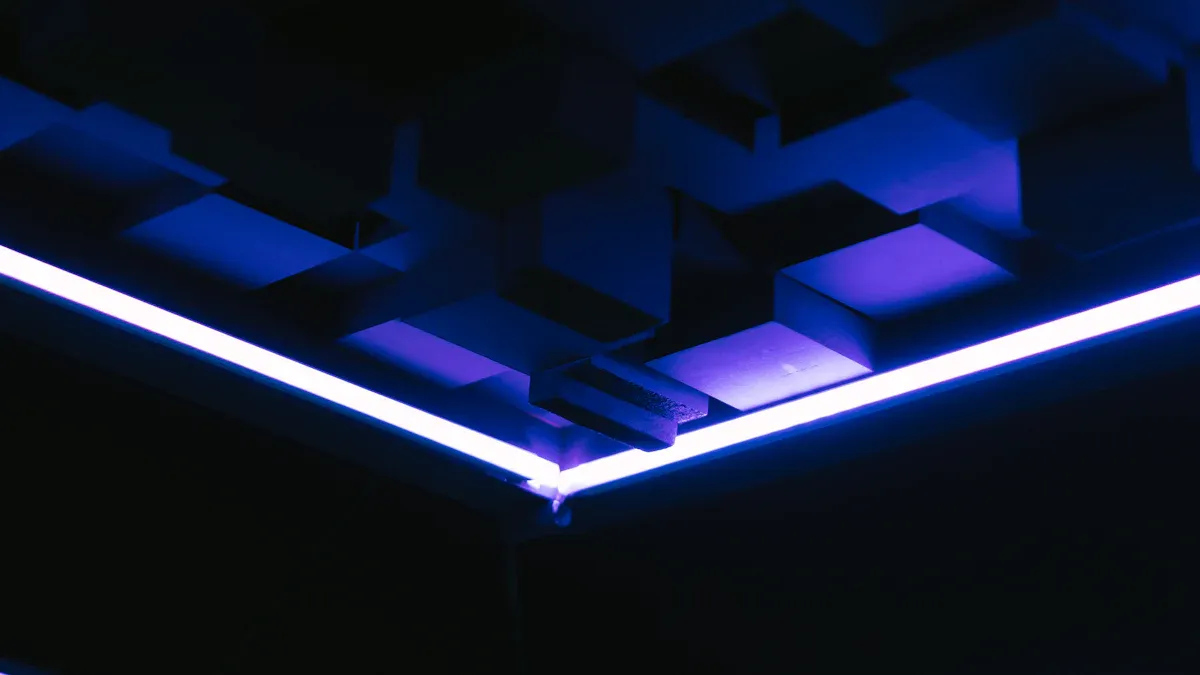
Under the dashboard (front and back) | Ambient glow |
Under the seats | Discreet accent lighting |
Footwells | Enhanced visibility |
Door panels | Stylish accents |
Cup holders | Functional lighting |
When planning, avoid common mistakes. If you rush into installation without a plan, it can look messy. Make sure you can easily reach the power supply and follow any electrical rules. Also, think about heat buildup and space between parts. Good planning helps make the installation easier and the final look great.
Cleaning the Surface
Next, clean the areas where you will stick the LED strips. A clean surface is very important for the adhesive to work well. Here are some tips for cleaning:
Use warm water and soap with rags to wipe the area.
Don’t use special car cleaners; they aren’t needed and might leave residues.
Make sure to clean the surfaces well to help the adhesive stick.
Remember, dust, grease, and dirt can affect how well the adhesive works. If you skip this step, your LED strips might not stick right, which can make them last less time.
Measuring and Cutting
Now it’s time to measure and cut your LED strips. This step needs to be done carefully to get a good fit. Here are some best practices to follow:
Always cut the LED strip at the marked cut points from the maker. This keeps it working well.
Be careful not to hurt the LEDs or the wires when cutting. Mistakes can cause dim lights or color problems.
Take your time measuring to avoid cutting too short or too long.
By following these steps, you’ll be ready for a successful installation of your LED strip lights. With some planning and care, you can make a beautiful interior that shows your style.
Installation Process for LED Car Lighting
Now that you’ve prepared everything, it’s time to install your LED strips. This part is crucial for ensuring your lights work well and look great. Let’s break it down into three main steps: wiring the LED strips, securing them in place, and testing the setup.
Wiring the LED Strips
Wiring your LED strips correctly is essential for a successful installation. Here’s how to do it:
Connect the Power: Start by tapping the red wire to the battery’s positive terminal. Then, connect the black wire to the negative terminal or ground. This simple connection powers your LED strips.
Use Reliable Methods: To ensure solid connections, consider these options:
Use LED Strip Splitters to connect multiple LED runs from a single power source.
Employ Screw-In Terminal Connectors for strong wire connections.
Utilize EZ Clip LED Strip Connectors for easy strip-to-strip or strip-to-wire connections without soldering.
For a more permanent solution, consider hardwiring with solder.
To avoid voltage drop, divide long runs of LED strips into shorter lengths and connect them in parallel.
Following these steps will help you create a reliable wiring setup for your LED car lighting.
Securing the Strips
Once you’ve wired everything, it’s time to secure the LED strips in place. Here’s how to do it effectively:
Choose the Right Adhesive: Use a strong adhesive or mounting clips to attach the strips. Make sure the surface is clean and dry before applying.
Position Carefully: Align the strips according to your planned layout. Press firmly to ensure they stick well.
Avoid Overlapping: Keep the strips straight and avoid overlapping them. This helps maintain an even light distribution.
By securing the strips properly, you’ll prevent them from coming loose while driving.
Testing the Setup
Before you finalize everything, it’s crucial to test your setup. Here’s how to ensure all connections are secure and functioning:
Turn on the lights to verify that all connections are correct.
Check that the lights are functioning properly. If any section doesn’t light up, double-check your wiring and connections.
Testing your LED strips ensures that you can enjoy your new lighting without any issues.
With these steps, you’re well on your way to enjoying a beautifully lit interior in your car!
Customization Tips for Car Underbody Lights
You have many fun ways to customize your car underbody lights. Let’s look at some tips to help you create the best vibe for your ride!
Color Options
Picking the right colors can change your car’s look. Here are some popular choices:
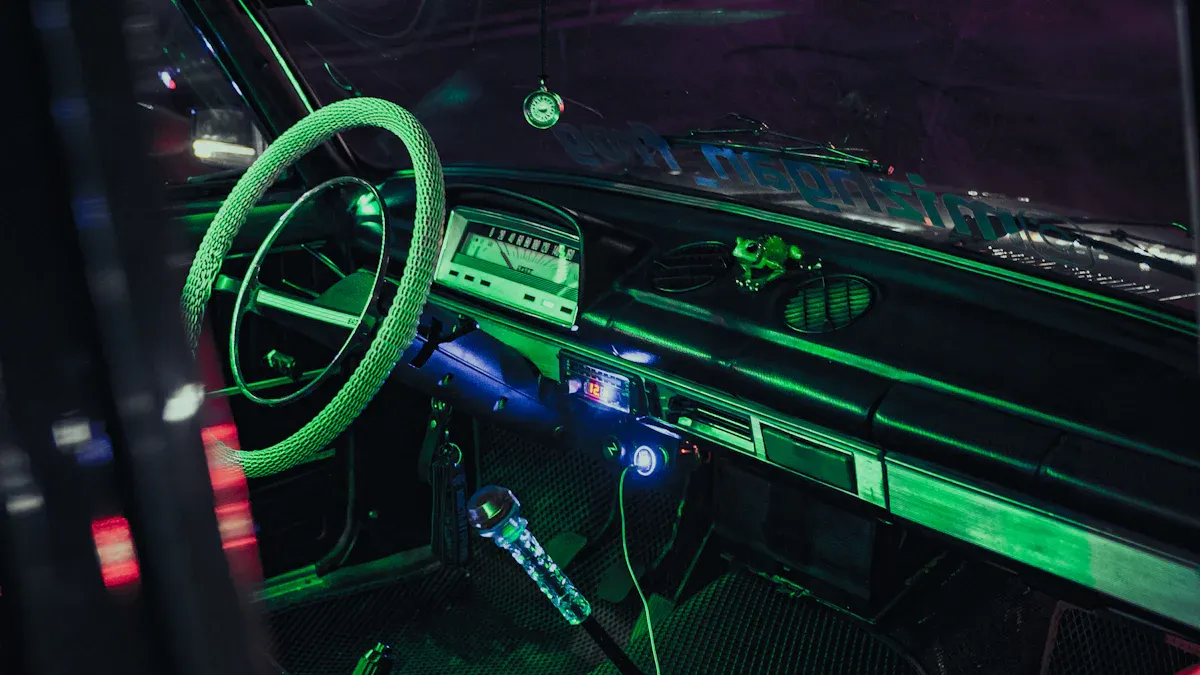
Single Color Kits: These come in colors like red, blue, white, and green. They give a steady color that makes your vehicle look nice.
Million Color Kits: These kits have many color choices. You can change your car’s look whenever you want!
To compare the two types, check this table:
Type of LED Strip | Pros | Cons |
|---|---|---|
Single-Color | Affordable, saves energy, easy to install | Limited design options, no color changes |
RGB | Many color choices, fun lighting effects | More expensive, needs special controllers |
Many people like RGB strips because they can create fun lighting effects. They let you change your car’s mood for any event!
Syncing with Music
Imagine your car lights moving to the beat of your favorite songs! You can do this with Bluetooth controllers that sync your car underbody lights with music. Here’s how it works:
These controllers let you change lighting scenes using an app.
You can choose colors, set lighting schedules, and sync them with your music.
This feature makes driving more fun, turning every ride into a party!
Remote Control Features
Remote control features for your car LED lights make it easy to change your lights while driving. You can adjust brightness, color, and effects quickly. This lets you set the lighting to your liking, creating a special vibe that improves your driving experience.
With these customization tips, you can make your car underbody lights show off your style and mood!
Safety Precautions
When you put LED strips in your car, safety is very important. Here are some key tips to remember.
Electrical Safety
Make sure your electrical changes follow safety rules. Groups like the Federal Motor Vehicle Safety Standards (FMVSS) stress the need to follow guidelines. These rules help keep cars safe by covering things like brakes and protecting passengers. To avoid problems, do a Failure Modes and Effects Analysis (FMEA). This analysis helps you find possible weak spots in your car’s electronics. By doing this, you can make sure your changes won’t harm your vehicle’s safety.
Avoiding Overheating
Overheating can happen when you install LED strips. To stop this, follow these tips:
Make sure the current stays below the rated working current. Remember the 80% rule.
Don’t connect too many LED strips in series. Instead, use constant current LED strips or connect them in parallel.
Use tools to help with heat dissipation, like LED aluminum profiles.
Choose high-quality LED strip lights.
Keep LED strips within safe working and ambient temperatures, allowing enough space for heat to escape.
By following these steps, you can lower the risk of overheating and keep your LED strips working safely.
Proper Adhesion Techniques
Good adhesion is key to keeping your LED strips in place. Here are some best practices:
Clean Surfaces Thoroughly: Use isopropyl alcohol wipes to clean all surfaces where you’ll stick the LED strips. This step removes dirt, oil, or residue for better adhesion.
Focus on Adhesion: Pay attention to areas that get dirty easily, like the dashboard and door edges. Proper cleaning helps stop the LED strips from peeling off later.
Reason | Explanation |
|---|---|
Poor Surface Preparation | Dusty or oily surfaces make the adhesive less effective. |
Low-Quality or Weak Adhesive | Weak adhesive backing can’t hold well, especially in heat or moisture. |
Incorrect Installation Techniques | Wrong methods or not enough pressure during installation lead to weak adhesion. |
Environmental Factors | Too much humidity or heat can weaken adhesive over time. |
By following these safety tips, you can enjoy your new LED lights without worrying about dangers. Stay safe and have fun customizing your ride!
Now that you know how to put LED strips in your car, it’s time to enjoy them! Keep these important steps in mind: plan where to place the lights, clean the surfaces, measure and cut the strips, connect the wires correctly, secure them well, and test everything. This DIY project makes your car look better and shows off your personal style.
Many car lovers say that adding LED lights helps both how the car works and how it looks. Plus, these changes are cheap and easy to do, making them a great way to customize cars.
Don’t forget to share what you did and any cool changes you made! Join online groups to meet others who enjoy DIY projects like this one.
FAQ
How do I choose the right LED strip for my car?
When selecting an LED strip, consider the type of lighting you want. For vibrant colors, opt for RGB strips. If you prefer a steady glow, single-color strips work well. Think about where you’ll install them, like underbody or as led accent lighting.
Can I install LED strips without professional help?
Absolutely! Installing LED strips is a DIY project you can handle. With basic tools and our guide, you can achieve great results. Just follow the steps carefully, and you’ll have beautiful exterior car lighting in no time.
How do I power my LED underbody light?
You can power your LED underbody light by connecting it to your car’s battery. Use the red wire for positive and the black wire for negative. Ensure you use a voltage regulator to maintain a steady current for optimal performance.
Will LED strips drain my car battery?
LED strips consume minimal power, so they won’t significantly drain your car battery. However, if you leave them on for extended periods without the engine running, it could affect the battery. Always turn them off when not in use.
How can I customize the colors of my LED strips?
You can customize colors using RGB LED strips. These strips allow you to change colors via a remote or smartphone app. Some models even sync with music, creating a fun atmosphere while driving.


