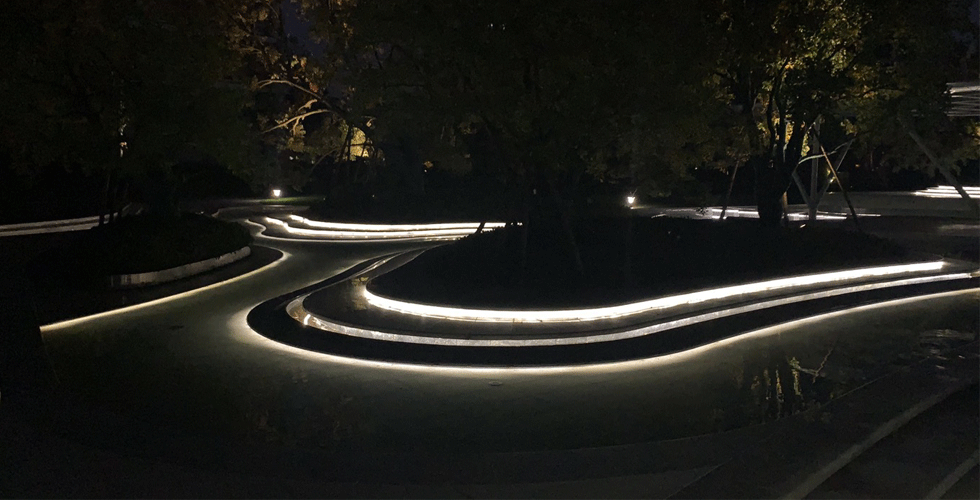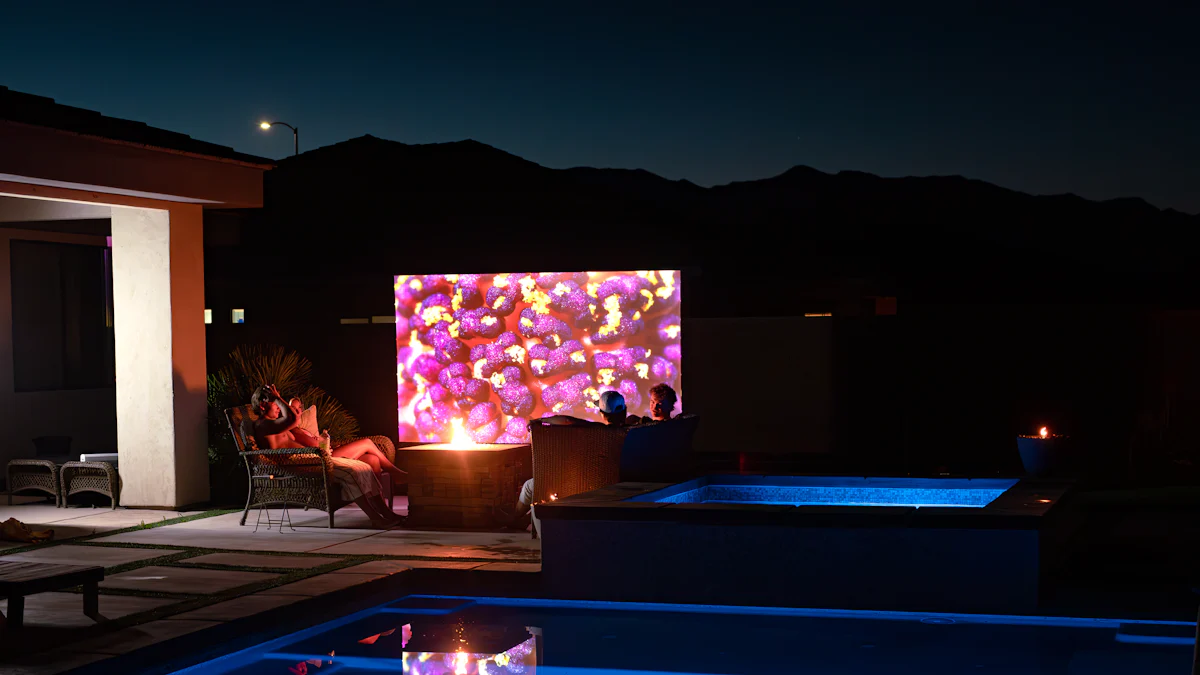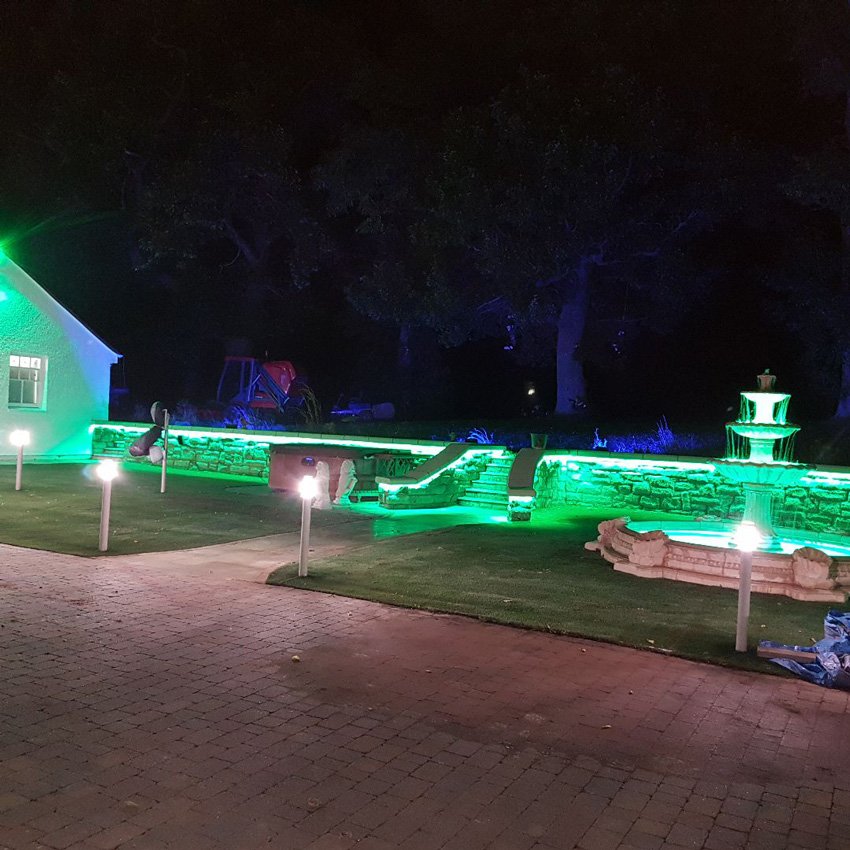
Imagine transforming your outdoor spaces into vibrant, inviting areas with the simple addition of LED light strips. These versatile lighting solutions not only enhance the aesthetic appeal but also offer practical benefits for both residential and commercial spaces. Whether you’re looking to create a cozy mood or highlight specific features, LED strips provide the perfect decorative touch. Their flexibility allows you to customize the color and brightness, setting the right mood for any occasion. As you explore this guide, you’ll discover how these lights can elevate your outdoor commercial spaces, making them more welcoming and visually appealing.
Understanding LED Light Strips
What Are LED Light Strips?
LED light strips are flexible strips of LED lights encased in a protective coating. You can find them in reels, and they offer the flexibility to be cut to different lengths. This makes them highly customizable for various applications. These strips are energy-efficient and durable, available in different colors and brightness levels. Whether you’re looking to illuminate a pathway or add a splash of color to your patio, LED light strips provide a versatile solution. Their flexibility allows you to install them in tricky spots like under cabinets or around doorways. With strong adhesive backing, you can easily peel and stick them to various surfaces.
Benefits of Using LED Light Strips Outdoors
Using LED light strips outdoors offers numerous advantages. First, they consume less energy, which means you save on electricity bills while enjoying beautiful lighting. The durability of these strips ensures they withstand the elements, making them perfect for outdoor use. You can choose from a high-quality range of LED light strips that offer different color temperatures, from warm to cool tones. This allows you to create different ambiances depending on your mood or the occasion.
For those who love experimenting with lighting effects, RGB and RGBW LED light strips provide endless possibilities. You can change colors and brightness to suit your mood, creating stunning visual displays. These strips are also dimmable, giving you complete control over your lighting setup. Whether you’re hosting a party or enjoying a quiet evening, LED strip lights can enhance your outdoor space’s atmosphere.
In this guide, you’ll learn how to select the best LED lighting strips for outdoor use, ensuring you get the most out of your investment. With the right choice, you can transform your outdoor areas into inviting spaces that reflect your style and personality.
Types of LED Light Strips for Outdoor Use

When you’re choosing LED light strips for your outdoor spaces, understanding the different types available is essential. Each type offers unique features that cater to various needs and environments. Let’s dive into what you should consider.
Importance of IP Ratings
IP ratings play a crucial role in selecting the right LED light strips for outdoor use. These ratings indicate the level of protection the strips have against dust and water. The first digit in an IP rating represents protection against solid objects, while the second digit indicates resistance to liquids. For outdoor applications, you should look for a higher IP rating to ensure durability and longevity.
For instance, an IP65 rating means the strip is dust-tight and can withstand water jets from any direction. This makes it suitable for most outdoor settings. If you need something more robust, an IP67 rating offers even greater protection, allowing the strips to be submerged in water temporarily. Understanding these ratings helps you choose the right product for your specific needs, ensuring your LED light strips remain functional and vibrant, no matter the weather.
Durability and Weather Resistance
Durability and weather resistance are key factors when selecting LED light strips for outdoor use. You want strips that can withstand harsh conditions, including rain, snow, and extreme temperatures. Look for strips made with high-quality materials like a durable PVC body. These materials provide impact resistance and protect the LEDs from environmental damage.
Weather-resistant LED strips often come with a protective coating that shields them from UV rays, preventing discoloration and degradation over time. This ensures your outdoor lighting remains bright and effective throughout the seasons. By choosing durable and weather-resistant LED light strips, you can enjoy beautiful, reliable lighting in your outdoor spaces year-round.
Choosing the Right LED Light Strips
Selecting the perfect LED light strips for your outdoor spaces can feel overwhelming with so many options available. But don’t worry, this guide will help you make an informed decision by focusing on key factors and comparing popular brands and models.
Key Factors to Consider
When choosing LED strip lights, several factors play a crucial role in ensuring you get the best fit for your needs.
Brightness Levels
Brightness is a vital aspect of LED light strips. You want to ensure that the strips provide enough light for your intended use. Measured in lumens, brightness levels can vary significantly between products. For ambient lighting, you might prefer softer, dimmable LED light strips. However, for task lighting or highlighting specific features, opt for brighter options.
Color Temperature Options
Color temperature affects the mood and ambiance of your space. LED strip lights come in various color temperatures, ranging from warm whites to cool blues. Warm tones create a cozy and inviting atmosphere, perfect for relaxing evenings. In contrast, cooler tones offer a more vibrant and energetic feel, ideal for parties or gatherings. Consider what mood you want to set before making your choice.
Length and Flexibility
The length and flexibility of LED light strips determine how well they fit your space. Measure the areas you plan to illuminate and choose strips that can be cut or extended to match those dimensions. Flexible strips are great for wrapping around corners or fitting into tight spaces. This adaptability ensures you can customize your lighting setup to suit your unique outdoor environment.
Comparing Brands and Models
With numerous brands offering LED light strips, it’s essential to compare their features to find the best match for your needs. Here’s a quick look at some popular options:
Proled: Known for energy efficiency and long lifespan, Proled strips offer excellent waterproofing and a range of color options.
LED Neon Strip: These strips provide a continuous glow and superior waterproofing, making them ideal for outdoor use. They also boast energy-saving features.
LEDVANCE LED Strip System: Offers a variety of white light colors, including Tunable White and RGB solutions, catering to different applications.
Simple Lighting LED Strip Lights: These strips excel in custom lighting effects, bendability, and waterproof features, suitable for both task and ambient lighting.
Seratechnologies LED Light Strips: Known for their range of color temperatures and dimmable options, these strips allow you to create different ambiances based on your surroundings.
By considering these factors and comparing different brands, you can confidently choose LED light strips that enhance your outdoor spaces, creating the perfect mood for any occasion.
LED Strip Light Guide for Installation

Installing LED strip lights can transform your outdoor spaces into stunning visual displays. This guide will walk you through the process, ensuring a smooth and successful installation. Whether you’re a DIY enthusiast or a first-timer, you’ll find these steps easy to follow.
Planning Your Installation
Before diving into the installation, take some time to plan. Consider where you want to place your LED strip lights. Think about the areas that need illumination and the mood you want to create. Measure the spaces to determine how much strip lighting you’ll need. Planning helps you avoid mistakes and ensures you have all the necessary materials.
Experts from Shine Decor emphasize the importance of planning. They suggest considering the purpose of your lighting to ensure you choose the right type of LED strip lights for your needs.
Tools and Materials Needed
Gathering the right tools and materials is crucial for a successful installation. Here’s a list to get you started:
LED strip lights
Power supply
Connectors
Scissors
Measuring tape
Adhesive tape or mounting clips
Screwdriver (if needed)
Plug and play LED light strip kits (optional for easier setup)
Having everything ready will make the process smoother and more enjoyable.
Step-by-Step Installation Instructions
Prepare the Surface: Clean the area where you’ll install the LED strip lights. A clean surface ensures better adhesion and longevity.
Measure and Cut: Use your measuring tape to mark the desired length of the strip. Cut the strip at the designated cutting points. This allows you to customize the length to fit your space perfectly.
Attach the Strips: Peel off the adhesive backing and carefully stick the strips to the surface. For uneven or tricky spots, use mounting clips for extra support.
Connect the Power Supply: Attach the connectors to the strip and plug them into the power supply. Ensure all connections are secure to avoid any electrical issues.
Test the Lights: Before finalizing the installation, plug in the lights to check if they work correctly. This step helps you identify any problems early on.
Secure the Setup: Once satisfied with the placement and functionality, secure the strips and connectors. Use additional adhesive or clips if necessary.
Enjoy Your New Lighting: With everything in place, step back and admire your work. Your outdoor space should now be beautifully illuminated.
These installation tips will help you achieve a professional-looking setup. Remember, patience and attention to detail are key. If you encounter any issues, refer back to this guide for troubleshooting.
Customizing LED Strip Lights
Customizing your LED strip lights can add a personal touch to your outdoor spaces. Whether you’re looking to fit them into a specific area or create unique lighting effects, customization allows you to tailor the strips to your needs.
Cutting and Connecting LED Strips
Cutting LED strips might seem daunting, but with the right approach, you can do it successfully. First, ensure you have the correct tools, like sharp scissors or a utility knife. Always cut along the designated cutting points marked on the strip. These points are crucial because cutting elsewhere can damage the circuitry and render the strip useless.
Expert Tip: “It’s crucial to measure accurately, cut along designated cutting points, and take safety precautions to ensure clean cuts and avoid damaging the LED lights or circuitry.”
Once you’ve cut the strips to your desired length, you’ll need to connect them. Use connectors designed for LED strips to join sections together. These connectors ensure a secure connection without the need for soldering, making the process straightforward even for beginners.
If you’re not comfortable with DIY electrical work, consider consulting a professional. They can help ensure your setup is safe and effective.
Safety Tips for Customization
Safety should always be your top priority when customizing LED strip lights. Here are some essential tips to keep in mind:
Disconnect Power: Always disconnect the power source before cutting or connecting LED strips. This prevents electrical hazards and ensures your safety.
Follow Manufacturer’s Guidelines: Each LED strip may have specific instructions. Always refer to the manufacturer’s guidelines to avoid mistakes and ensure proper handling.
Use Proper Tools: Using the right tools can make a big difference. Sharp scissors or a utility knife will help you make clean cuts without damaging the strip.
Avoid Overloading: Ensure your power supply can handle the total wattage of the connected strips. Overloading can cause overheating and potential damage.
By following these safety tips, you can customize your LED strip lights with confidence. Enjoy the process of creating a lighting setup that reflects your style and enhances your outdoor spaces.
Maintenance and Troubleshooting for Outdoor LED Strips
Keeping your outdoor LED strip lights in top shape ensures they continue to shine brightly and enhance your space. Regular maintenance and knowing how to troubleshoot common issues can save you time and frustration. Let’s dive into some practical tips and solutions.
Regular Maintenance Tips
Maintaining your LED light strips doesn’t have to be a chore. With a few simple steps, you can keep them looking and working like new:
Clean Regularly: Dust and dirt can accumulate on your LED strips, affecting their brightness. Use a soft cloth or a gentle brush to clean them periodically. Avoid using harsh chemicals that might damage the protective coating.
Check Connections: Over time, connections can loosen, leading to flickering or non-functioning lights. Inspect the connectors and ensure they are secure. Tighten any loose connections to maintain a steady power supply.
Inspect for Damage: Look for any signs of wear or damage, such as cracks in the protective coating or exposed wiring. Address these issues promptly to prevent further damage and ensure safety.
Test Functionality: Regularly test your LED strip lights to ensure they are working correctly. This helps you catch any issues early and address them before they become bigger problems.
Common Issues and Solutions
Even with regular maintenance, you might encounter some common issues with your outdoor LED strips. Here’s a quick guide to troubleshooting these problems:
Flickering Lights: Flickering can be caused by loose connections or an inadequate power supply. Ensure all connections are tight and check if your power supply matches the LED strip’s requirements.
Sections Not Lighting Up: If parts of your strip aren’t lighting up, it could be due to a faulty connection or a damaged section. Inspect the strip for any visible damage and replace the affected section if necessary.
Color Inconsistencies: If the colors appear inconsistent, it might be due to voltage drop over long strips. Consider using a higher gauge wire or adding additional power supplies to maintain consistent voltage throughout the strip.
Connectivity Issues: According to a survey, over 80% of DIYers report experiencing wiring or connectivity issues during installation. Double-check your wiring setup and ensure all connections are correct and secure.
By following this guide, you can effectively maintain and troubleshoot your LED strip lights, ensuring they continue to illuminate your outdoor spaces beautifully. Remember, a little care goes a long way in keeping your lighting setup vibrant and functional.
LED light strips offer a fantastic way to enhance your outdoor spaces with vibrant and decorative lighting. They provide flexibility in color and brightness, allowing you to set the perfect mood for any occasion. Whether you’re aiming for a cozy ambiance or a lively atmosphere, these strips can transform your environment effortlessly. Experiment with different styles and setups to find what suits your taste best. This guide has shown you how easy it is to install and maintain these lights, making them an ideal choice for anyone looking to elevate their outdoor decor with mood lighting.
See Also
Selecting The Perfect LED Strip Lights For Your Space


