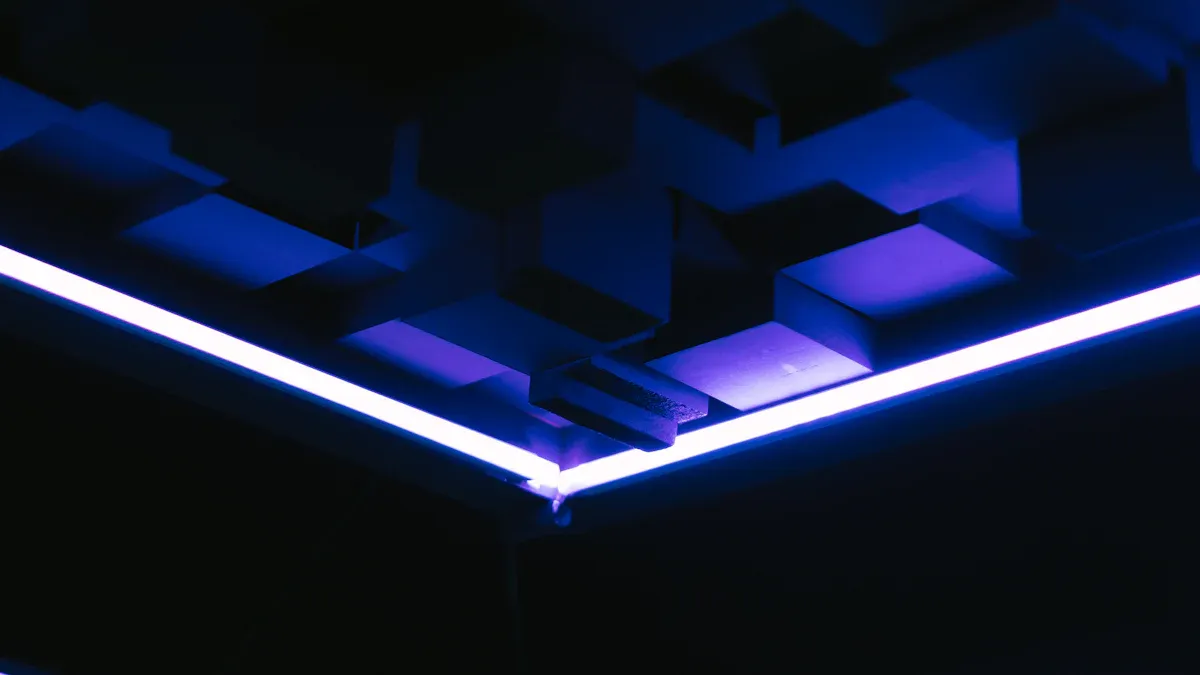
Installing COB strip lights correctly makes them work better and last longer. These lights are very bright, giving up to 1,500 lumens using just 10 watts. They are brighter than regular SMD LEDs. With a Colour Rendering Index of 90-97, they shine like natural daylight. This helps show colours clearly and accurately. Following good installation tips helps you get the best use of them and makes their cost worth it, especially when considering the cob strip light price.
Key Takeaways
Wipe the surface well before sticking the lights. A clean area helps the lights stick better and stops them from coming off.
Check the size of the space carefully to avoid errors. Note down the size to cut and buy the right length of lights.
Try out the COB strip lights before putting them up. This helps find problems early and makes the setup easier.
Preparing the Surface for Strip Light Installations

Cleaning the Surface Thoroughly
Make sure the surface is clean before starting. Remove dust, grease, and dirt using a soft cloth. Use a mild cleaner, not strong chemicals, to avoid damage. For tough stains, gently scrub with a damp cloth. A clean surface helps the strip lights stick well and stay in place.
Ensuring the Surface is Dry and Smooth
Let the surface dry fully after cleaning. Wet areas can weaken the adhesive and cause peeling. Check for rough spots or uneven areas. Sand down any bumps to make it smooth. A flat, dry surface helps the strip light look tidy and stick better.
Selecting the Right Surface Material
Pick a surface that holds adhesive well. Wood, metal, and plastic are good choices. Avoid rough or porous surfaces like concrete or fabric. If needed, use clips or extra glue for better support.
Tip: Test a small piece of adhesive on the surface first. This ensures it sticks properly and avoids problems later.
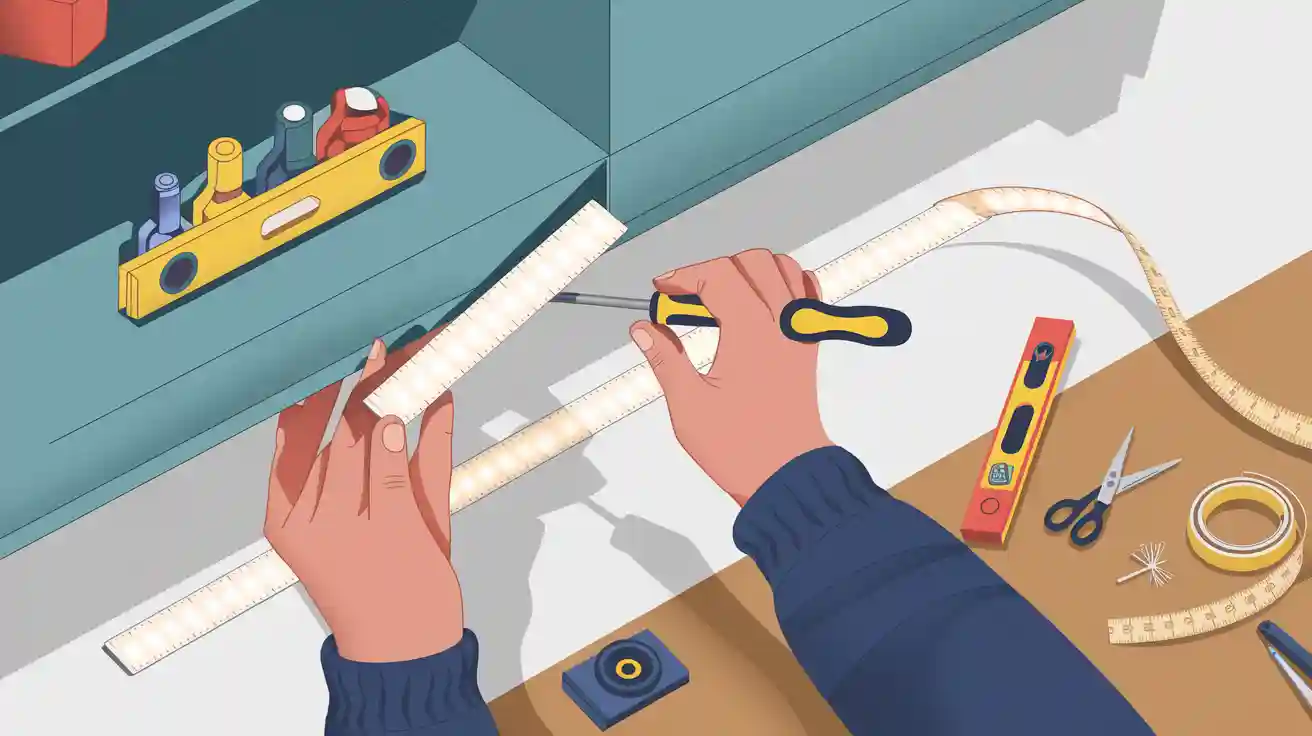
Measuring and Planning the Layout
Measuring the Area Accurately
Getting the right measurements is key for a good COB strip light setup. Use a proper measuring tape to check the length and width of the area. Measure twice to avoid errors and wasting materials. If the space has odd shapes, split it into smaller parts. Measure each part separately to find the total strip length needed without wasting any.
Tip: Write your measurements in a notebook. This helps when cutting or buying the lights.
Marking the Placement of the Lights
Marking where the COB strip lights will go makes the job look tidy. Use a pencil or masking tape to draw the path for the lights. This is important for shiny surfaces, as COB LED strips reduce bright spots. Their design works well in places where the strips are visible, and the LED chips should not stand out.
Use a ruler or level for straight lines.
For curves or odd shapes, use bendable templates to guide your marks.
Taking time to mark properly avoids uneven results and improves the look.
Planning for Corners and Obstacles
Corners and obstacles can make installation tricky if not planned. Spot these areas early and decide how to manage them. For corners, gently bend the strip (if allowed) or use special connectors for turns. For obstacles like furniture, adjust the strip’s path or cut it to fit.
Note: Always read the manufacturer’s instructions before cutting or bending. Doing it wrong can break the lights or cancel the warranty.
Planning ahead for these issues makes the installation easier and stress-free.
Choosing the Right Power Supply for COB Strip Lights
Calculating Power Requirements
Knowing the power needs of your COB strip lights is important. First, measure the strip’s total length and count the LEDs per metre. Multiply these to find the total number of LEDs. Then, figure out how much power each LED uses. Use these simple formulas to calculate the needed amperage:
Parameter | What It Means |
|---|---|
Length of strip | How long the LED strip is in metres |
Number of LEDs per metre | LEDs in one metre of the strip |
Current draw per LED | Power each LED uses in milliamps |
Power consumption per LED | Energy each LED uses in watts |
Operating voltage | Voltage the strip works on |
Calculation using current draw | (Strip length x LEDs/metre x LED current) / 1000 = Amps |
Calculation using power | (Strip length x LEDs/metre x LED power) / Voltage = Amps |
These steps help you pick a power supply that fits the strip’s needs. This avoids overloading or not giving enough power.
Selecting a Compatible Power Supply
The right power supply keeps your COB strip lights working well. Match the power supply’s voltage to the strip’s voltage, like 12V or 24V. Make sure it can handle the strip’s total wattage. For example:
Most COB strip lights work with a 24V DC power supply.
Choose a power supply with 20% more wattage than the strip needs. This handles power surges and keeps the lights stable.
This prevents overheating and keeps the lights shining evenly.
Considering Dimming and Control Options
If you want to dim your COB strip lights, check if the power supply supports it. Many power supplies now allow dimming, so you can change brightness easily. Make sure it works with dimmer switches or smart systems. A dimmable power supply gives you more control and helps create the perfect lighting mood.
Tip: Always check the manufacturer’s guide to ensure it works with dimming systems and avoid problems.
Connecting and Wiring the Lights Properly
Following Manufacturer’s Wiring Instructions
Follow the maker’s wiring steps for safe installation. Read the manual carefully before starting. Check details like voltage, polarity, and connection methods. Many manuals include diagrams to make wiring easier. Use these diagrams to avoid mistakes and match your COB strip lights correctly.
Tip: Check all wiring connections twice before turning on the lights. This stops short circuits and keeps the strip safe.
Using Quality Connectors and Soldering Techniques
Good connectors and soldering make your setup strong and reliable. For permanent setups, soldering directly creates firm and lasting bonds. Make sure solder joints are neat and tight to avoid loose wires. For temporary setups, clip connectors are easy to use and adjust. These connectors work with most LED strips and simplify wiring.
Important Wiring Tips:
Soldering directly makes strong connections for long-term use.
Clip connectors are great for flexible or temporary setups.
Tight connections stop voltage drops and keep lights bright.
Using good materials means less fixing and better performance over time.
Ensuring Proper Polarity and Voltage Matching
Match the polarity and voltage of your COB strip lights carefully. Find the positive and negative ends on the strip and power supply. Connect them correctly to avoid damage from reverse polarity. Check the voltage of the strip and power supply. Most COB strips need 12V or 24V DC. Make sure the power supply matches this to stop overheating or weak lighting.
Note: Wrong polarity or voltage can cancel your strip’s warranty. Test connections first before finishing the setup.
Securing the Lights with Effective Mounting Techniques
Using Adhesive Backing or Mounting Clips
Adhesive backing is an easy way to attach COB strip lights. Make sure the adhesive is strong enough to hold well. Peel off the cover and press the strip onto the clean surface. If adhesive isn’t enough, use mounting clips for extra support. Clips work well on rough or uneven surfaces. They also let you move the lights if needed.
Tip: Combine adhesive and clips for better stability. This is useful in busy areas or places with temperature changes.
Avoiding Overstretching or Bending the Strip
Be gentle when handling the strip lights. Stretching too much can harm the wires inside. Bending too far might break the circuit. Check the maker’s rules for how much you can bend. For corners, use special connectors instead of forcing the strip to bend. Careful handling keeps the lights working and looking good.
Reinforcing the Installation for Long-Term Durability
To make the setup last longer, add extra support. Use more adhesive or screws to secure the clips tightly. Check the lights now and then to ensure they stay in place. Fix any loose or peeling parts quickly to avoid bigger problems. Strong reinforcement helps the lights last longer and work better.
Note: Reinforce outdoor or damp areas since adhesive may weaken over time.
Testing COB Strip Lights Before Finalising Installation
Checking for Proper Functionality
Test the COB strip lights before finishing the setup. Connect them to the power supply and turn them on. Check if the brightness and colour are even across the strip. Look for dim or flickering parts, as these may mean wiring problems or broken parts.
Tip: Test small sections of long strips. This makes finding issues easier.
Check the connections between the strips and power supply. Loose or wrong connections can stop the lights from working properly. Fix these problems quickly to avoid trouble later.
Identifying and Fixing Any Issues
Fix any problems you find during testing before completing the setup. Common issues include wrong polarity, bad connections, or damaged strip parts. Use a multimeter to check voltage and continuity along the strip. This tool helps you find where the problem is.
Replace broken sections with new ones and secure the connections. For wiring problems, re-solder or adjust connectors carefully. Always follow the maker’s instructions to keep the warranty safe.
Testing in Final Lighting Conditions
After fixing issues, test the lights in the actual space. Turn off other lights to see the brightness, colour, and overall effect of the COB strip lights. This step ensures the lighting looks good and fits the area.
Note: Testing in the final space helps you make adjustments for better results.
Maintaining COB Strip Lights for Long-Term Performance
Cleaning the Lights Regularly
Cleaning your COB strip lights keeps them bright and lasting longer. Dust and dirt can build up, making them dim and weakening the adhesive. Use a soft, dry cloth to gently wipe the lights. For tough dirt, use a slightly damp cloth with water. Avoid strong chemicals as they can harm the strip. Regular cleaning stops dirt from blocking light and keeps the setup looking neat.
Tip: Clean the lights every few months, especially in dusty or damp places, to keep them working well.
Inspecting for Wear and Tear
Checking your COB strip lights often helps spot problems early. Look for peeling, fading colours, or flickering lights. Check wires and connectors for loose ends or damaged cables. Areas near heat or moisture wear out faster, so inspect them carefully. Finding issues early lets you fix them quickly and avoid bigger problems.
Note: Use a magnifying glass to check small parts like solder joints for damage.
Replacing Damaged Sections Promptly
Broken parts of COB strip lights can affect the whole setup. If some areas are dim or not working, replace them right away. Cut out the damaged part following the maker’s instructions. Attach a new strip using matching connectors. Make sure the new strip matches the old one’s brightness and colour. Fixing broken parts quickly keeps the lights working well.
Tip: Keep extra strips and connectors ready for quick fixes, especially in busy or outdoor areas.
Setting up COB strip lights needs good planning and care. Clean the surface well before starting. Measure the area correctly to avoid mistakes. Wire the lights properly for safe and bright results. Keep checking and cleaning the lights to make them last longer. Follow these steps to enjoy bright, energy-saving lights that improve your room’s look.
FAQ
What makes COB strip lights better than regular LED strips?
COB strip lights shine brighter and show colours more clearly. They also give smooth light without visible dots, making them look neater.
Can you use COB strip lights outside?
Yes, but pick waterproof ones for outdoor use. These are made to handle rain and outdoor weather, so they last longer and work well.
How can you cut COB strip lights safely?
Find the cutting marks on the strip first. Use sharp scissors to cut only at these marks. Cutting in the wrong spot can break the circuit.
See Also
Effective Installation Guide for LED Strip Lights in 2025
Guide to Effectively Installing RGB LED Strip Lights
Steps to Connect Your COB Lighting Strip Easily


