Putting LED strip lights on a ceiling can change your room. It adds stylish and modern lighting to your space. In 2023, the home LED lighting market was worth £23.5 billion. This shows how popular they are becoming. LED lights are flexible and can make cosy settings. Adding LED lights is now a top choice to improve home designs.
Key Takeaways
Collect all needed tools and items before you begin. These include wire cutters, screwdrivers, and a quality LED strip light kit for easy setup.
Measure the ceiling and mark where strips will go. This helps avoid tangled wires and keeps it tidy.
Pick LED strips with the right brightness and colour. More lumens mean brighter light, and a high CRI gives better colour clarity.
Preparation for Installing LED Strip Lights
Tools and Materials Needed
Before starting, gather the tools and materials you need. You will need wire strippers, voltage testers, screwdrivers, and electrical tape. A soldering iron is useful for neat cuts and joins. Use a clean cloth and mild cleaner, like vinegar or soap, to clean surfaces. Make sure the surface is dry before continuing.
Choose a good LED strip lighting kit with strips, connectors, and power supply. This kit makes installation easier and ensures all parts work together. Do not pull the LED strip too hard to avoid breaking it.
Measuring and Planning the Layout
Measure carefully and plan the layout for a neat finish. Use a measuring tape to check the ceiling’s perimeter for the LED strips. Sketch the layout on paper or use software to plan power source spots and wiring. This step prevents messy wires and ensures the strips fit well.
Cleaning the Ceiling Surface
A clean surface helps the strips stick properly. Wipe the ceiling with a cloth to remove dust and dirt. For tough stains, use a mild cleaner. Let the surface dry fully before sticking the LED strips. This step improves the adhesive and keeps the strips in place longer.
Choosing the Right LED Strip Lights
Picking the right LED strips is key for the look you want. Think about brightness, colour quality, and energy use. Brightness is measured in lumens; more lumens mean brighter light. For better colour, pick strips with a high Colour Rendering Index (CRI). If you want convenience, choose smart LED strips you can control with your phone or voice.
Step-by-Step Guide to Install LED Strip Lights
Marking the Placement
Begin by marking where the LED strips will go. Use a pencil or tape to outline the placement. This helps create a neat and balanced design. Plan corners carefully to avoid gaps or overlaps. For corners, use connectors to join strips smoothly. Check your measurements twice to match your planned layout.
Attaching the LED Strips
After marking, attach the LED strips securely to the ceiling. Here are some ways to fix them:
Method | Description |
|---|---|
Double-sided tape | Easy to use, works well on smooth surfaces. |
Mounting brackets | Adds extra support for firm installation. |
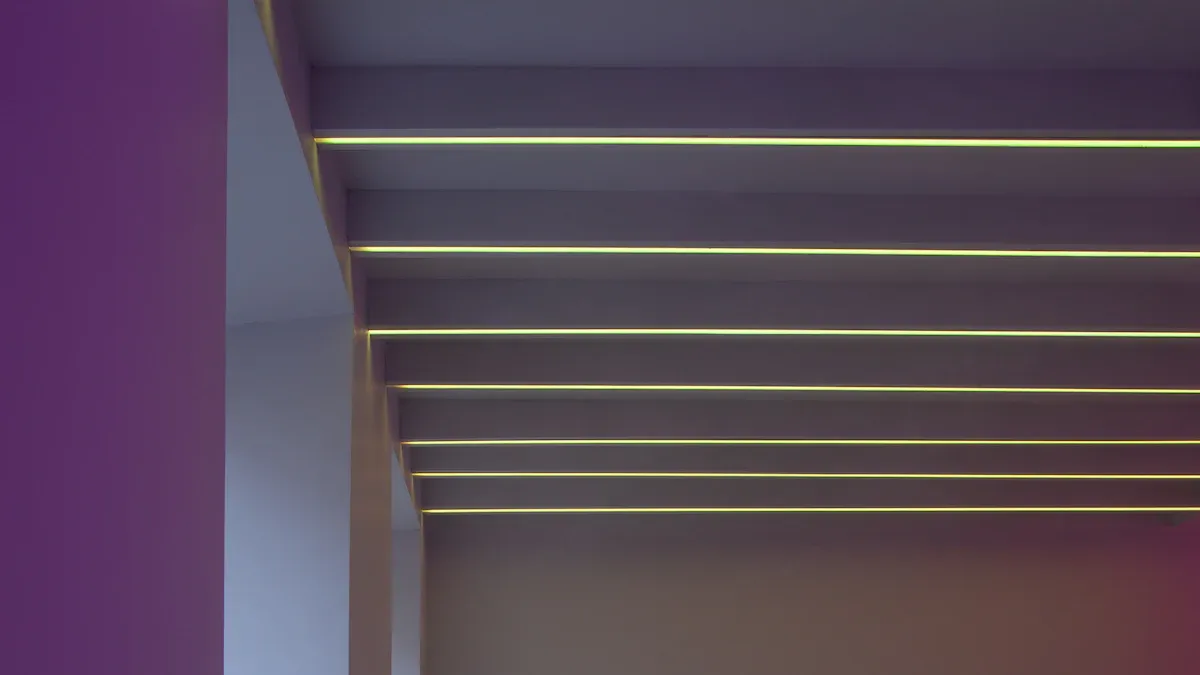
Aluminium channels | Protects strips and gives a tidy finish. |
Recessed profiles | Makes strips flush with the surface for a sleek look. |
Magnetic fasteners | Lets you remove and reattach strips easily. |
For a polished look, use aluminium channels or recessed profiles. These options hide the strips and keep them secure.
Connecting to a Power Source
Link the LED strips to a power source to finish the setup. Use safe, certified LED products for quality and safety. Keep low-voltage wires away from main power lines to avoid problems. Junction boxes are great for neat and safe connections. Always turn off the power before connecting wires to stay safe.
Testing the Lights
Test the lights after connecting them to check if they work. Follow these steps:
Use a multimeter to check voltage differences in the circuit.
Look for visible signs of wiring problems or short circuits.
Measure resistance to find hidden short circuits.
If a strip is damaged, cut it off and reconnect the rest.
Make sure the power supply has overload protection and is energy-efficient. This prevents overheating and saves energy. Once tested, your LED strips are ready to brighten your ceiling.
Tips for a Professional Finish
Cutting and Connecting LED Strips
For a smooth look, cut and join LED strips carefully. Measure the area first and only cut at marked points on the strip. This keeps the circuit working properly. Use connectors for easy joins or solder for stronger connections. Always unplug the strips before cutting or joining to stay safe. If you want dimming options, check if your strips support it and get the right controller.
Hiding Wires
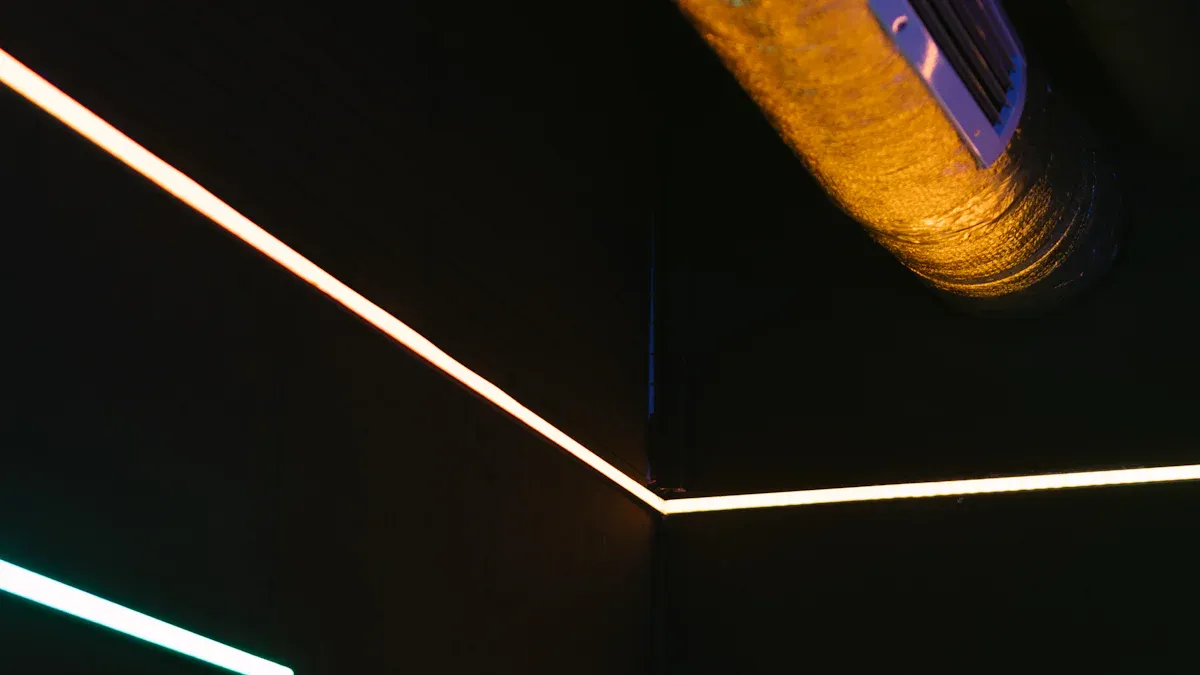
Hiding wires makes your setup neat and tidy. Place LED strips behind things like false ceilings or above cabinets to hide wires. Use cord covers in matching colours to conceal wires and connectors. Attach covers with tape or screws for extra hold. For a sleek look, hide strips behind a lip on a drop ceiling. This keeps the light hidden but improves the lighting effect.
Using Moulding or False Ceilings
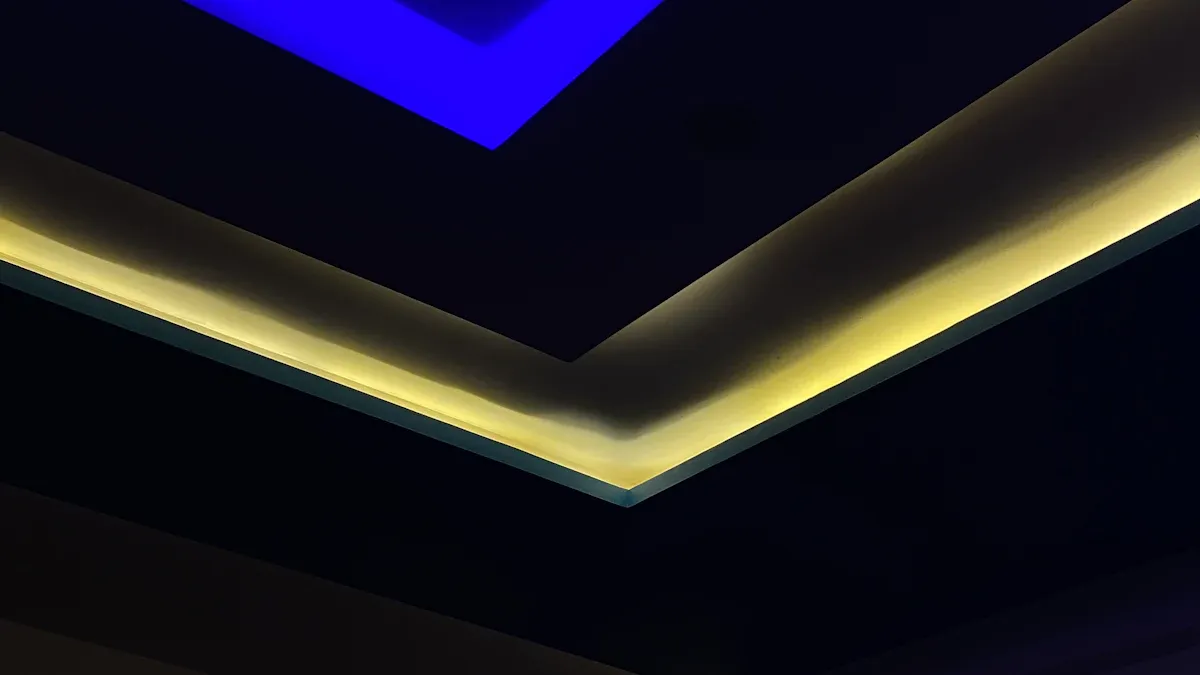
Moulding or false ceilings can hide LED strips and look stylish. Cove moulding is great for hiding strips and creating soft light. Install moulding 7 to 8 inches below the ceiling for the best effect. Use a chalk line to keep it straight and secure it with nails or glue. For drop ceilings, place strips behind a lip to avoid visible light spots. This gives a clean and polished finish.
Ensuring Even Lighting
Even lighting makes your setup look professional. Lay strips flat and avoid overlaps to stop uneven light or overheating. Keep the same distance from walls when placing strips around corners. Clean the surface well before sticking the strips for better grip. Test the lights before final installation to check for problems. These steps will help you get balanced and attractive lighting.
Putting LED strip lights on your ceiling can change your room. Follow these steps for a neat finish: clean the surface, mark where strips go, stick them on, connect to power, and test if they work. Hiding wires and keeping lighting even makes it look professional.
FAQ
How can you stop LED strip lights from falling?
Make sure the ceiling is clean and dry first. Use strong sticky tape or brackets to hold them securely.
Can LED strip lights be cut to fit ceilings?
Yes, cut them at marked spots only. Use scissors or a sharp knife and keep the circuit unbroken for them to work.
Are LED strip lights safe for ceilings?
Yes, they are safe if installed properly. Use approved products, don’t overload the power, and keep wires tidy to avoid risks.
See Also
Innovative Ways to Utilise LED Strips on Ceilings
Effective Methods for Installing RGB LED Strip Lights
Installing and Using 360-Degree LED Neon Rope Lights


