Installing led lighting strips the right way makes them last longer. They work well and look great in any space.
Led lighting strips save up to 70% energy, cutting electricity bills.
They last over 50,000 hours, much longer than old bulbs.
High IP ratings make them perfect for places like under kitchen cabinets.
This guide provides easy steps to install led lighting strips properly. Follow it to achieve strong and dependable results.
Key Takeaways
LED strips use less energy, saving up to 70% on bills.
Installing and caring for them well makes them last 50,000 hours.
Picking the right tools, like power supplies and glue, is key.
Understanding LED Lighting Strips
Tools and Materials Needed
Before you start, gather all the tools and materials. Being prepared makes the job easier. You will need:
LED strip lights of the right size and type.
A power supply that matches your strip’s voltage and wattage.
A measuring tape to measure accurately.
Scissors or a knife to cut the strips properly.
Adhesive tape or clips to hold the strips in place.
Optional items like connector cables, a soldering tool for custom cuts, and tape for securing wires.
Make sure the surface is clean and dry for better sticking. These tools will help you get a neat and professional result.
Features to Consider When Choosing LED Strip Lights
Picking the right LED strips is important for the best results. Check for these features:
Brightness: Measured in lumens, aim for at least 450 per foot.
LED Density: More LEDs per foot (e.g., 36) give smoother light.
Colour Rendering Index (CRI): Higher CRI shows colours more accurately.
Voltage: Choose 12V or 24V based on your power supply.
Control Features: Options like app control or music sync add convenience.
The table below shows why LED strips are a great choice:
Advantage | Description |
|---|---|
Energy Efficiency | LEDs use up to 75% less energy, saving power and money. |
Durability | LEDs last much longer than old-style bulbs. |
Environmental Impact | LEDs are safer for the planet, with no harmful chemicals or UV rays. |
Performance in Cold Weather | LEDs work well even in very cold temperatures. |
Build Quality | LEDs are strong and less likely to break. |
Selecting the Right Power Supply
Choosing the right power supply keeps your LED strips working safely. Follow these steps:
Check your LED strip’s voltage (e.g., 12V or 24V). Match it with the power supply.
Add up the total wattage of your strips. Add 20% extra to avoid overloading.
Don’t use the wrong power supply, as it can cause overheating or damage.
A good power supply helps your LED lights work well and last longer.
Getting Ready to Install LED Tape
Picking the Right Spot
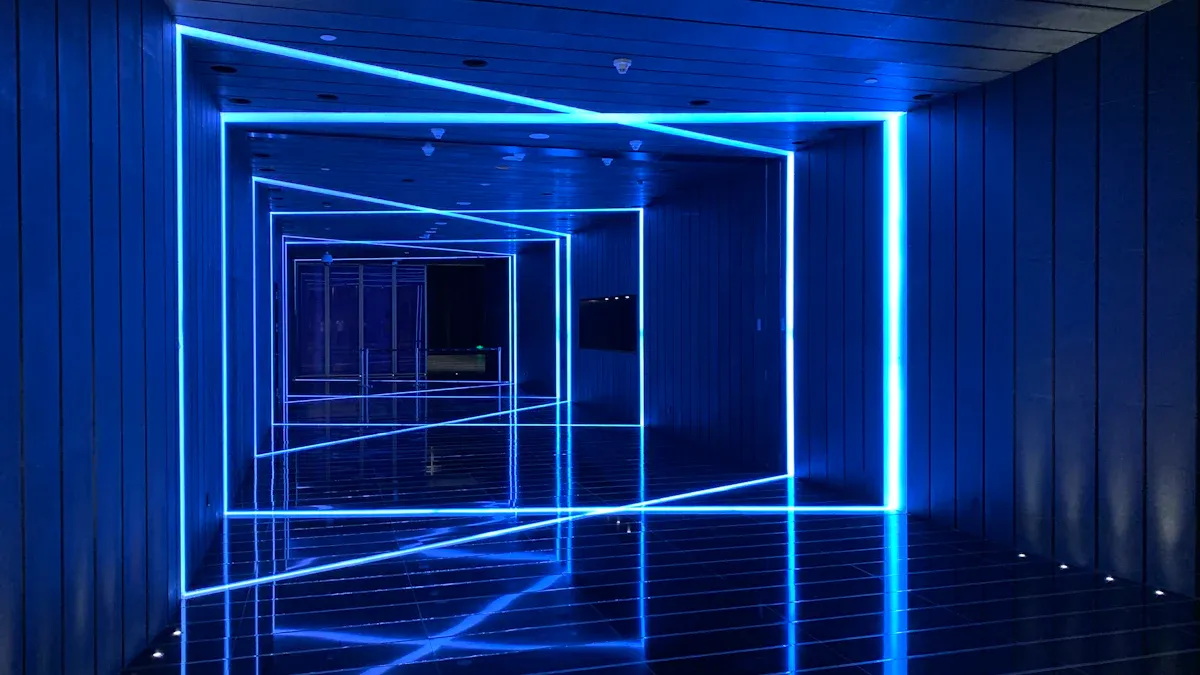
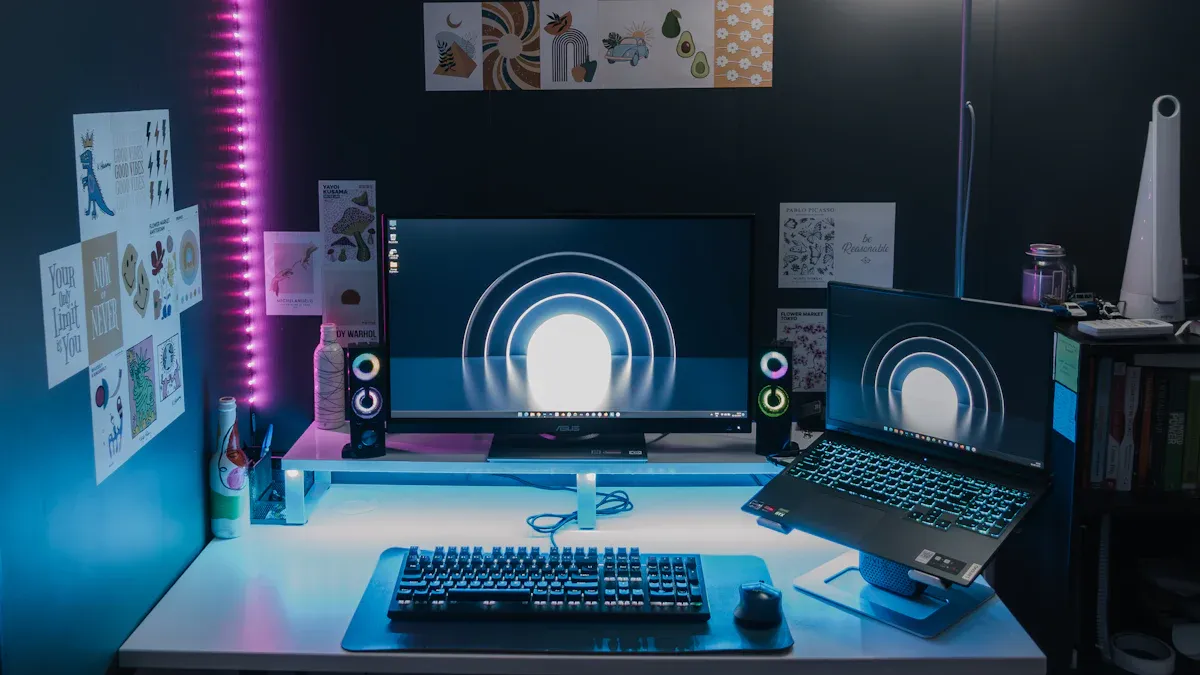
Choosing the best spot for your LED tape is important. Look at the space carefully to decide where it fits best. For tight spaces, pick thin LED strips that fit well. Think about the mood you want when picking the light colour. Warm lights are great for bedrooms to help you relax. RGB lights are fun for game or TV rooms. Special LED strips can sync with sound for cool effects under TVs. Measure the area and use high-voltage strips for long spaces to avoid dimming.
Measuring and Cutting LED Strips
Measuring and cutting LED strips correctly is very important. First, measure the area where you will place the strip. Use sharp scissors to cut only at the marked spots on the strip. These marks show where it is safe to cut. Never cut outside these marks, or the strip might stop working. If you need to adjust the length more, follow the maker’s instructions to keep it working properly.
Cleaning and Preparing the Surface
Cleaning the surface helps the LED tape stick better and last longer. Turn off any nearby electrical devices before starting. Wipe the area with a damp cloth to remove dirt and dust. For tricky spots, use air spray to clean them. Let the surface dry completely before sticking the tape. Make sure the surface is smooth, as bumps can stop the tape from sticking well. You can also use clips or seal the edges with silicone for extra hold, especially in wet areas.
How to Install LED Strip Lights
Attaching LED Strips Securely
Follow these steps to attach LED strips properly:
Check the LED strips to make sure they work first.
Remove the backing from the sticky side of the strip.
Stick the strip onto the clean surface, pressing it firmly.
For stronger hold, use glue or strong adhesives like 3M VHB 4229.
Make sure the surface is smooth and clean to avoid falling strips. For outdoor or hot areas, use heat-resistant adhesives like 3M 300SLE.
Using Connectors for Corners and Joints
Corners and joints can be tricky to handle. Use quick connectors to join LED strips without soldering. These connectors clip onto the copper pads on the strip. For longer setups, use extension cables to link strips together. Power amplifiers help keep the lights bright over long distances.
Securing with Adhesive or Mounting Clips
Sticky LED strips often come with adhesive, but clips add extra support. Clips work well on bumpy surfaces or in damp areas. Place clips every 12 inches to keep the strips steady. For electronic parts, use thermal adhesives like Blue Thermal Adhesive (6.0 N/CM) for a firm hold.
By following these steps, your LED strips will stay in place for a long time.
Connecting and Powering LED Strips
Wiring LED Strips to the Power Source
Follow these steps to safely connect LED strips:
Check the voltage of your LED strip (e.g., 12V or 24V). Use a matching power supply.
Use clip-on connectors for easy setup, or solder for cheaper options.
Connect each strip directly to a DC power source for even brightness.
Longer strips may dim due to voltage drop. To fix this, use shorter wires or thicker ones. The table below shows how much power a typical LED strip uses:
LED Strip Length (ft) | Power Use (W/ft) | Total Power (W) |
|---|---|---|
5 | 4 | 20 |
Ensuring Correct Voltage and Polarity
Using the right voltage and polarity keeps your LED strips safe. Wrong voltage can damage the strip and shorten its life. Reversed polarity can cause overheating and even fires.
“Reversed polarity can overheat LED strips, damaging circuits or causing fires.”
Always check the polarity signs on the strip and power supply. This simple check ensures a safe and long-lasting setup.
Managing and Hiding Cables
Good cable management makes your setup look neat and safe. Use clips, staples, or hooks to secure cables every 4.5 feet. Keep wires away from heat or insulation. Separate low-voltage and high-voltage wires using different trays or conduits.
Hide cables behind furniture or in cable organisers for a tidy look. Label wires to make future repairs easier. Add fuses or circuit breakers to protect your setup from damage.
Testing and Troubleshooting LED Strip Lights
Checking if Lights Work Properly
After setting up, test your LED strip lights to ensure they work. Plug in the power supply and switch on the lights. Look for even lighting with no flickering or dim areas. For RGB strips, check if colours change and brightness adjusts correctly. Walk along the strip to see if the light is consistent everywhere. Fix any problems before finishing the setup.
Tip: Test your LED strips before sticking them down. This step saves time and avoids extra work later.
Solving Common Problems
Sometimes, problems happen even with good planning. Loose wires are a frequent issue. Gently pull on wires to check they are secure. If some parts don’t light up, check the power source. Try another socket to see if the power supply works. Damaged strips or connectors might need replacing. Always follow the maker’s instructions for fixing specific problems.
Steps to Fix Issues:
Make sure all wires are tightly connected.
Check if the power supply is working.
Look for damage on the LED strips.
Replace broken parts if needed.
Keeping Lights Safe and Working Well
Safety is very important when using LED strips. Use waterproof connectors and seal joints with silicone in wet areas. Match the power supply to the strip’s voltage and wattage. Follow safety rules like CE or UKCA standards for reliable use. Check your setup often for damage to keep it working for a long time.
Certificate Name | Region | Requirement |
|---|---|---|
CE Certification | European Union | LVD and EMC tests |
UKCA Certification | United Kingdom | LVD and EMC tests |
UL Certification | United States | Safety |
By following these tips, your LED strips will stay safe and last for years.
Maintenance Tips for LED Strip Lights
Cleaning Without Damaging the Strips
Keeping LED strips clean helps them stay bright and last longer. Dust and dirt can block light, so clean them often. Use a soft, dry cloth to gently wipe the strips. For tougher dirt, use a damp cloth, but avoid strong chemicals. Harsh cleaners can harm the strip’s protective layer.
Tip: Always switch off the power before cleaning to stay safe.
In greasy or damp areas like kitchens, clean the strips more often. Regular cleaning keeps your LED strips looking good and working well.
Replacing Damaged Sections
If part of your LED strip stops working, it’s easy to fix. Follow these steps:
Find the broken section where the lights stop working.
Cut the faulty part at the marked cutting line.
Attach a new strip, making sure the ends match up.
Secure the connection by soldering and test the lights.
Replacing damaged parts saves time and avoids reinstalling everything. Always use matching strips for even brightness and colour.
Tips for Prolonging the Lifespan of LED Strips
To make LED strips last longer, follow these tips:
Buy good-quality strips and install them properly.
Keep them away from extreme heat, cold, or direct sunlight. For wet areas, use strips with an IP65 rating or higher.
Place indoor strips on metal surfaces to reduce heat.
Ensure good airflow and use aluminium channels to cool them down.
LED strips work best between -20°C and 65°C. Keeping them cool prevents dimming or damage. With proper care and setup, your LED strips will last for years.
Putting up LED strips needs planning, careful work, and upkeep. Use this guide to make your LED strips last longer. Well-installed LED strips use less energy, cut bills, and are safer. Follow these steps to get bright, reliable, and stylish lights for many years.
FAQ
How can you cut LED strips safely?
Only cut LED strips at the marked spots. Use sharp scissors or a knife for neat cuts.
Can you reuse LED strips after taking them off?
Yes, but only if the sticky backing still works. For better sticking, use fresh tape or clips when reusing.
How do you stop LED strips from getting too hot?
Place LED strips on metal or use aluminium holders. These materials help spread heat and keep the strips cool.
See Also
Effective Installation Tips for LED Strip Lights in 2025
Best Practices for Installing RGB LED Strip Lights
Selecting the Perfect LED Strip Lights for Linear Lighting
Safe Outdoor Usage Tips for LED Strip Lights
Utilising Smart LED Strips for Home Lighting in 2025


