Cutting LED strip lights safely is very important. It helps keep them working well. You should try to avoid any damage while cutting. Many people fear they might make mistakes. These mistakes could make the strips not work anymore. Learning how to cut LED strips the right way can help you. Always use the correct methods to get good results.
Key Takeaways
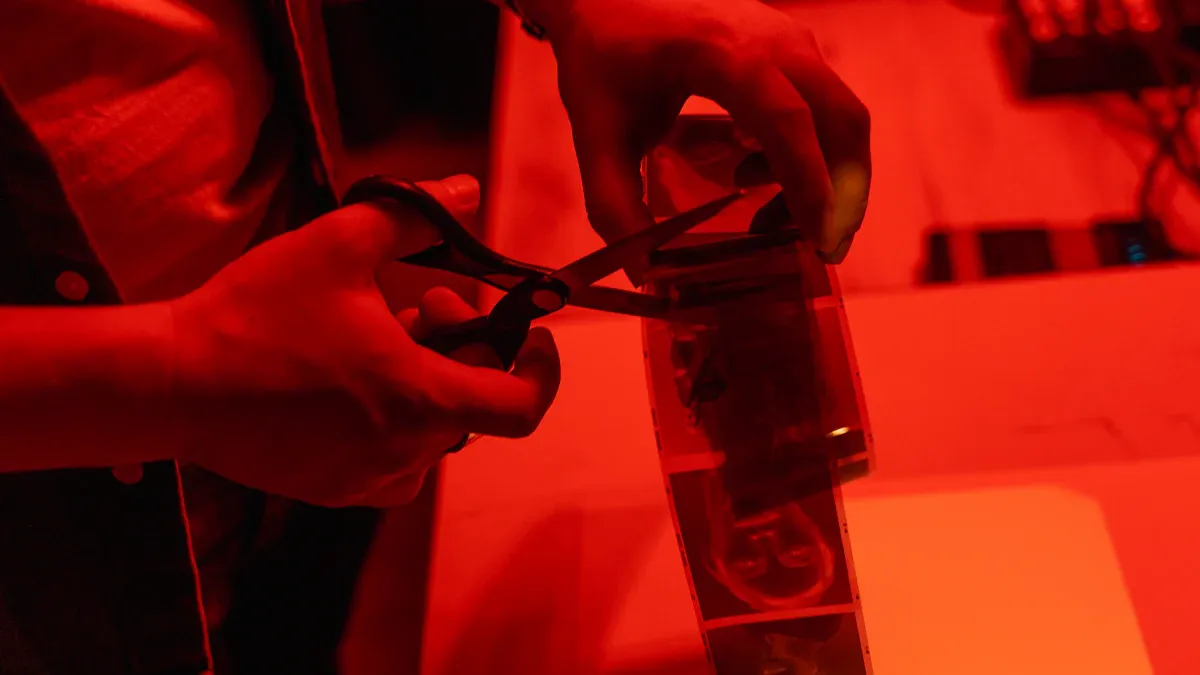
Always use sharp scissors or a utility knife. This helps make clean cuts. It stops damage to the LED strip and keeps it working well.
Unplug the power source before cutting. This keeps you safe from electric shocks and accidents.
Find the right cut points on the strip. Cutting in the wrong spots can hurt the circuit and cause uneven lighting.
Use connector clips or soldering to secure cut ends. Good connections stop short circuits and help your lights work properly.
Clean your LED strips often to stop dust from building up. This care keeps them bright and makes them last longer.
Preparation for Cutting LED Strip Lights
Before cutting LED strip lights, you must get ready. Having the right tools and being safe will help you succeed.
Necessary Tools
To cut LED strip lights well, gather these tools:
Sharp Scissors or Utility Knife: Use sharp scissors or a utility knife for clean cuts. This stops damage to the circuit and keeps the LED strip lights safe.
Ruler or Measuring Tape: Measure the length you need carefully. This helps avoid mistakes that waste materials.
Soldering Iron (Optional): If you want to reconnect the strips, a soldering iron can help secure connections.
Using the right tools is very important. Dull tools can hurt the copper pads needed for reconnection. This can cause connection problems. Always check your tools are good before you start.
Safety Precautions
Safety must come first when working with LED strip lights. Here are some key precautions to think about:
Safety Precaution | Description |
|---|---|
Proper Installation Techniques | Make sure to install correctly to stop electrical shorts and overheating. |
Quality of Materials | Use UL Listed or ETL certified products to lower overheating and fire risks. |
Maintenance Practices | Check regularly for overheating, power cord issues, and loose connections. |
Segregation of Wiring | Keep low voltage and high voltage wiring apart to reduce risks. |
By following these precautions, you can lower the chance of accidents and keep a safe workspace. Always check your setup before cutting to prevent any problems.
Taking time to prepare well will make cutting easier and safer. You will feel more sure knowing you have the right tools and safety steps ready.
How to Cut LED Strips
Cutting LED strip lights needs careful attention. You must find the right cut points to keep the strip working. Cutting in the wrong places can cause problems. It is important to follow the manufacturer’s instructions for even lighting. If you cut in the wrong spots, you could harm the circuit. This makes the strip not work properly. It can cause uneven lighting and dimming, which affects how well the LED strip lights perform.
Identifying Cut Points
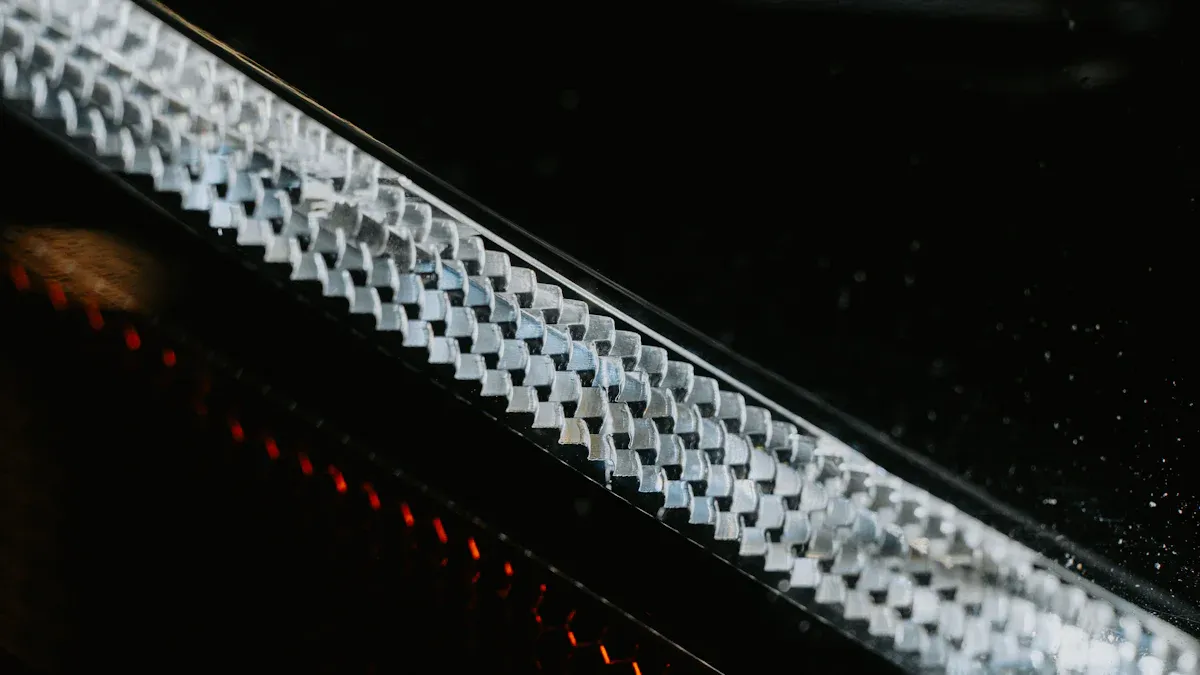
LED strip lights have special cutting lines. These lines show where to cut with a scissor icon or clear marks. Always look for these signs before you start. Cutting at these points helps protect the internal circuits. Each part of the strip has LEDs and a circuit board. Cutting in the right places keeps the other sections safe.
Step-by-Step Cutting Process
To cut LED strips safely, do these steps:
Disconnect Power: Always unplug the power adapter or disconnect the controller before cutting. This stops any electrical dangers.
Locate the Cut Mark: Find the scissor icon or copper pads to see where to cut. This helps you cut in the right spot.
Make a Clean, Straight Cut: Use sharp scissors or wire cutters to cut straight through the cut zone. A clean cut stops damage to the strip.
Prepare the Ends for Reuse: Trim any extra silicone, clean the pads, and do not touch them with your fingers. This keeps the connection points clean for later use.
Test Before Installation: Reconnect the strip to the power source and check if it lights up correctly. This step shows that you cut it right.
By following these steps, you can cut LED strips safely and well. Always remember to cut at the marked points to avoid damaging the strip and to keep it working well.
Connecting Cut LED Strip Lights
After you cut your LED strip lights, you must connect the ends properly. This step makes sure your lights work well and safely. Here’s how to do it right.
Securing Cut Ends
To stop short circuits and make a strong connection, you can use different ways to secure the cut ends of your LED strip lights:
Using Connector Clips:
Pick a clip that fits the width of your strip.
Make sure the cut end is clean and straight.
Put the strip into the clip and secure it.
Test the connection before you finish installing.
You can add silicone sealant for extra strength.
Soldering for Permanent Connections:
Remove insulation from the wire ends.
Tin the wires and contacts with solder.
Solder the connection and cover it with heat-shrink tubing or electrical tape.
Using these methods helps keep your LED strip lights working well. When soldering LEDs together, make sure to use the right techniques. This stops cold solder joints, which can cause connections to fail. Clean and good solder joints keep the electrical flow steady, ensuring even lighting.
Ensuring Proper Functionality
Once you have secured the cut ends, it’s important to check that your LED strip lights work correctly. Here are some steps to follow:
Reconnect the Power: Plug the power adapter back in or reconnect the controller.
Test the Lights: Switch on the lights to see if they shine evenly. If you see flickering or dimming, check your connections.
Inspect for Issues: Look for signs of overheating or strange behaviour. If you find any problems, double-check your connections.
If you need to join segments of cut LED strip lights, think about using compatible connectors. Here are some options:
Four pin connector
T connector
Connector wire
L connector
You can also use pins and headers, which you can find on sites like eBay or AliExpress. Make sure there is a 2mm gap for headers to connect and reconnect segments easily. This way, you can change your lighting setup without needing to solder.
By following these steps, you can make sure your cut LED strip lights are connected well and work as they should. Good connections not only improve how your lights perform but also help them last longer.
Troubleshooting Cutting Apart LED Strips
When you cut LED strip lights, you might have some problems. Knowing these common issues can help you fix them fast.
Common Issues
After cutting LED strips, you may see these challenges:
Non-Functioning Segments: Some parts of the strip might not light up after cutting.
Flickering Lights: You could notice that some sections flicker or dim for no reason.
Visible Short Circuits: Look for signs of short circuits, which can cause problems.
Solutions and Tips
To fix these issues well, follow these steps:
Check for Short Circuits:
Look at the cut ends for any signs of short circuits.
Use a multimeter to check for hidden short circuits. This tool helps find problems that are hard to see.
Test Voltage:
Use a multimeter to check for voltage differences along the circuit. This step shows if power flows correctly through the strip.
Reheat Solder Joints:
If you know how to solder, reheat the solder joints to make sure they connect well. Bad connections can cause flickering or non-working segments.
Replace Failed Sections:
If a section does not work after checking connections, think about replacing that part of the strip. This can help your LED strip lights work again.
By using these troubleshooting tips, you can fix common problems that happen when cutting LED strips. Regular checks and care will help keep your lights shining bright.
Cutting LED strip lights safely is very important. It helps them last longer and work better. Always use the right tools, like sharp scissors or a box cutter, for clean cuts. Unplug the power source before you cut to stay safe from electric shocks. Make sure to clearly mark where you will cut. Remember to ‘measure twice, cut once’ to get it right. Cutting along the marked lines keeps the strip strong.
By following these tips, you can have a great project and make your space look nice with working LED strip lights.
Tip: Clean your LED strips often to stop dust build-up, which can make them less bright.
FAQ
What tools do I need to cut LED strip lights?
You need sharp scissors or a utility knife, a ruler or measuring tape, and optionally, a soldering iron for reconnections. These tools ensure clean cuts and proper measurements.
Can I cut LED strip lights anywhere?
No, you must cut at designated points marked on the strip. Cutting in the wrong places can damage the circuit and affect functionality.
How do I connect cut LED strip lights?
You can use connector clips or solder the ends together. Ensure the connections are secure to prevent short circuits and ensure proper lighting.
What should I do if my LED strip lights flicker after cutting?
Check your connections for any loose or damaged points. You may need to reheat solder joints or replace faulty sections to resolve flickering.
How often should I clean my LED strip lights?
Clean your LED strip lights regularly to prevent dust build-up. This maintenance helps maintain brightness and prolongs the lifespan of your lights.


