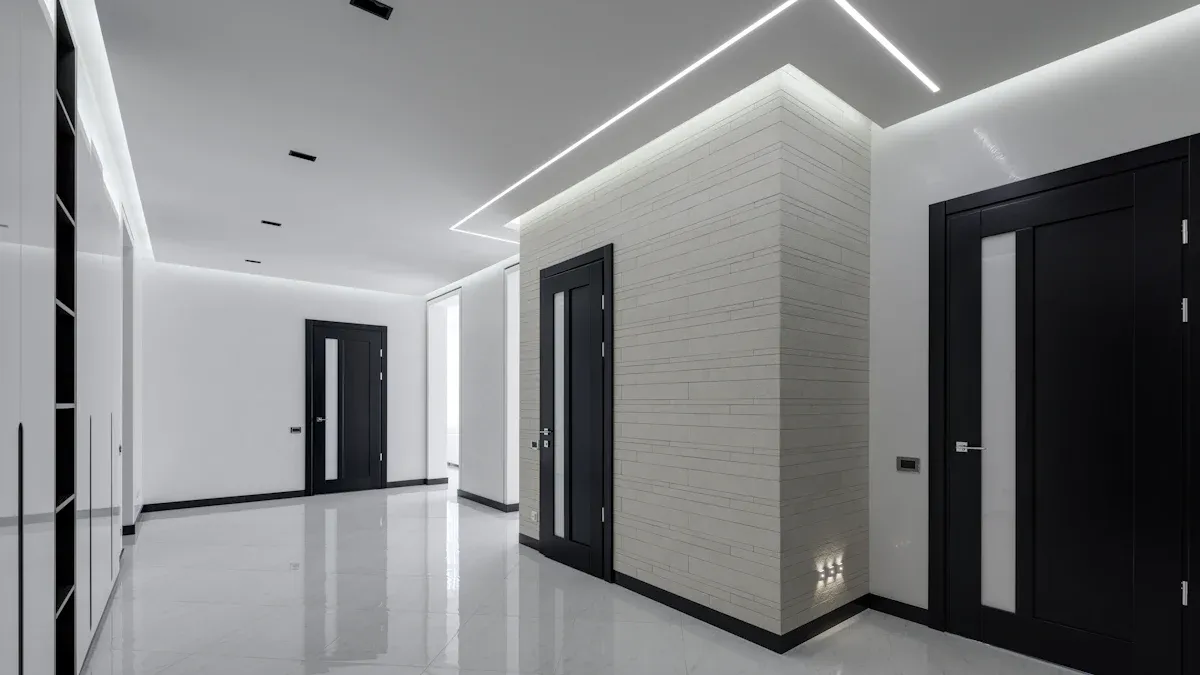
Imagine making your ceiling the main attraction of your room. LED tape for ceiling lighting offers you many creative options. Its slim and bendable design helps create cool, modern looks. It is easy to set up, so anyone can use it. You can choose soft, cosy lighting or bright, colourful shades. LED tape for ceiling lighting fits your style and ideas perfectly. This smart lighting choice looks great and is useful too, enhancing any space.
Key Takeaways
LED tape lights save energy, using 70% less power than old lights. Switching to LED can lower your electricity bills a lot.
LED tape is flexible and works in many places. Put it in coving, hidden spots, or to show off cool building details for a stylish look.
You can change the brightness and colours of LED tape. Pick warm white to relax or RGB colours for fun parties.
Installing it properly gives the best results. Clean the area, measure well, and use channels to keep it tidy.
Take care of your LED tape by cleaning it and checking connections. This helps it last longer and stay bright.
Benefits of using LED tape for ceiling lighting
Energy efficiency and long-lasting performance
LED tape uses less energy, making it a smart choice. It needs much less power than older lights but shines just as bright. For example, a T8 fluorescent lamp uses 250 watts. An LED version only needs 130 watts, cutting energy use by half. With smart controls, you can save up to 70% on energy.
💡 Tip: Switching to LED tape can cut lighting costs by 40%. Most upgrades pay off in three to five years, sometimes even faster.
LEDs last a long time, often over 50,000 hours. This means fewer replacements, saving you time and money. Using LED tape lowers your bills and helps the planet by being eco-friendly.
Versatility in design and application
LED tape is very flexible and fits many ceiling styles. You can use it in coving, recessed areas, or drop-down ceilings. It works well in homes, offices, shops, and workshops.
It gives smooth, even light, making spaces look better. Its slim design hides easily, giving a neat, modern feel. Use it to highlight features or create special lighting effects. LED tape lets you customise your space in endless ways.
✨ Fun Fact: People love LED tape for creative ideas like starry ceilings or fancy designs.
Adjustable brightness and colour options
LED tape lets you control how bright your lights are. You can make it bright for work or soft for relaxing. It suits any mood or activity.
Some LED tape has RGB (red, green, blue) features. This lets you pick from many colours to match your room’s style. Advanced systems even let you change settings with apps or voice commands.
🌈 Pro Tip: Try warm white for a cosy feel or cool white for a sleek, modern vibe.
Enhancing room ambience and aesthetics
LED tape can change how your room feels. Placing it on your ceiling makes the space warm or modern. Its flexibility lets you try different designs to match your décor.
How LED tape enhances ambience:
Customisable lighting effects: Adjust brightness to fit your mood. Use soft light for relaxing or bright light for parties. LED tape works for any occasion.
Colour versatility: RGB options let you pick many colours. Match the lights to your room’s theme or switch them for events.
Smooth and even light distribution: LED tape gives steady light without harsh shadows. This creates a balanced and pleasing look.
💡 Tip: Warm white LED tape feels cosy and inviting. Cool white or coloured lights give a modern and lively style.
Practical applications for enhancing aesthetics:
Highlight architectural features: Place LED tape in coving or recessed spots. This shows off unique ceiling designs.
Create focal points: Frame areas like dining tables or sofas with LED tape. This makes them stand out.
Add depth and dimension: Layer LED tape or use it on drop ceilings. This makes your room look bigger and more dynamic.
LED tape lighting improves both function and style. It blends well with your design, making your ceiling a true highlight.
Choosing the right LED tape for ceiling lighting
Understanding brightness levels and lumens
Picking the right LED tape needs knowing about brightness. Brightness is measured in lumens, showing how much light is given off. For kitchens, pick a colour temperature of 2,700K to 3,000K. Hallways and stairs need at least 100 lux at floor level. This keeps the area safe and well-lit.
Choose LED strips with good luminous efficacy for better lighting. At least 100 lumens per watt saves energy and keeps it bright. This balance makes your space look inviting and well-lit.
💡 Tip: Pick LED tape with adjustable brightness. This lets you change the light for different moods or tasks.
Selecting colour temperature and RGB options
Colour temperature changes how a room feels. Warm white (about 3,000K) feels cosy and calm. Cool white (5,000K-6,000K) feels modern and lively. For more options, try LED tape with RGB features. These let you pick many colours, great for parties or themes.
Smart LED systems let you control colour and brightness easily. Use apps or voice commands for quick changes. This makes using them simple and fun.
🌈 Pro Tip: Use warm white daily and RGB for special events. This gives you more choices.
Types of LED tape: waterproof, dimmable, and smart-enabled
LED tape comes in different types for various uses. Waterproof LED tape (IP65 or higher) works well in wet areas like bathrooms. Dimmable LED tape lets you change brightness for tasks or relaxing.
For a modern feel, pick smart-enabled LED tape. These work with home systems for scheduling and voice control. Look for high-quality specs like a CRI of 90 for better colours and longer use.
Specification | Details |
|---|---|
Wattage | 9.6w per metre |
Voltage | 12v |
IP Rating | IP65 Rated |
Colour Temperatures | Adjustable from 3000-6000K |
LEDs Per Metre | 120 LEDs per metre |
Mountable | 3M VHB pressure-sensitive adhesive tape |
Cuttable | Every 50mm |
Roll Length | Available in 1, 2, 3, 4 and 5m lengths |
CRI | 80 |
Dimensions | W8 X D3mm |
🔧 Note: Always check the specs to match your ceiling and power needs.
Calculating length and power requirements
Before setting up LED tape for your ceiling, plan carefully. This helps the lights work well and fit your space.
Step 1: Measure the ceiling area
First, measure where you want to place the LED tape. Use a measuring tape to find the total length. For straight areas, measure from one side to the other. If there are curves or corners, add a little extra to your measurements.
💡 Tip: Buy a bit more LED tape than needed. This helps with changes or fixes during setup.
Step 2: Calculate power needs
Each metre of LED tape uses a set amount of power. Multiply the tape’s length by its wattage to find total power use. For example, 5 metres of tape using 9.6 watts per metre needs 48 watts.
Pick a power supply that is 20% stronger than this total. This keeps the system safe and working well for a long time.
Step 3: Check compatibility
Make sure the power supply matches the LED tape’s voltage. Most tapes use 12V or 24V. Using the wrong voltage can harm the tape or shorten its life.
🔧 Note: If you have several sections, calculate power for each. Add them together to pick the right power supply for the whole setup.
By planning the length and power correctly, you avoid problems. This ensures your LED tape lighting works well and looks great in your space.
How to install LED strip lights on ceilings
Getting the ceiling ready and measuring the area
Preparing the ceiling is key for a good LED light setup. First, make sure the surface is clean and dry. Use a gentle cleaner or isopropyl alcohol (IPA) to remove dirt and grease. If the surface is very oily, acetone works better. Let the surface dry fully before continuing. To help the tape stick better, you can use a primer or lightly sand the surface to remove any leftover oil.
Step | What to Do |
|---|---|
1 | Clean the surface to remove dirt and grease. Use IPA for cleaning. |
2 | For very oily areas, acetone is a better choice. |
3 | Apply a primer to make the tape stick better. |
4 | Sand the surface lightly if needed to remove oil. |
After cleaning, measure the area where the LED tape will go. Use a tape measure to find the total length. For straight lines, measure from one end to the other. If there are curves or corners, add a little extra to your measurement. Buying a bit more LED tape than needed helps with unexpected changes during setup.
💡 Tip: A clean surface helps the LED tape stick well and last longer.
Placing LED tape for the best lighting
Where you put the LED tape affects how the light looks. For general ceiling lighting, keep it at least one inch from the back wall. This spreads the light evenly and avoids shadows. For cove lighting, place the tape about three-quarters of an inch from the walls for a smooth glow.
For accent lighting, put the tape above or below features like shelves to highlight them. For task lighting, like over a desk, place the tape along the back edge pointing down. This reduces glare and gives focused light. Always make sure the surface is smooth and clean for the best results.
✨ Pro Tip: Try different spots before sticking the tape down. This helps you find the best lighting position.
Fixing LED tape with adhesive or channels
Fixing the LED tape properly makes it last longer and look neat. Most LED strips have sticky backs, making them easy to attach. Peel off the backing and press the tape firmly onto the surface. Press along the tape to make sure it sticks well.
For a tidier look, use aluminium channels or recessed profiles. These protect the tape and make it look sleek. Channels are great for busy areas where the tape might get damaged. Slide the tape into the channel and secure it with clips or screws.
🔧 Note: If the sticky backing isn’t strong enough, use extra clips or brackets for support.
By following these steps, you can easily install LED strip lights on your ceiling. Cleaning, careful placement, and secure fixing will make your lights look great and work well in your space.
Connecting to a power source and testing functionality
Connecting LED tape to power is an important step. First, check the voltage needed, usually 12V or 24V. Pick a power supply that matches this. Using the wrong power supply can harm the tape or shorten its life. Always read the manufacturer’s instructions carefully.
Follow these steps to connect the LED tape:
Prepare the power supply: Unplug it before starting to stay safe.
Attach the connectors: Many tapes have ready-made connectors. If not, use solderless ones. Match positive and negative ends correctly to avoid mistakes.
Secure the connections: Cover them with electrical tape or heat shrink tubing. This stops short circuits and keeps the connection steady.
Plug in the power supply: Once everything is connected, plug it into a socket.
After connecting, test the LED tape. Switch it on and check if all parts light up evenly. If some areas are dim or not working, check for loose wires or wrong connections. Testing now helps fix problems before finishing the setup.
🔧 Note: For multiple sections, use a splitter or amplifier. This spreads power evenly and keeps brightness consistent.
Using diffusers for a polished finish
Diffusers make LED tape lighting look smooth and professional. They soften the light and spread it evenly, removing harsh glare. This creates a gentle glow and improves the look of your lighting setup.
Benefits of using diffusers:
They reduce glare, making the light easier on the eyes.
They spread light evenly, avoiding bright spots or uneven areas.
They come in different styles like frosted, clear, or milky finishes. You can pick one to match your room’s feel.
To install diffusers, use aluminium channels made for LED tape. These channels protect the tape and hold the diffuser. Slide the diffuser into the channel and secure it. For corners, use special corner profiles with built-in diffusers for a neat look.
✨ Pro Tip: Frosted diffusers give soft lighting, great for relaxing spaces. Clear ones work well for bright, focused areas.
Adding diffusers improves both the look and function of your LED tape lighting. They make the light quality better and give your setup a polished finish. This makes them a must-have for a professional result.
Creative ways to use LED tape for ceiling lighting
Indirect lighting with coving installations
Coving lighting is a simple way to improve your ceiling. Place LED tape inside the coving for soft, indirect light. This adds depth and style to your room. It works well in living rooms, bedrooms, or offices. The gentle glow removes harsh shadows, making the space cosy and welcoming.
For even lighting, use a stretch ceiling material that lets light through. Choose one with at least 50% light transmission. Keep LED tape strips 30 cm apart for a 120-degree angle. For a 180-degree angle, leave 45 cm between strips. These tips help you get a neat and professional result.
💡 Tip: Use warm white LED tape for a snug feel. Cool white gives a modern look.
Highlighting architectural features
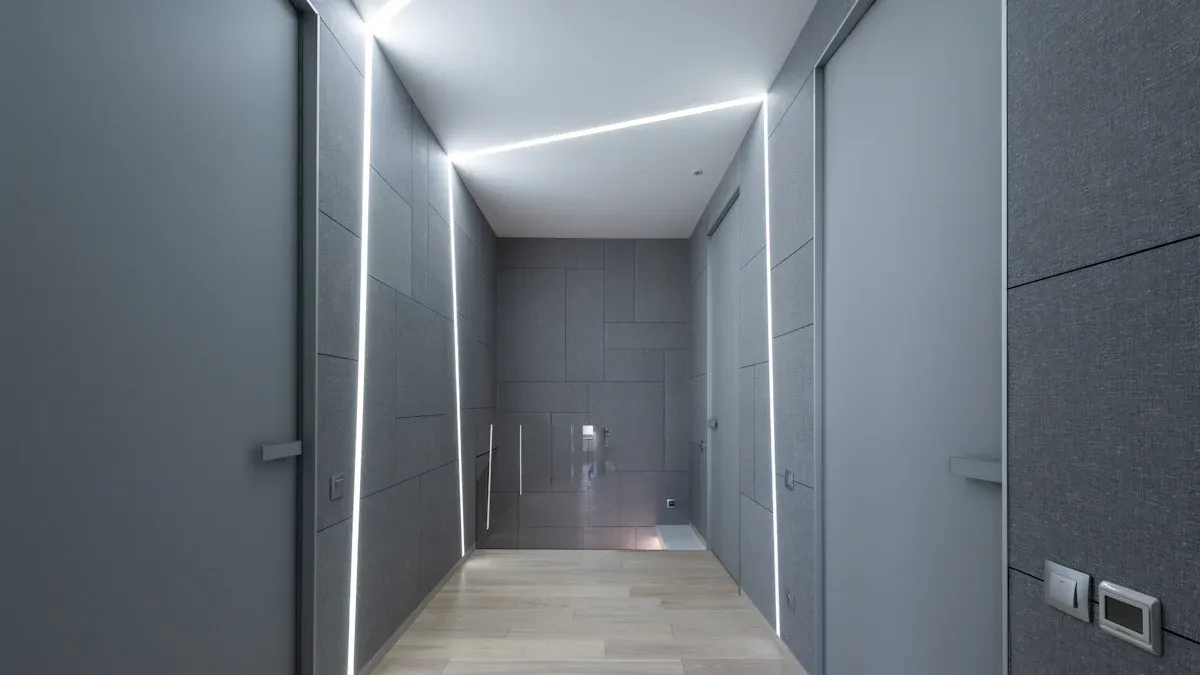
Use LED tape to show off special ceiling details. Highlight crown moulding, beams, or recessed areas with clever placement. The slim design of the tape hides easily, giving a tidy finish.
For the best effect, check how bright the lights need to be. For homes, aim for 1000–2000 lumens per square metre. This brightness makes features stand out without being too strong. Dimmable LED tape lets you change the light level to suit your mood.
✨ Pro Tip: Place LED tape behind features for a glowing halo effect. This adds depth and makes designs pop.
Creating unique effects like a starry night ceiling
Turn your ceiling into a starry sky with LED tape. This idea is great for bedrooms, cinemas, or calm spaces. Plan the area you want to light and gather the right tools. You’ll need an LED light source, fibre bundles, and a flicker wheel for twinkling stars.
Map out where the stars will go. Use fibre bundles to make star clusters of different sizes. The flicker wheel adds movement, making stars sparkle. This design creates a relaxing vibe and becomes a stunning centrepiece.
🌌 Fun Fact: Starry ceilings are loved for nurseries. They create a soothing space for kids.
Enhancing drop-down or suspended ceilings
Suspended ceilings can make your room look stylish. Adding LED tape makes them stand out even more. The light from the tape shows off the ceiling’s layers. This adds depth and a touch of elegance to your space.
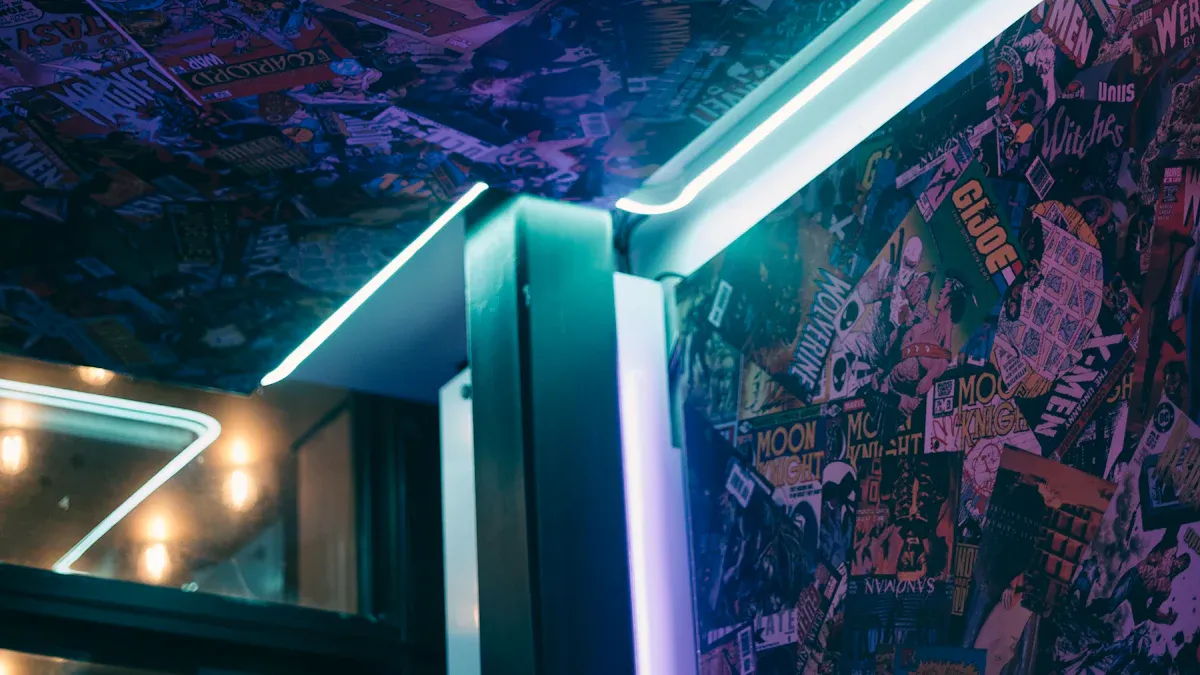
Place the LED tape along the edges or inside recessed parts. This gives a soft glow that highlights the ceiling’s shape. For a bold look, use RGB LED tape for changing colours. This is great for fun spaces like game rooms or modern offices.
Before installing, clean the surface to remove dust or grease. Use aluminium channels to hold the tape firmly in place. These channels also protect the tape from damage and keep it looking neat.
💡 Tip: Warm white LED tape looks cosy with wooden ceilings. Cool white or coloured lights suit modern, sleek designs.
Combining LED tape with other lighting elements
Mixing LED tape with other lights can make your ceiling amazing. Use LED tape as accent lighting with chandeliers or pendant lights. This creates layers of light that are both useful and beautiful.
For example, put LED tape around the ceiling edges. Add spotlights to brighten specific areas. This balances general and focused lighting, making the room practical and stylish. In big rooms, combine LED tape with recessed lights for even brightness.
Choose matching colour temperatures for all lights. Warm white LED tape works well with classic fixtures. Cool white or RGB options fit modern styles. Test the setup before finishing to ensure the lights match perfectly.
✨ Pro Tip: Use dimmable LED tape with smart systems. This lets you easily change brightness and colours for any mood.
Maintenance and troubleshooting for LED tape lighting
Cleaning and preserving LED tape
Keeping LED tape clean helps it work well and last longer. Dust can build up, making it dim and loosening the adhesive. Use a soft cloth slightly dampened with water to clean it. Gently wipe the surface to remove dirt. Avoid harsh chemicals or rough materials as they can harm the tape.
In greasy areas like kitchens, use a mild soap solution. Apply it lightly and let the tape dry fully before switching it on. Clean the tape every few months to keep it looking good and working properly.
💡 Tip: Use a small brush for tight spots without moving the tape.
Fixing common issues like flickering or dimming
Flickering or dimming can ruin the look of your lighting. Finding the cause is key to fixing it. Common problems include voltage issues, bad parts, or wrong dimmers. Below is a table with causes and solutions:
Common Causes | Recommended Solutions |
|---|---|
Voltage issues | Check if the power supply gives steady voltage. |
Poor-quality bulbs | Use better-quality LED bulbs and fittings. |
Incompatible dimmers | Make sure dimmers match the type of LED lights. |
First, check the power supply matches the tape’s voltage needs. If the problem continues, check the dimmer and replace it if needed. Using good-quality parts often stops flickering and keeps lights steady.
🔧 Note: Always turn off power before fixing to stay safe.
Replacing damaged sections of LED tape
Sometimes parts of LED tape may break from wear or accidents. Fixing these parts is simple if done right. Find the damaged section and cut it at the nearest marked line. Most tapes have clear cut points for easy repairs.
Attach a new piece of tape using solderless connectors. Match the positive and negative ends correctly. Test the tape before sticking it down. Use the adhesive backing or mounting channels to secure it neatly.
✨ Pro Tip: Keep extra LED tape and connectors ready for quick fixes.
By cleaning and fixing your LED tape, you can make it last longer. This keeps your space bright and looking great.
Keeping LED tape lighting working well for years
Taking care of your LED tape helps it last longer and look great. Follow these easy steps to keep it working properly and avoid replacing it too soon.
1. Check regularly
Look at your LED tape often to spot problems early. Check for loose wires, peeling tape, or dim lights. Fixing these quickly stops bigger issues and keeps the light steady.
2. Stop it from overheating
LED tape works best when it stays cool. Make sure air can flow around it to avoid overheating. Aluminium channels help by spreading heat away, making the tape last longer.
💡 Tip: Keep LED tape away from hot places like stoves or heaters. Too much heat can make it wear out faster.
3. Use the right parts
Always pick power supplies, dimmers, and connectors that match your LED tape. Using the wrong ones can cause flickering or damage. Check the maker’s guide to find the right parts.
4. Keep it dry
If your LED tape is in wet areas like bathrooms, use waterproof types with an IP65 rating or higher. Check often for water leaks, as they can harm the tape and make it unsafe.
5. Clean gently
Dust can make your LED tape less bright. Wipe it softly with a damp cloth to clean it. Don’t use strong cleaners, as they might ruin the tape’s coating.
By following these tips, your LED tape will stay bright and work well for a long time, keeping your space looking amazing.
LED tape lights are energy-saving and stylish for ceilings. They help you make cool designs while using less power. Picking the right tape and installing it properly makes it last longer. You can try fun ideas like showing off ceiling details or making special light effects. Begin upgrading your ceiling now to improve your room with this clever lighting choice.
FAQ
How can I hide LED tape on ceilings?
Use aluminium channels or recessed profiles to hide the tape. These options keep it safe and give a neat look. For coving or drop ceilings, place the tape behind mouldings. This creates soft, indirect lighting that looks seamless.
Can LED tape be cut to fit my ceiling?
Yes, most LED tapes have cut points every 5 cm or 10 cm. Use sharp scissors to cut only at these points. Cutting outside the marks can damage the tape and stop it from working.
How do I pick the right power supply for LED tape?
Find the total wattage by multiplying the tape’s length by its wattage per metre. Choose a power supply with 20% more capacity than this total. Make sure the voltage matches the tape, usually 12V or 24V.
Is LED tape safe for bathrooms or kitchens?
Yes, but use waterproof LED tape with an IP65 rating or higher. This protects it from water and splashes. Keep the tape away from direct water and use waterproof connectors for extra safety.
How can I fix flickering LED tape?
Check if the power supply gives steady voltage. Ensure all connections are tight and match the tape. If using a dimmer, make sure it supports LED lights. Replace broken parts to fix the flickering.
💡 Tip: Regular checks help avoid flickering and keep lights steady.
See Also
Innovative Ways to Incorporate LED Strips in Ceilings
Guide to Installing and Using 360-Degree Neon Rope Lights
Effective Methods for Installing RGB LED Strip Lights


