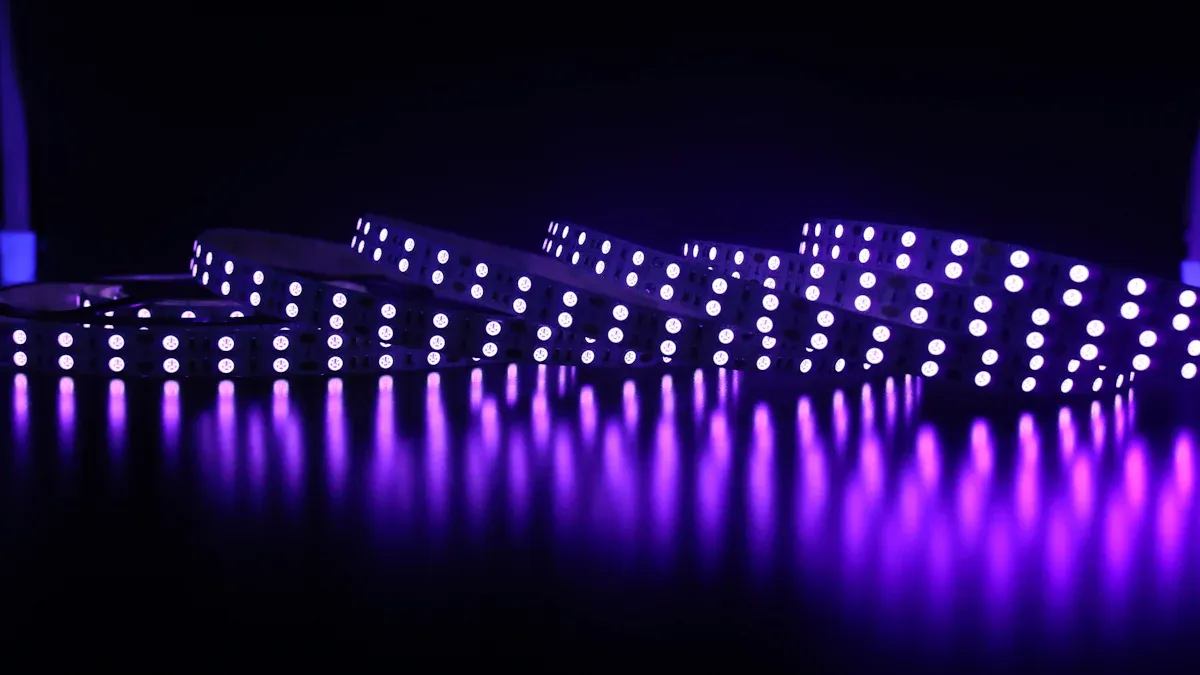
Transforming your outdoor area with LED strip exterior lights has many benefits. These lights are flexible and save energy, using much less energy than regular bulbs. LED lights can save up to 75% of energy and can also last for about 25,000 hours. Think about how nice it would be to improve your garden’s look easily. A DIY project like this lets you add your own style, allowing you to enjoy the beauty of your garden at night.
Key Takeaways
Pick LED strips that are made for outdoor use. They should be waterproof and strong. Look for IP65 ratings to make sure they can handle different weather.
Get your installation area ready by cleaning it well. A smooth and dry area helps the glue stick better. This makes your setup last longer.
Use the right ways to mount LED strips. Think about using clips or aluminium channels to attach them securely, especially outside.
Be careful when connecting to power. Always turn off the power before you start. Make sure all connections are covered to stop short circuits.
Make your garden look nicer by using LED strip lights in fun ways. Light up paths and garden features to make a friendly and good-looking outdoor space.
Materials Needed for LED Strip Exterior

Choosing Outdoor-Ready LED Strips
When you want to improve your garden with LED strip lights, picking the right type is very important. You should look for outdoor-ready LED strips. These can handle different weather conditions. Here are some important features to think about:
Waterproofing: Make sure the strips are waterproof. They should work in any weather. Look for ones that are IP65 rated. This means they can resist heavy rain and snow.
Durability: Pick strips made from strong materials like aluminium or stainless steel. These materials can deal with outdoor conditions better than plastic.
Brightness and Colour Temperature: Think about how bright the lights are and their colour temperature. You want lights that light up your garden well while creating the right mood.
Heat Management: Good heat management is important for the life of LED strip lights. If the heat is not managed well, it can make the lights wear out faster.
Smart Home Compatibility: Some high-end outdoor LED strip lights work with smart home systems. This lets you control them using an app or voice commands.
Here’s a quick overview of some popular outdoor-ready LED strip brands and their features:
Brand | Features | Applications |
|---|---|---|
Philips Hue | 16 million colours, weather-proof, indirect lighting | Patios, decks, balconies |
Flexfire LEDs | Versatile, compact, UL Listed, various colours and brightness levels | Architects, restaurants, homes |
Hit Lights | Waterproof, bright light, smart home integration options | General outdoor use |
Govee | Waterproof, app-controlled, customisable scenes | Outdoor spaces |
Tools and Accessories
To install your LED strip lights well, you will need some important tools and accessories. Here’s a list to help you get ready:
Wire Strippers: These help you take off insulation from wires for connections.
Screwdrivers: A set of screwdrivers will help you secure fixtures and connections.
Volt Meter: Use this to check voltage levels and make sure everything works correctly.
Wire Connectors, Electrical Tape, and Heat Shrink: These are needed for making safe electrical connections.
Solder Iron (Optional): If you want a more permanent connection, a solder iron can be helpful.
Having these materials and tools ready will make your installation easier and quicker.
Step-by-Step Installation of Outdoor LED Strip Lights

Installing outdoor LED strip lights might look hard, but with good planning, you can change your garden for the better. Follow these steps to make sure your installation goes well.
Planning Your Layout
Before you begin, spend time planning your layout. This step is very important for getting great results. Here are some tips to think about:
Assess the Location: Look at sunlight, nearby buildings, and features that need lighting.
Choose the Right LED Strip Lights: Think about brightness, colour temperature, and waterproof ratings for outside use.
Plan the Wiring and Installation: Find the best path for LED strips and solar panels. Make sure they are securely mounted and safe from damage.
To get the best light and look, think about these factors:
Considerations | Description |
|---|---|
Functional Needs | Check the lighting needs for different parts of the garden. |
Environmental Characteristics | Think about the natural features and layout of the garden. |
Aesthetic Consistency | Make sure the lights match the overall design and style of the garden. |
Preparing the Surface
Getting the surface ready is key for a good installation. Follow these steps to have a clean and suitable surface:
Clean the surface with a cleaning solution to get rid of dirt and dust.
Dry the surface well before putting on the adhesive backing of the LED strip lights.
Make sure the surface is smooth; if it’s rough, think about using an aluminium channel or clips for better sticking.
For good cleaning, you can use isopropyl alcohol. This helps remove grease and gets the surface ready for better sticking.
Attaching the LED Strips
You have different ways to attach your LED strip lights. Here are some good methods:
Mounting Clips: These are simple and cheap. They screw into surfaces and hold the LED strip tightly.
Aluminium Channels: These look professional and help the adhesive stick better, great for visible setups.
Strong Double-Sided Tape: This is handy when you can’t use screws; it sticks better than the adhesive on the strips.
When using adhesive-backed strips, remember they are quick to install but may not last as long as mounting clips. Here’s a comparison:
Mounting Method | Pros | Cons |
|---|---|---|
Adhesive-backed Strips | Quick to install, no drilling needed | May come loose, can harm the wall when removed |
Mounting Clips | Keeps everything secure, great for outdoor use | Needs drilling, takes more time to install |
Connecting to Power
Connecting your outdoor LED strip lights to power needs careful safety steps. Follow these instructions:
Disconnect Power: Make sure the power is off before you start connecting.
Gather Your Tools: Get the tools you need like wire strippers and connectors.
Prepare the LED Strip Wires: Strip the insulation from the LED strip wires if needed.
Identify Polarity: Match the positive and negative ends of the LED strip and power supply.
Connect Wires to Power Supply Output: Use the right methods (screw terminals, DC jacks, or soldering) to connect the wires safely.
Insulate All Connections: Cover all exposed wires with electrical tape or heat shrink to stop short circuits.
Test Your Setup: After checking all connections, plug in the power and see if the LED strip lights up.
Always check polarity to avoid breaking the LED strip. Following these tips for outdoor installation will help you get bright lights and a lovely garden atmosphere.
Safety and Durability Considerations
Weatherproofing Your Installation
Making your LED strip lights weatherproof is very important. This helps them last longer. Always pick waterproof LED strip lights with high IP ratings like IP65, IP67, or IP68. These ratings show how well they resist moisture and dust. Lights with higher ratings can handle damage from the weather. This stops problems like rust and short circuits. On the other hand, lights with lower ratings might break down quickly when exposed to bad weather.
To make your installation more weatherproof, try these good waterproofing methods:
Type | IP Rating | Waterproofing Method | Advantages | Disadvantages | Applications |
|---|---|---|---|---|---|
IP65 – Silicone Coating | IP65 | A thin layer of silicone applied to the strip | Cheap, easy to install | Low protection, not good for heavy rain or submersion | Bathrooms, kitchens (humid environment) |
IP67 – Silicone Tube | IP67 | Encased in a clear, flexible silicone tube | Good water and dust resistance, visible LEDs | May not bend well for curved surfaces | Outdoor, rainwater environment |
IP68 – Full Silicone Encasement | IP68 | Completely encased in silicone resin | Best water and dust protection, can be submerged | More expensive, less flexible | Underwater applications, harsh environments |
You can also use different ways to keep your LED strips safe from wind, rain, and other weather. Think about using fully-sealed plastic boxes made from materials like ABS or polycarbonate. These materials are very strong against UV rays and impacts, making your lighting system last longer.
Electrical Safety Tips
Staying safe with electricity is very important when you install outdoor LED strip lights. Follow these tips to keep yourself and your installation safe:
Use good quality products that have safety certifications, like UL Listed or ETL certification. This helps reduce risks of overheating and fires.
Make sure you install everything correctly by using the right power supply and wiring. This stops electrical shorts and overheating.
Do regular maintenance and checks. Looking for problems like overheating, broken power cords, and loose connections helps keep everything working well.
By focusing on weatherproofing and electrical safety, you can enjoy a bright garden while making sure your outdoor LED strip lights last and work well.
Creative Uses for Outdoor LED Strip Lights
Highlighting Pathways
You can make your garden pathways safer and prettier with LED strip lights. These lights help light up paths and steps. This makes it easier for you and your guests to walk around at night. Here are some good ways to use LED strip lights for pathways:
Illumination: Put LED strips along the sides of pathways. This helps you see better and stops trips by showing the path clearly.
Guidance: Use lights to help visitors find their way to entrances. A bright path makes everyone feel welcome.
Aesthetic Appeal: LED strip lights add style to your garden. They create nice lighting that makes outdoor areas look better.
By placing LED strip lights along walkways or under deck edges, you can get soft lighting that makes your garden look nice at night.
Accentuating Garden Features
LED strip lights can also be used for both practical and decorative lighting in your garden. You can use them to highlight special areas and make a big visual impact. Think about these ideas:
Focal Points: Put LED strips around trees, sculptures, or water features. This draws attention to these parts and makes your garden more charming.
Under Planting: Place lights under shrubs or flower beds. This lights up your plants from below and adds depth to your garden.
Outdoor Gatherings: When you have gatherings, LED strip lights can make the mood lively. Use colour-changing lights for fun or warm white lights for a cosy feel. They also help by lighting up areas under shelves, making it easier to serve drinks and snacks.
With these creative uses, you can change your garden into a lovely and welcoming space, perfect for relaxing and having fun.
To sum up, you can change your garden with outdoor LED strip lights by following some simple steps. First, get the surface ready for installation. Clean it well so the LED strips stick properly. Make sure the area is dry to avoid moisture problems. Cut the strips to the length you want and pick the best way to mount them, like clips, adhesive backing, or aluminium profiles. Lastly, connect the strips to the power supply and check the lights to see if they work correctly.
By doing these steps, you improve your outdoor area, making a lovely space for relaxing and having fun. 🌟 So, gather your materials and tools, and start this fun DIY project today!
FAQ
What is the best way to power outdoor LED strip lights?
You can power outdoor LED strip lights using a low-voltage transformer or a solar power supply. Ensure the power source matches the voltage requirements of your LED strips for safe operation.
How long do LED strip lights last?
LED strip lights can last up to 25,000 hours with proper care. Their longevity depends on factors like heat management and usage conditions. Choose high-quality strips for the best durability.
Can I cut LED strip lights to fit my garden?
Yes, you can cut LED strip lights to fit your desired length. Look for designated cut lines on the strip. Use scissors to cut along these lines for a clean finish.
Are outdoor LED strip lights energy-efficient?
Absolutely! Outdoor LED strip lights consume significantly less energy than traditional bulbs. They can save you up to 75% on energy costs while providing bright illumination for your garden.
How do I maintain my outdoor LED strip lights?
To maintain your outdoor LED strip lights, regularly check for damage, clean them with a damp cloth, and ensure connections are secure. Replace any faulty sections promptly to keep your lighting effective.


