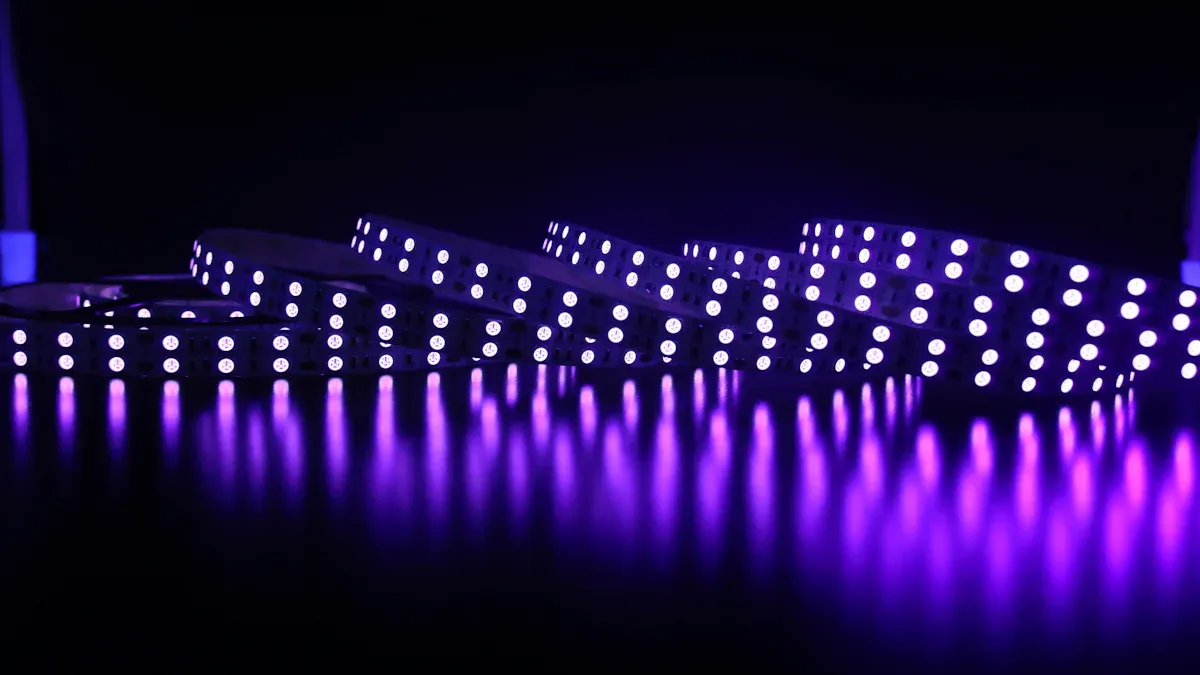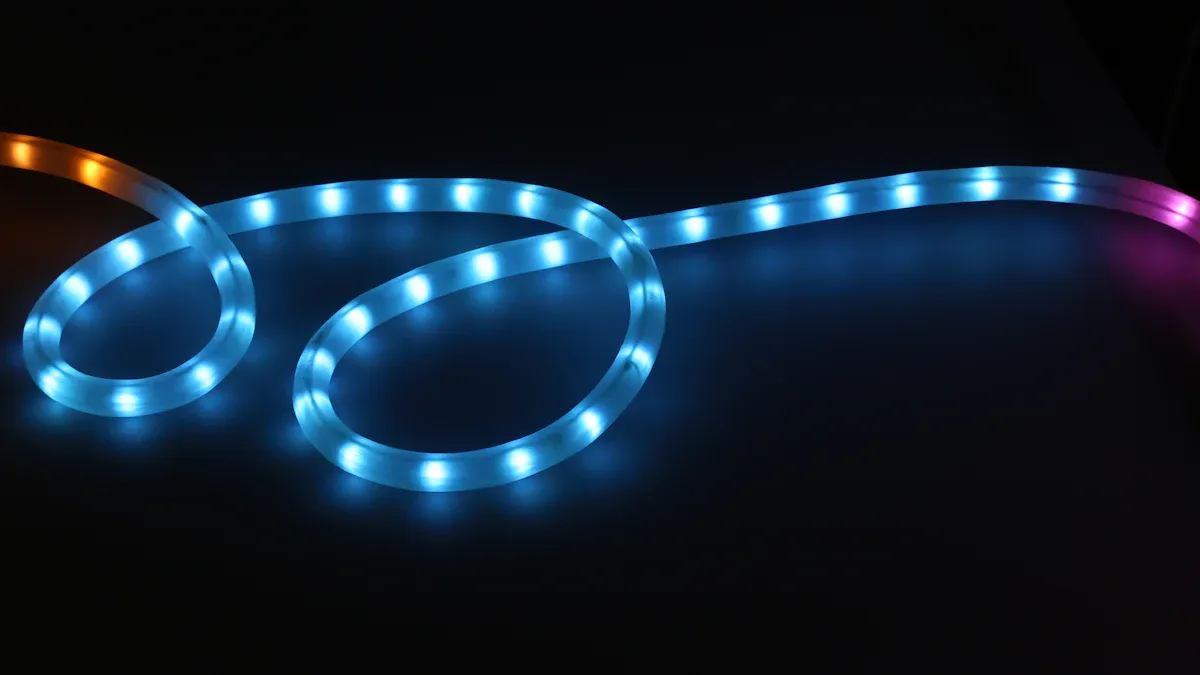
LED ceiling lights strips can enhance your room. However, they can encounter issues such as flickering and dimming. These problems occur frequently, particularly during dimming. Studies indicate that increased flicker can be detrimental to your well-being. Understanding these issues enables you to maintain the best lighting in your home.
Key Takeaways
If your LED strip does not light up, check the power supply and connections. Make sure they meet the LED’s needs for the best performance.
Clean your LED strips often to get rid of dust and dirt. This easy step can really boost brightness and how well they work.
Find and change broken parts of your LED strip quickly. This keeps the lighting steady and stops more problems.
LED Strip Does Not Light Up

If your LED strip does not light up, start by checking the power supply. You need to know the type of your LED lights. Find out if they are Constant Voltage or Constant Current. These types cannot work together. Next, check the details of your power supply. Make sure the input and output power match what your LED lights need. It is very important that the power supply’s maximum wattage is not more than the LED load.
Tip: Always use a power supply that matches the voltage and current needs of your LED strip lights.
After checking the power supply, you should inspect connections. Regularly look at connections to make sure they are tight and not rusty. Tighten or change terminals if needed. This easy step can often fix problems when the LED strip does not light up.
Also, broken solder joints can cause issues. To find these, check the correct + and – polarity of the connections. Make sure the wires are firmly in the terminal block. You can gently wave the strip along its length to see if there are any bad contacts. Bad contacts can happen due to wrong tape installation, rough handling, or temperature changes over time.
Note: The expansion and contraction of the PCB can create tiny cracks in solder joints. Check the contact between the solder and the pad or the next pin after the pad trace. Look for cold solder joints that might need re-soldering.
By following these steps, you can easily fix LED strip problems and get your LED ceiling lights strip working again.
LED Strip Is Dim
If your LED strip looks dim, start by verifying voltage levels. You need a good multimeter for checking voltage. Make sure you have a steady power source that fits the LED strip’s voltage rating. Here’s how to check the voltage:
Use a DC supply and multimeter for low-voltage models to check current and voltage.
For high-voltage strips, use an electronic power meter to measure usage and power factor.
Use the formula P = UI to calculate power and check efficiency.
A voltage drop can cause uneven brightness in longer LED strip lights. This can hurt how well the lights work and how long they last. A bad connection at the LED strip or a broken LED in a series can make them dim. Regularly checking these connections helps keep the brightness good.
Next, you should clean the strips to make them bright again. Dust and dirt can build up on the LED lenses and block light. Here are some good cleaning tips:
Clean the LED lenses often to stop dust and dirt from building up.
Use Isopropyl or rubbing alcohol to clean the lens, being careful not to damage the fixture.
Use soft materials like microfiber cloths to avoid scratches.
Clean glass covers with window cleaner or hand wipes.
Look for smudges on the LEDs to make sure they do not block light.
By keeping your LED strip lights clean, you can improve their brightness and how well they work. Fixing these problems quickly will help your LED ceiling lights strip stay working and looking good.
Sections Not Functioning
If you see that some parts of your LED strip lights are not working, you need to identify faulty sections first. Start by looking at the whole length of the strip. Check for any visible damage, like burnt-out LEDs or colour changes. You should also look for loose connections or broken solder joints.
Tip: Common signs of solder joint failures are flickering lights, lights that turn on and off, and colour changes in lights. These signs can help you find the areas that need fixing.
After you find the faulty sections, you can reconnect or replace them. Follow these steps to fix it properly:
Unplug the LED strip and power supply for safety.
Find the damaged part on the strip.
Cut the strip at the nearest copper pads to take out the faulty section.
Reconnect the new section using connectors or solder, based on what you prefer.
Secure and cover the joint to stop any short circuits.
Test the strip before putting it back to make sure everything works well.
By following these steps, you can easily fix LED strip problems and make your LED ceiling lights strip work again. Regular checks can help stop these issues from happening in the first place.
Flickering LED Strips

If your LED strip lights are flickering, you should first examine the power source. Flickering usually happens because the power supply is unstable. Here are some common reasons for flickering in LED ceiling light strips:
Cause | Description |
|---|---|
Bad Driver | Faulty drivers can cause flicker, especially as they get hotter over time. |
Loose Wiring or Bulb | Flickering can happen from loose connections, often due to bad installation. |
Dimmer Incompatibility | Using the wrong dimmer switches can make LEDs flicker a lot. |
Low-Quality Fixtures | Cheaper bulbs often have lower-quality drivers, which leads to more flickering problems. |
Surge in Wattage | Changes in power wattage can affect how well LEDs work, especially with poor drivers. |
You might see flickering when you dim the lights or add more strips. This shows there is voltage instability in the power supply circuit. Also, changes in the PWM frequency settings can make the flickering worse.
Next, you should check for loose connections. Loose wiring can cause intermittent contact, making your LED strip lights flicker. Here are some steps to help you find the problem:
Inspect all connections: Look for any loose or rusty terminals. Make sure all connections are tight.
Use a multimeter: This tool can help you find issues in the circuit. Follow these steps to check for continuity and voltage:
Set the multimeter to continuity mode.
Touch the probes to the LED strip’s positive and negative terminals.
If the multimeter beeps, the circuit is good. If not, there may be a break in the circuit.
Switch the multimeter to voltage mode.
Reconnect the LED strip to its power supply.
Measure the voltage by placing the black probe on the negative terminal and the red probe on the positive terminal.
Compare the reading to the LED strip’s rated voltage to make sure it’s right.
By following these steps, you can find and fix flickering issues in your LED strip lights. Regular checks and maintenance can help stop these problems from happening in the future.
Common LED Strip Light Problems
Adhesive Failure
Adhesive failure is a common problem with LED strip lights. The standard sticky backing often does not last long. This can cause the strips to droop and ruin your lighting design. To stop this, think about using mounting clips. These clips give extra support and keep your strips in place.
Here are some good ways to fix adhesive failure:
Solution Type | Description |
|---|---|
High-Quality LED Strips | Pick well-known LED strips with strong sticky backing for lasting use. |
Reliable Adhesive Solutions | Use heavy-duty double-sided tape or strong sticky strips made for LED lights. |
Aluminum Mounting Channels | Use aluminium channels for secure mounting and better heat release. |
Mounting Clips | Support strips with strong clips at bends and ends for long-lasting sticking. |
Regular Visual Inspections | Plan checks to look for loose parts and fix them as needed. |
By using these solutions, you can greatly lower the chances of adhesive failure in your LED strip lights.
Colour Inconsistencies
Colour inconsistencies can also affect LED strip lights. Differences in manufacturing can cause slight changes in colour temperature and brightness. Things like the type of fixture and nearby materials can also change how light looks. Overheating and old parts may cause changes in colour output too.
To fix colour inconsistencies, try these tips:
Make sure your power supply is steady to avoid sudden colour changes.
Regularly update firmware for smart LED strip lights. Firmware updates can fix problems that affect colour output and improve the RGB controller’s performance.
By being careful about these issues, you can keep your lighting consistent and bright in your space.
To sum up, looking after your LED ceiling light strips helps them work well and last longer. Clean your strips often and check them regularly. This stops problems like flickering and dimming.
Tip: Use these maintenance tips for good results:
Regular maintenance cuts down on unexpected problems.
Cleaning the lenses makes the light brighter.
Checking driver temperatures helps keep things running smoothly.
By doing these things, you can have bright and dependable lighting in your home.
FAQ
What should I do if my LED strip lights are not responding?
Check the power supply and ensure all connections are secure. Inspect for any damaged sections or faulty solder joints.
How can I prevent my LED strips from dimming?
Regularly clean the strips and verify voltage levels. Ensure your power supply matches the LED strip’s requirements.
Is it safe to cut LED strip lights?
Yes, you can cut LED strips at designated points. Ensure you reconnect the sections properly to maintain functionality.


