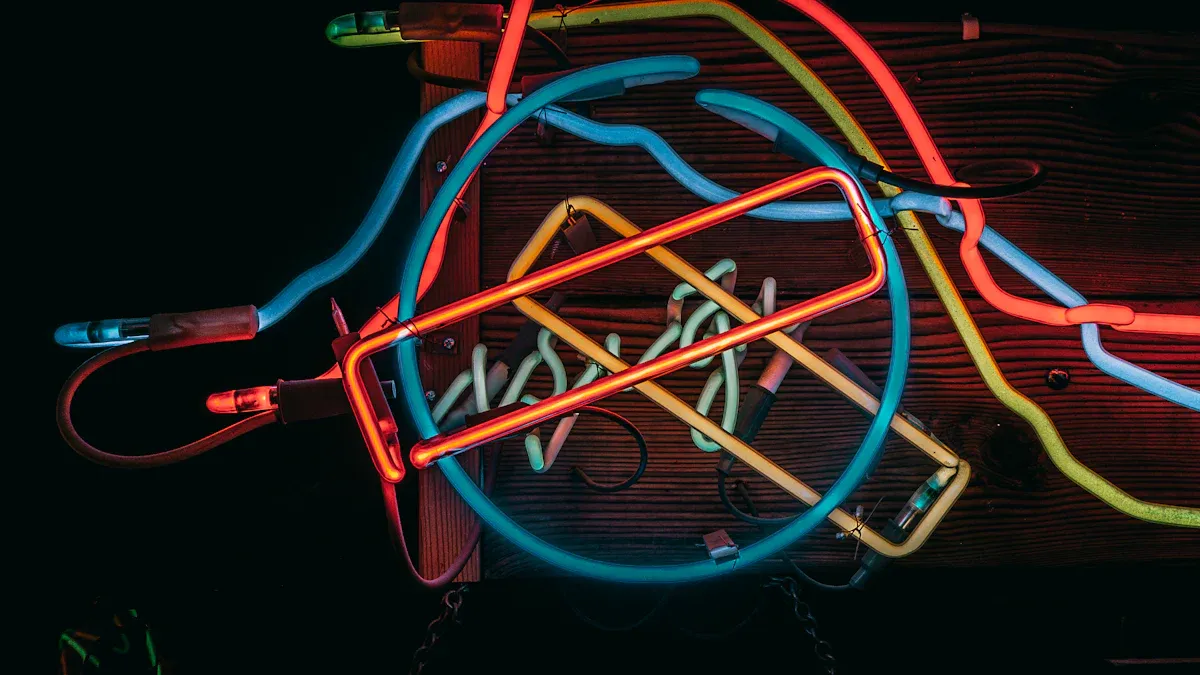
LED neon signs are a cool way to brighten your space. Unlike old neon signs, which need pricey glass shaping, LED neon signs use bendable, light materials that are simple to handle. This makes them great for a fun DIY project. You can make one that fits your style, like a name, a favorite saying, or a special shape.
These signs are also cheaper. They usually cost about one-third to half the price of old neon signs. They also save energy and are safe to use at home. With so many options, making your own LED neon sign is a fun way to decorate your space and save money.
Key Takeaways
Collect materials like LED neon lights, a sturdy base, and glue.
Draw your design first to see how it will look.
Use a ruler to place everything evenly for a neat result.
Test the power source to make sure the sign works safely.
Clean your sign often and keep it away from harsh conditions.
Materials and Tools for a DIY Neon Sign

Making your own LED neon sign starts with gathering supplies. With the right items, your project will be fun and easy. Below is a list of must-haves, tools, and extras to personalize your sign.
Essential materials for your LED neon sign
You need good-quality materials to make a strong and efficient sign. Here’s what you’ll need:
LED neon flex lights (choose RGB or RGBW for bright colors).
A strong base like wood, PVC, or even a wall.
20-gauge wire to connect the lights.
Glue or adhesive to stick the lights to the base.
Thread to hold lights temporarily during setup.
These materials make your sign last long and save energy. For example, LED neon flex lights are made of tough PVC and acrylic. They can last up to 50,000 hours and use very little power with 12V DC chips.
Tools needed to make an LED neon sign
Using the right tools makes building your sign easier. Here’s what you’ll need:
Wire cutters to cut the connecting wires.
A soldering iron to join wires properly.
A drill to make holes in the base.
A ruler or tape measure for accurate placement.
These tools help you follow steps correctly. If you already have some, your project will cost less.
Optional items for customization
To make your sign unique, try these extras:
Paint or spray paint to color the base.
Fun decorations like glitter, stickers, or small LED strips.
A dimmer switch to control how bright your sign is.
Adding these extras makes your sign special and personal. For example, a dimmer switch lets you adjust brightness for different moods.
💡 Tip: Want to save money? Start with a simple one-color design. It’s cheaper but still looks amazing.
Quantity (pieces) | Price per piece |
|---|---|
1 – 19 | $106.00 |
>= 20 | $96.00 |
Sample price | $180.00 |
With these supplies and tools, you’re ready to start your project. Next, design your sign and bring your idea to life!
Designing Your DIY Neon Sign
Sketching and planning your design
Before you start building your LED neon sign, sketching your design is essential. This step helps you visualize how the light will flow and ensures your design is both functional and visually appealing. A detailed plan also makes the construction process smoother. Many successful DIY neon sign projects emphasize this phase because it lays the foundation for a great result.
Start by drawing your idea on paper. Use a pencil so you can make adjustments as needed. Focus on the overall shape and how the LED neon flex lights will bend to create it. If you’re unsure, try tracing your design onto the base material to see how it looks in real life. This approach helps you avoid mistakes and saves time later.
💡 Tip: Keep your design simple if this is your first project. Complex shapes can be challenging to execute.
Choosing fonts, colors, and shapes
The fonts, colors, and shapes you choose will define the personality of your LED neon sign. Research shows that color plays a significant role in how people perceive designs. For example:
90% of first impressions are influenced by color.
Up to 60% of people may dislike a product based on its color.
Warm colors like yellow and orange create a welcoming vibe, while cool tones like blue feel calming.
LED neon signs offer a wide range of colors, including pastels and bold shades, giving you endless options for customization. You can also experiment with fonts to match your theme. Cursive fonts work well for elegant designs, while block letters are great for bold statements. Shapes like hearts, stars, or arrows can add a playful touch.
Creating a layout for your sign
Once you’ve finalized your design, it’s time to create a layout. This step ensures your LED neon flex lights fit perfectly on the base. Follow these steps for a polished look:
Trace your design onto the base material using a pencil or chalk.
Mark where the wires will connect and where the lights will bend.
Plan the placement of the power source to keep it hidden but accessible.
Consider the size and placement of your sign. Smaller signs work well on shelves or desks, while larger ones can become statement pieces on walls. Popular layout ideas include placing your sign above your bed, in a cozy corner, or as part of a gallery wall. These creative design ideas can transform any space in your home.
🛠️ Pro Tip: Use a ruler or tape measure to ensure your layout is symmetrical and evenly spaced.
Step-by-Step Guide to Making Your Sign

Getting your workspace ready
Prepare your workspace to stay safe and work easily. A tidy area helps you focus and avoid accidents. Follow these simple steps:
Pick a flat, sturdy table with enough space for tools.
Make sure the area is bright so you can see well.
Keep tools and materials close to avoid moving around too much.
Safety is very important. Use tools with insulation, wear gloves, and unplug wires before touching them. Insulation stops electrical shocks. Also, keep the LED neon flex lights cool by allowing air to flow around them. The table below shows helpful workspace tips:
Technique | Description |
|---|---|
Power Injection Methods | Ways to keep power steady for LED strips. |
Safety Precautions | Unplug power, use insulated tools, wear gloves, and insulate wires. |
Heat Management Strategies | Use heat sinks or aluminum profiles and allow airflow around LED strips. |
🛠️ Pro Tip: Always have a fire extinguisher nearby when working with wires.
Cutting and bending the LED neon flex lights
Cutting and bending the LED neon flex lights is an important step. These lights are soft and can be shaped into any design. Follow these steps to do it right:
Find the cutting line on the back of the LED neon flex lights.
Use sharp scissors to cut neatly along the line.
After cutting, seal the ends with caps and glue. Let the glue dry fully before moving on.
This keeps the lights safe and working well. LED neon lights are easy to shape, making them perfect for DIY projects.
💡 Tip: Measure twice before cutting to avoid wasting materials.
Joining wires with soldering
Soldering wires is key to making strong connections for your sign. It might seem hard, but it’s simple if you follow these steps:
Remove the plastic coating from the wire ends to show the metal.
Use a soldering iron to connect the wires tightly. Soldering is stronger than using clips.
Cover the soldered parts with heat shrink tubing for safety and a neat look.
Check all connections to make sure they are tight and in the right place.
Good soldering helps your LED neon sign work well and last longer. Take your time to avoid mistakes.
🔧 Note: If you’re new to soldering, practice on spare wires first.
Securing the design to the base
Once you’ve shaped the LED neon flex lights, it’s time to attach them to the base. This step ensures your design stays in place and looks polished. Follow these steps to secure your lights effectively:
Position the lights: Lay the LED neon flex lights on the base, following the layout you traced earlier. Adjust them until they align perfectly with your design.
Apply adhesive: Use a strong glue or adhesive tape to stick the lights to the base. Apply the adhesive in small sections to avoid messes.
Hold in place: Secure the lights temporarily with thread or clips while the adhesive dries. This prevents shifting and ensures a clean finish.
Trim excess material: If any parts of the lights extend beyond the base, trim them carefully for a neat appearance.
💡 Tip: Use clear adhesive for a seamless look. If you’re working on a vertical surface, consider using screws or brackets for extra support.
Securing the lights properly is crucial for finalizing your LED neon sign. A well-attached design not only looks professional but also lasts longer, making your DIY project a success.
Connecting and testing the power source
The final step in making your own neon sign is connecting the power source. This brings your design to life and ensures it functions safely. Here’s how to do it:
Attach the wires: Connect the wires from the LED neon flex lights to the power supply. Match the positive and negative terminals correctly to avoid issues.
Secure the connections: Use electrical tape or heat shrink tubing to cover the connections. This prevents short circuits and keeps the setup safe.
Plug in the power source: Once everything is connected, plug the power supply into an outlet. Make sure the voltage matches the requirements of your lights.
Test the sign: Turn on the power and check if the lights work as expected. Look for any dim or flickering sections that might indicate loose connections.
🛠️ Pro Tip: If your sign doesn’t light up, double-check the wiring and ensure the power source is functioning. Testing each section during assembly can help you catch problems early.
By connecting and testing the power source, you complete the final step of your project. Your LED neon sign is now ready to brighten your home and showcase your creativity.
Customizing and Troubleshooting Your LED Neon Sign
Adding decorative elements and layers
Decorating your LED neon sign makes it look amazing. These signs are popular because they are both useful and stylish. Try these ideas to make yours stand out:
Match your sign’s colors with your room’s theme. For example, blue feels calm, while yellow adds warmth.
Add shapes or patterns around your sign, like hearts or stars, to make it more eye-catching.
Use fun extras like glitter, stickers, or small LED strips for a complete look.
These small changes can turn your sign into a special decoration. Personalizing it shows your style and makes your project unique.
Fixing common issues with your sign
Sometimes, your LED neon sign might have problems. Here’s how to fix them:
Lights dim or flicker: Check if the power supply is strong enough. Replace faulty drivers if needed.
Parts of the sign don’t light up: Look at the wires. Loose or broken wires can cause this. Replace bad LEDs if required.
Lights won’t stick to the base: Use stronger glue to keep everything in place.
Fixing these problems quickly keeps your sign working and looking great.
Tips for maintaining your LED neon sign
Taking care of your LED neon sign helps it last longer. Follow these tips to keep it in good shape:
Clean your sign often to stop dust from making it dim.
Keep it away from heat, cold, or water, which can harm the LEDs.
If it breaks, ask a professional for help to avoid more damage.
By maintaining your sign, it will stay bright and beautiful for years. Good care keeps it working well and looking new.
Making an LED neon sign at home is fun and creative. You now know how to collect supplies, plan your design, and build your sign step by step. This project helps you save money and create something special. Try using various colors, fonts, and shapes to make it unique. Use your creativity to turn your ideas into glowing signs that light up your room. Enjoy the process and have fun making your own LED neon sign!
FAQ
1. How long does it take to make an LED neon sign?
The time depends on your design’s complexity. A simple sign may take 2-3 hours, while intricate designs could take up to 6 hours.
💡 Tip: Start with a basic design if you’re new to DIY projects.
2. Can I use any type of LED neon flex lights?
No, you should use lights designed for DIY projects. Look for flexible, durable, and energy-efficient options like 12V DC LED neon flex lights.
3. Is soldering necessary for making an LED neon sign?
Yes, soldering ensures strong and reliable wire connections. If you’re uncomfortable with soldering, consider practicing on spare wires first.
4. How do I clean my LED neon sign?
Use a soft, dry cloth to remove dust. Avoid water or harsh chemicals, as they can damage the LEDs.
5. Can I hang my LED neon sign outdoors?
Yes, but only if you use waterproof LED neon flex lights and protect the power source from moisture.
🛠️ Pro Tip: Check the product specifications to ensure outdoor compatibility.
See Also
Create Your Personalized Neon LED Sign From Scratch
Steps to Create Your Own LED Neon Flex Sign
Designing and Constructing Your Unique LED Neon Signs
Illuminate Your Area with Custom Neon LED Signs
Why LED Neon Custom Signs Are An Eco-Friendly Choice


