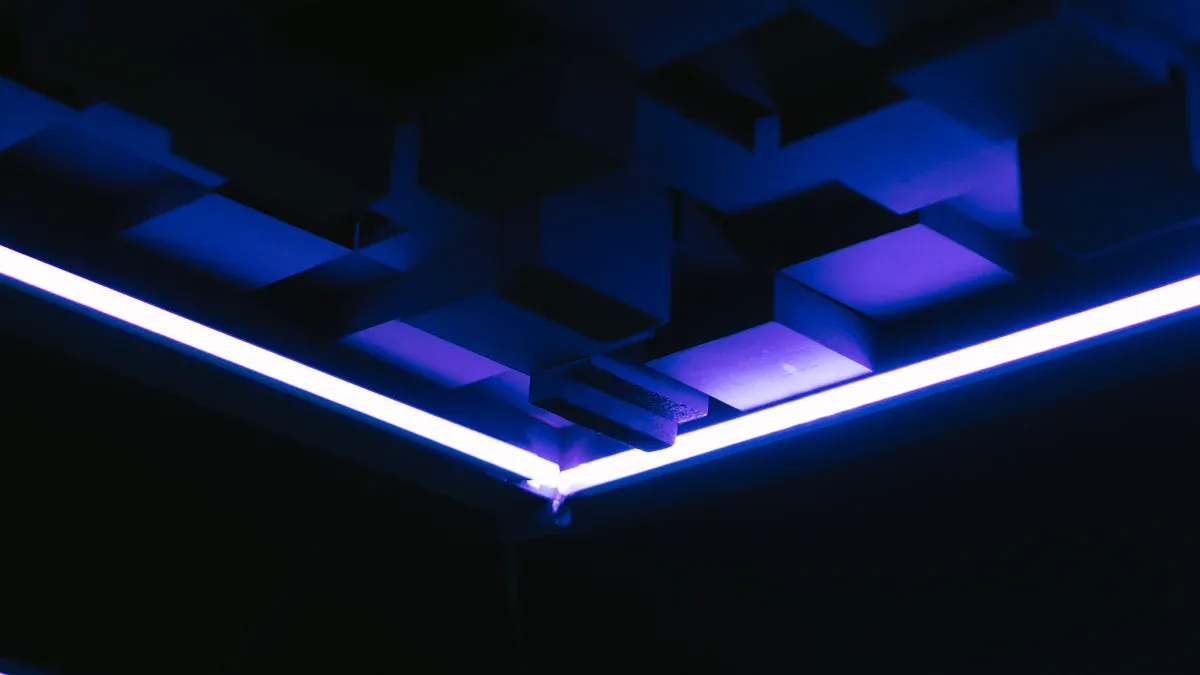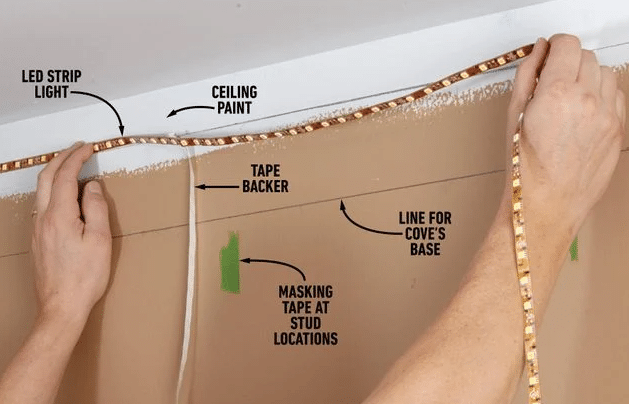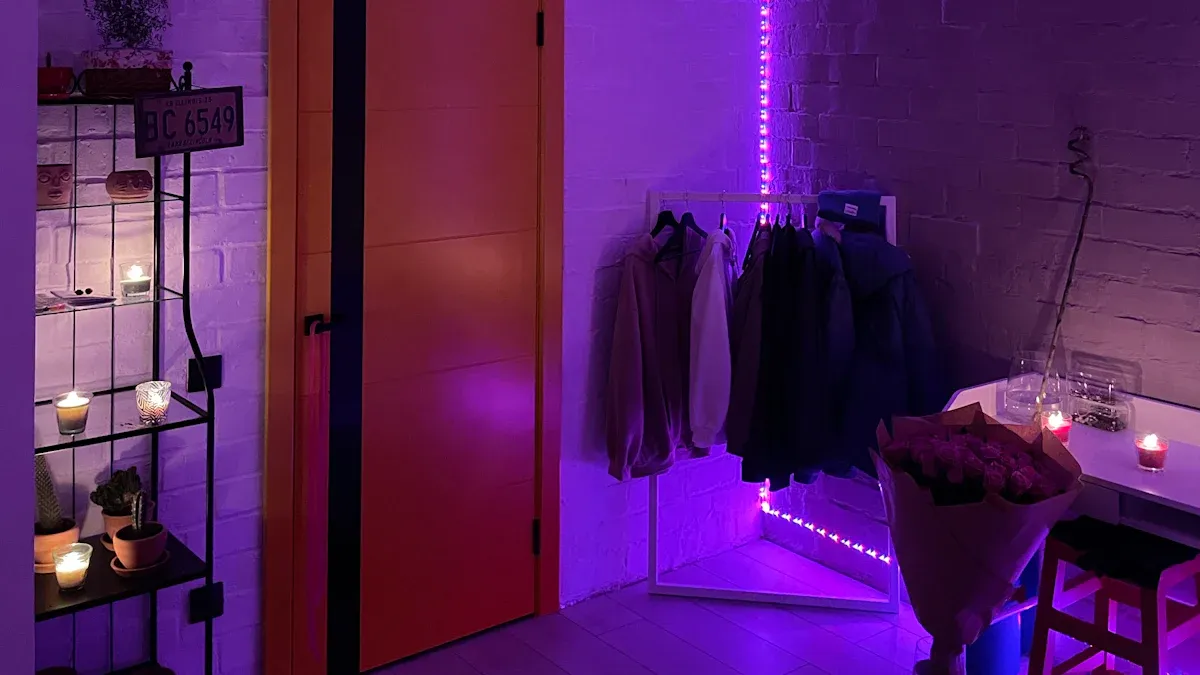
Change your home’s look with LED strip lights. They are flexible and save energy. These lights use less power, cutting costs and helping the planet. They also set the mood with adjustable colors and brightness. Whether you want it calm or lively, this guide shows how to hang LED strip lights easily.
Key Takeaways
Use basic tools like a ruler and a sharp knife to install LED strip lights correctly.
Pick adhesive or non-adhesive mounting based on your preference; adhesive is simple, but non-adhesive can be reused and is strong.
Think about your design and clean surfaces first so the lights stay in place and look nice.
Tools and Materials for Hanging LED Strip Lights

Essential Tools for Installation
To install LED strip lights, you’ll need some basic tools. Here’s a simple list:
Measuring Tape: Measure the area to avoid mistakes when cutting.
Utility Knife: Cut the LED strip lights to the right size.
Wire Strippers: Use these if you need to connect wires.
Electrical Tape: Secure wires and keep everything safe during setup.
Adhesive or Clips: Hold the LED strip lights firmly in place.
Having these tools ready makes the job faster and easier.
Adhesive and Non-Adhesive Mounting Options
You can pick adhesive or non-adhesive ways to mount LED strip lights.
Adhesive Options:
Strong adhesives work well in hot or humid areas.
Removable adhesives like command strips are great for renters.
Non-Adhesive Options:
Clips or aluminum tracks stop the lights from sagging.
Velcro strips and cable ties let you move the lights if needed.
Adhesives are easy to use, but non-adhesive methods are reusable and sturdy.
Accessories for Power and Connectivity
A good power setup keeps your LED strip lights working well. Follow these tips:
Match the power supply voltage with your LED strips to avoid damage.
Use only 80% of the power supply’s wattage for better performance.
Pick LED strips made with strong materials like copper for heat control.
Make sure there’s airflow or use heat sinks to stop overheating.
These tips help your lights last longer and work better.
How to Install LED Strip Lights: Preparation Steps
Measuring and Planning the Layout
Before you start, plan where the lights will go. Measure the area using a measuring tape. This helps you know how much strip you need. Check how many LEDs are in each section. More LEDs mean brighter and smoother light.
Decide why you need the lights. Are they for decoration, work, or accents? This helps you pick the right brightness and colors. Choose single-color or RGB based on your style. Make sure the strips are flexible and strong. This is important for corners or damp places. Good planning makes installation easier and avoids mistakes.
Cleaning and Prepping the Surface
Clean the wall before sticking the lights. Use a dry cloth to remove dust. For better cleaning, wipe with isopropyl alcohol. Let the surface dry completely. Wet walls can make the adhesive weak, and the lights may fall.
Don’t stick lights on rough or bumpy walls. If the wall isn’t smooth, use clips or channels to make it flat. These steps help the lights stick better and stay in place.
Positioning the Power Source
Place the power supply close to an outlet. This avoids using long cords, which can lower power.
Plan where the cables will go to keep them neat. If you need connectors or extra wires, check they match your setup. A good power source placement makes the lights look tidy and work safely.
Installation Techniques for LED Strip Lights

Using Adhesive Backing for Easy Installation
Adhesive backing makes hanging LED strip lights simple. Clean the surface with rubbing alcohol and let it dry fully. A clean, smooth surface helps the adhesive stick well. For humid or hot areas, use strong adhesives made for such conditions. Heavy-duty options, like 3M adhesives, work best and last longer.
When sticking the strip, press it down firmly to secure it. Don’t move the strip too much, as this weakens the adhesive. If you rent or want to move the lights later, try removable adhesives or clips. These let you adjust the lights without harming walls.
Non-Adhesive Methods for Secure Mounting
Non-adhesive ways are strong and can be reused. Clips, brackets, or Velcro strips hold heavier strips better. These methods reduce pressure on adhesives and stop sagging over time. For outdoor or wet areas, non-adhesive options work better since they handle weather changes.
To use clips or brackets, space them evenly along the strip. Secure them with screws or nails to keep them in place. Velcro strips are great for temporary setups, letting you move the lights easily. Non-adhesive methods are sturdy and perfect for long-term use.
Installing LED Strip Lights in Aluminum Channels
Aluminum channels make LED strip lights look and work better. They help manage heat, which keeps the LEDs working longer. Channels also let you use diffusers to spread light evenly and reduce glare. This creates a softer and more pleasant light.
Benefit | What It Does |
|---|---|
Heat Control | Channels help cool the LEDs, making them last longer. |
Less Glare | Diffusers spread light evenly, making it easier on the eyes. |
Stylish Look | Channels hide wires and give a neat, modern design. |
Protection | They keep the strips safe from dirt, damage, and dust. |
Safety | Channels stop accidental touches, keeping kids and others safe. |
To install, put the LED strip inside the channel and secure it with screws or clips. Snap the diffuser on top for a clean finish. Aluminum channels protect the strips and make your space look stylish.
Tips for Hanging LED Strip Lights in Special Scenarios
Installing Around Corners and Edges
Corners can be hard when adding LED strip lights. First, measure the corner area carefully to avoid mistakes. Cut the strip only at marked cutting points to keep LEDs safe. Use corner connectors or solder wires to keep the light flowing smoothly.
For sticky strips, clean and dry the surface first. This stops the adhesive from coming off. If the corner is sharp, use flexible connectors to bend the strip safely. Aluminum channels can hide the strips and make corners look neat. After setting up, test the lights to ensure they work well.
Hanging LED Strip Lights on Ceilings
Ceilings are great for LED strip lights to create soft lighting. Plan where the lights will go and mark the path. Clean the ceiling to remove dust so the adhesive sticks better. For bumpy ceilings, use clips or brackets instead of adhesive.
To hide the strips, place them inside crown molding or aluminum channels. This spreads the light evenly and gives a smooth glow. Keep the power source near an outlet for a tidy setup. After installing, check the lights for gaps or uneven brightness.
Damage-Free Installation for Renters
Renters can use LED strip lights without harming walls. Try clips, Velcro strips, or command hooks for easy removal. These options hold the lights securely and leave no marks.
Prepare the surface so clips or hooks stick well. Use removable products like Command Strips to protect walls. Velcro strips let you move the lights if needed. These renter-friendly ideas make it simple to enjoy LED strip lights without damage.
Testing and Adjusting LED Strip Lights
Testing Before Installation
Test the lights before installing them to check for problems. Testing early saves time and effort later. First, connect the LED strip lights to the power source. Make sure all parts light up evenly. If some areas flicker or look dim, check the wires and power supply.
You can also test how well the lights perform. Use tools to measure brightness, color, and energy use. This helps ensure the lights meet your needs. Below is a table showing common testing steps:
Testing Step | What It Checks |
|---|---|
Strength Testing | Makes sure the LED strips are strong and durable. |
Solder Check | Tests if solder connections are reliable and secure. |
Temperature Testing | Checks how the lights work in different temperatures. |
Adhesive Testing | Tests if the adhesive sticks well and lasts long. |
Color and Brightness Testing | Confirms the light color and brightness meet standards. |
Final Quality Check | Uses feedback to ensure the lights work as expected after setup. |
Testing makes sure your LED strip lights are ready to install and work well.
Adjusting Placement for Best Results
Placing LED strip lights correctly makes them work better. Moving them slightly can improve brightness and set the right mood. For example, putting lights under cabinets or along molding adds style to a room. In stores, placing lights well can highlight items and make them stand out.
LED strip lights let you change brightness and warmth. This helps you create a cozy feel or a bright workspace. After moving the lights, test them to see if the lighting looks good. Small changes in placement can make a big difference.
Fixing Common Installation Problems
Sometimes, problems happen even after testing. Issues like uneven brightness, wrong colors, or overheating are common. Below is a table of problems and how to fix them:
Problem | How to Fix |
|---|---|
Light color changes at the end | Check wires; make sure hot and neutral wires don’t touch. |
RGB lights show only one color | Flip the strip and reconnect it properly. |
Lights feel too hot | Make sure the voltage matches the power supply. |
Pins are not working | Insert pins carefully; don’t use too much force. |
Wrong power supply | Check if the LED strip needs 12V or 24V before buying. |
Fixing these problems ensures your LED strip lights work safely and correctly. Always test the lights again after fixing to make sure everything is fine.
Getting ready and using good methods makes hanging LED lights simple. Clean surfaces, pick strong adhesives, and use helpful tools for a lasting setup. The table below shows important steps and why they matter:
Preparation Step | Why It’s Important |
|---|---|
Choosing strong adhesive | Keeps lights secure in all conditions |
Cleaning the surface | Helps the adhesive stick better |
Adding mounting tools | Gives extra support to the light strips |
Be creative with where you place the lights to change your home’s look. A good setup not only works well but also makes your space look modern and stylish.
FAQ
How do you cut LED strip lights without damaging them?
Cut the strip only at marked cutting points. Use sharp scissors or a utility knife for a clean cut. Avoid cutting through LEDs or circuits.
Can you reuse LED strip lights after removing them?
Yes, but only if the adhesive backing remains intact. For better results, use clips or Velcro strips to make reinstallation easier.
What should you do if your LED strip lights don’t stick?
Clean the surface thoroughly with isopropyl alcohol. If the adhesive fails, switch to stronger options like double-sided tape, mounting clips, or aluminum channels.
See Also
Effective Methods for Installing RGB LED Strip Lights
Best Practices for Installing LED Strip Lights in 2025
Innovative Ways to Utilize LED Light Strips on Ceilings
Selecting the Perfect LED Strip Lights for Linear Lighting
Utilizing Smart LED Strips for Home Lighting in 2025


