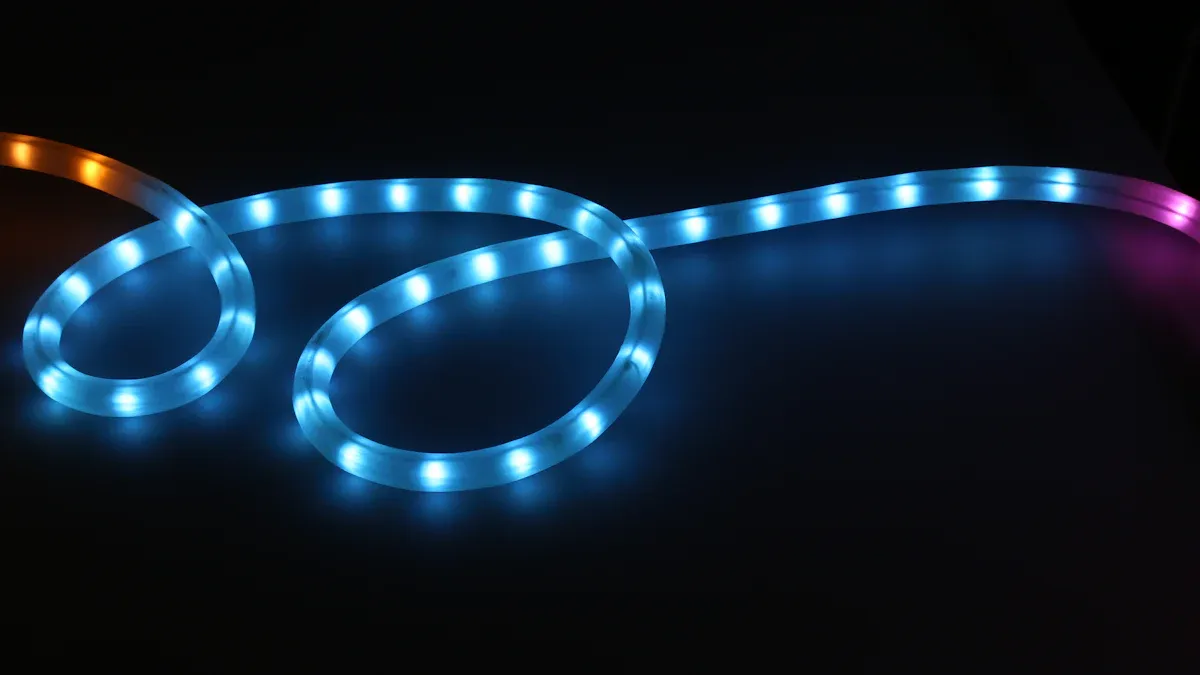
Bendable LED strip lights are very useful for many uses. You can use them for home lighting or car upgrades. Their flexibility helps you put them in special places. This creates amazing visual effects. Installing them correctly is very important. It helps you get the most out of them. In this guide, you will learn how to install flexible LED strips well for the best results.
Key Takeaways
Collect all the tools and parts you need before you start. This means getting LED strips, power supplies, and mounting materials. This will help everything go smoothly.
Get your workspace ready by cleaning the area and checking the surroundings. A clean and dry space helps the LED strips stick well. It also makes the installation better.
Stay away from common mistakes like not preparing the surface well and having loose connections. Planning ahead can save you time. It also makes sure your LED lights work correctly.
Tools for Bendable LED Strips
Required Components
Before you start putting up bendable LED strip lights, get all the needed parts. This helps make the installation easy. Here’s a list of important items you will need:
LED strip lights
Right power supply (adapter or transformer)
Controller (optional, for color or remote control)
Double-sided tape or mounting clips
Mounting channel (recommended)
Tools: scissors, wire strippers, screwdriver, and a tape measure for measuring
Having these tools ready will help you avoid stops during installation.
Preparing Your Workspace
A good workspace is key for a successful installation. Follow these steps to set up your area well:
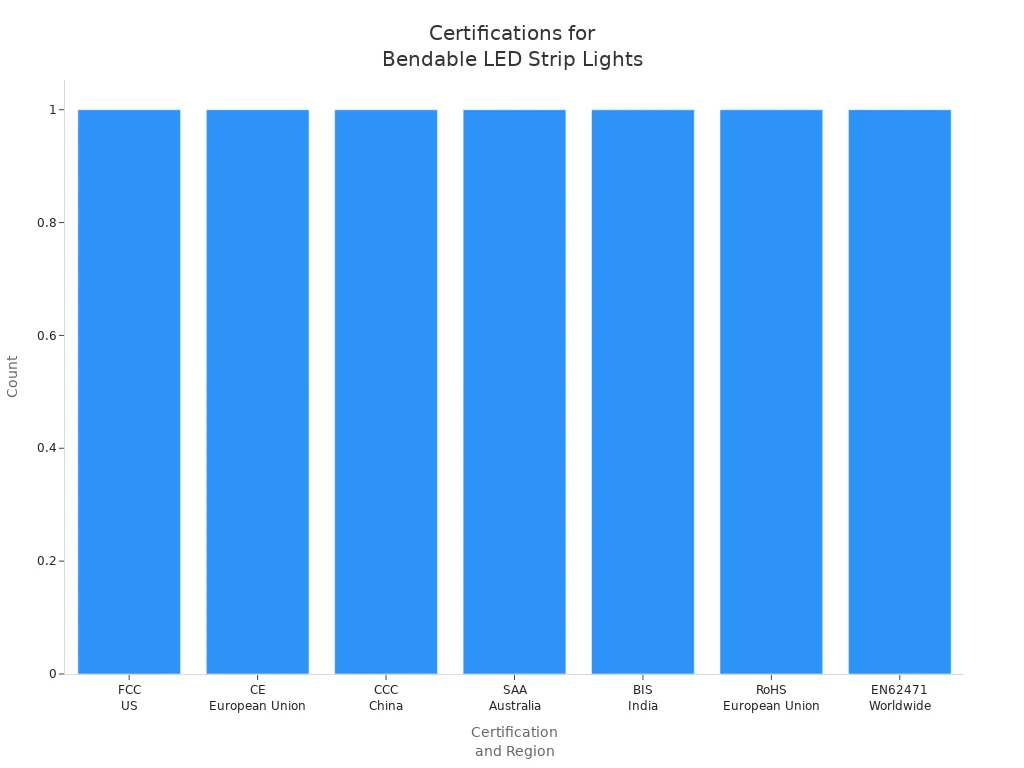
Assess the Environment: Check the area to pick the right IP rating for wet or outdoor places.
Prepare the Surface: Make sure the surface is clean, dry, and smooth for the LED strips to stick well.
Use Waterproof Connections: For IP65-rated strips and higher, make sure connections are watertight to keep the strip safe.
By getting your workspace ready, you reduce problems and improve the quality of your installation. A neat setup helps you get a professional look.
How to Install LED Strips

Installing LED strips can brighten your space with colorful lights. You have different ways to mount these flexible LED strips. Each method has its own benefits. Below, I will explain three popular ways to install them: adhesive installation, clip installation, and bending around corners.
Adhesive Installation
Adhesive installation is one of the easiest ways to mount LED strips. Follow these steps for a good installation:
Clean and prep the installation surface: Use a damp cloth to clean the area. Make sure it is dry before putting on the LED strips.
Stick the LED strips to the surface: Peel off the sticky backing and press the strip firmly onto the surface. For rough or uneven areas, use extra double-sided tape or clips to help hold it. Press down along the whole strip to make sure it sticks well.
This method has some good points, but also some downsides. Here’s a quick comparison:
Advantages of Adhesive Installation | Disadvantages of Adhesive Installation |
|---|---|
Quick installation | Adhesive may loosen over time |
No need for drilling or screwing | Potential wall damage when removing tape |
Cost-effective |
Clip Installation
Clip installation gives a stronger way to mount LED strips. Here are some best practices to follow:
Use LED Strip Mounting Clips: These clips are a simple and cheap way to hold LED strips without glue. They can be put in easily with one screw and keep the strip in place.
Space Clips Evenly: For the best support, make sure the clips are spaced evenly along the LED strip.
Choose the Right Size Clips: Picking the right size clips for your LED strips is important, especially in tricky spots with corners or uneven surfaces.
Using clips can make your LED strips last longer and stay stable. They stop sagging and spread out weight well, which is important for longer runs or vertical setups.
Fastener Type | How It Works | Best For | Pros & Cons |
|---|---|---|---|
Mounting Clips/Brackets | These clips hold the LED strip in place, stopping sagging. | Great for long runs and vertical surfaces. | Pros: Very secure, takes weight off adhesive. Cons: Needs drilling holes. |
Aluminum Mounting Channels | These channels hold the LED strip and give strong support. | Best for high-end setups. | Pros: Stops sagging, good for sticking, cools down heat. Cons: More complicated to install. |
Using aluminum channels not only supports the strips but also helps cool them down. This cooling is important for making the LEDs last longer.
Corner Bending Techniques
Bending LED strips around corners can be hard, but with the right methods, you can do it neatly without hurting the strips. Here are some good ways:
Technique | Description | Advantages | Disadvantages |
|---|---|---|---|
90-Degree Fold | Make a crease between LED chips and resistors, then fold back and forth. | Easy, no cutting or soldering needed. | Risk of damaging circuitry if folded too sharply. |
Curve Bend | Make a small loop instead of a crease for smoother turns. | Less stress on parts, works for many angles. | Visible loop may not look nice. |
Accordion Folds | Make small alternating folds for smooth curves. | Handles curves well, better weight distribution. | Takes patience and can be tricky to do neatly. |
Cut and Reconnect | Cut the strip and use connectors for corners. | Looks professional, allows for flexible installation. | Needs extra tools and may be more complex to install. |
When bending your LED strips, remember to follow the minimum bend radius suggested by manufacturers. For most silicone LED neon flex strips, this radius is usually between 5 to 10 centimeters. Following these rules will help avoid damage during installation.
Common Mistakes to Avoid
As you start your LED light strip installation, watch out for these common mistakes:
Skipping the Planning: Not planning can lead to running out of strip due to bad placement.
Poor Surface Preparation: Dusty or oily surfaces stop the strip from sticking well.
Loose Connections: Weak connections can cause flickering or lights to fail.
No Heat Management: Bad airflow can shorten the life of LED strips.
Overloading the Power Supply: Connecting too many strips can cause overheating and fire risks.
By avoiding these mistakes, you can have a smoother installation and enjoy your new lighting setup.
Installation Time
Usually, installing bendable LED strip lights takes about one to two hours. This depends on how complex the setup is. DIY fans can easily do the installation, making it a fun project.
Connecting and Testing LED Strip Lights
Connecting to Power
Connecting your LED strip lights to a power source is very important. Follow these steps to make a safe connection:
Always Disconnect Power: Turn off the AC power plug or unplug the LED power supply before starting.
Match Voltage Precisely: Make sure the voltage of your LED tape matches the LED driver’s output. This stops damage and overheating.
Never Overload the Power Supply: The wattage of your LED transformer should be at least 20% more than the LED strip’s use. This helps prevent overheating and fire risks.
Observe Polarity (+/-): Connect the red wire to the positive terminal and the black wire to the negative terminal for proper function.
Proper Insulation is Non-Negotiable: Insulate all bare wires and connections to avoid shock and short hazards.
Use Appropriate Wire Gauge: Make sure wires are thick enough to stop voltage drop and overheating.
Secure All Connections: Ensure all connections are tight to avoid flickering and heat problems.
Understand Your Environment (IP Rating): Use power supplies and connections with the right IP rating for wet or dusty areas.
Fuses and Circuit Protection: Place fuses near the LED power supply for extra safety.
Consult Local Electrical Codes: Always follow local codes for permanent setups.
When connecting your LED strip lights, you can choose from different connector types. Here’s a comparison of some common options:
Connector Type | Description | Reliability Considerations |
|---|---|---|
2-Pin Connectors | For single-color LED strips, great for simple setups. | Reliable for basic uses without color changes. |
3-Pin Connectors | Used for addressable LED strips, allowing individual control. | High reliability for changing lighting effects. |
4-Pin Connectors | For RGB LED strips, mixing red, green, and blue. | Reliable for color mixing uses. |
5-Pin Connectors | For RGBW LED strips, includes an extra white LED. | Ensures full function and reliability in color accuracy. |
Straight Connectors | Connect LED strips end-to-end. | Reliable for straight installations. |
L-Shaped Connectors | Allow 90-degree turns. | Reliable for corner setups. |
T-Shaped Connectors | Enable branching into two directions. | Reliable for complex designs. |
Flexible Connectors | Bend to fit curved surfaces. | Reliable for non-linear setups. |
Testing Your Installation
After connecting your LED strip lights, testing is key to ensure everything works right. Follow these steps to check your installation:
Connect the power supply and turn on the LED strip lights.
Check if all lights are working properly.
If needed, test any remote control, mobile app, or voice command features.
Look for any loose connections or installation problems.
Testing helps find common issues that may happen during first use. Here are frequent problems and their solutions:
Common Issue | Description | Solution |
|---|---|---|
Poor Connection | Misalignment or dirty contact points can cause flickering or failure. | Ensure proper alignment and clean contact points before connecting. |
Compatibility Problems | Using wrong connectors can lead to improper functioning. | Choose connectors that match your LED strips’ specifications. |
Overheating | Too much current or low-quality connectors can cause overheating. | Check current ratings and use heat-resistant connectors. |
Difficulty in Installation | Tight spaces or tricky setups can make installation hard. | Look for easy-to-use connectors with guides. |
Water Damage | Non-waterproof connectors in wet areas can cause damage. | Use waterproof connectors and ensure proper sealing in moist places. |
By following these steps and knowing potential issues, you can ensure a successful installation. Enjoy the bright lighting that bendable LED strip lights provide!
Putting up bendable LED strips can change your area. Keep these important steps in mind:
Think about your layout ahead of time.
Get the surface ready for good sticking.
Cut and join the strips the right way.
Attach them firmly.
Hook them up to power by following the rules.
Good installation helps save energy, lasts longer, and looks better. Enjoy your new lights!
FAQ
What are bendable LED strip lights used for?
Bendable LED strip lights are versatile. You can use them for home decor, accent lighting, or automotive upgrades.
How do I cut LED strip lights?
You can cut LED strip lights at designated cut lines. Use sharp scissors for a clean cut.
Can I connect multiple LED strips together?
Yes, you can connect multiple strips. Ensure your power supply can handle the total wattage to avoid overheating.
See Also
Effective Methods for Installing RGB LED Strip Lights
Best Practices for Installing LED Strip Lights in 2025
Installing and Using 360-Degree LED Neon Rope Lights


