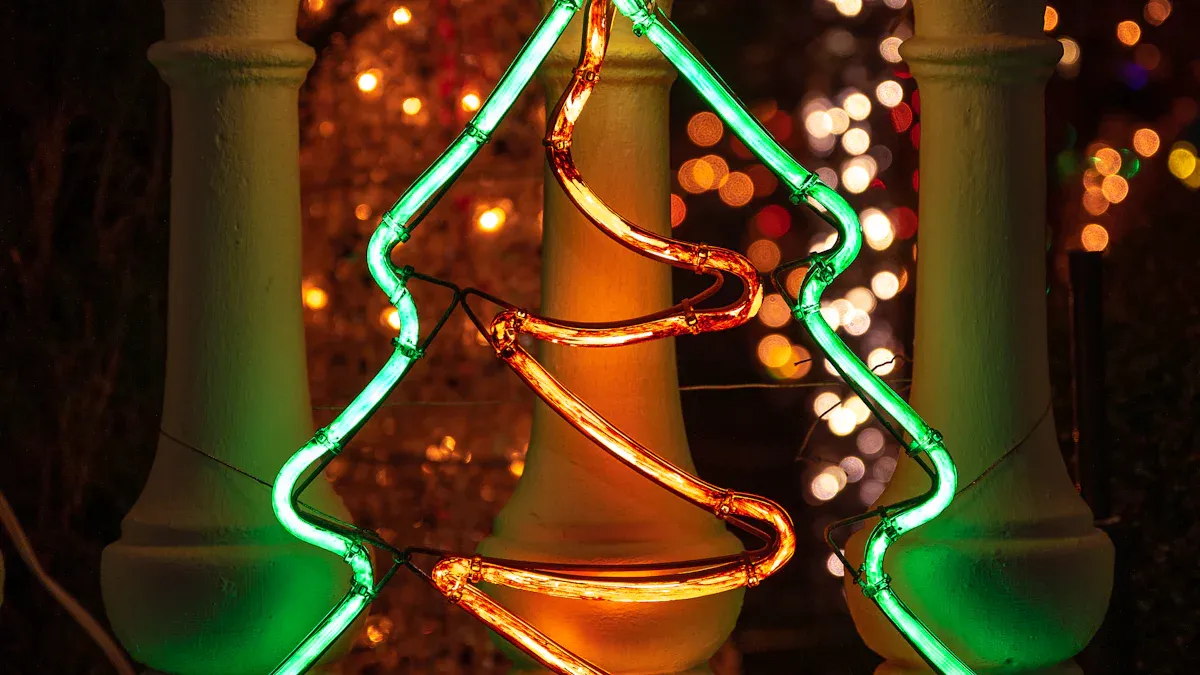
Properly setting up waterproof LED strip lights helps them last longer and work well outside. These lights can handle tough weather, making them great for outdoor lighting. Their strength comes from special waterproof ratings like IP65, IP67, and IP68.
IP65 lights can handle rain or small splashes.
IP67 lights can survive being underwater for a short time.
IP68 lights are the strongest and can stay underwater.
Using a good guide, you can make your own lighting setup that looks nice and works well. Whether lighting up a patio or garden, these lights are tough and improve your outdoor area.
Key Takeaways
Pick the right IP rating for your outdoor LED lights. IP65 works for rain, IP67 for brief water contact, and IP68 for underwater use.
Get tools like a measuring tape, scissors, and a heat gun. These tools will make your work easier and quicker.
Plan where to place the lights. Measure the space and clean it first to help the lights stick well.
Use silicone sealant and heat shrink tubing on all connections. This keeps water out and makes your lights last longer.
Test the lights after setting them up to check if they work. Look for flickering or dim spots and fix problems right away.
Tools and Materials for Installing Waterproof LED Strip Lights
Essential Tools
To set up waterproof LED strip lights outside, you need the right tools. These tools make the job easier and faster. Here’s what you’ll need:
Measuring Tape: Use it to measure where lights will go. Correct measurements help avoid mistakes and waste.
Scissors or Utility Knife: Cut the LED strips at marked cut points.
Screwdriver: Tighten brackets or attach the power supply.
Heat Gun: Use it to seal connections with heat-shrink tubing. This adds waterproofing.
Multimeter: Check electrical connections and confirm the voltage is correct.
These tools are tested to work in tough conditions. For example, IPX-rated tools pass water resistance tests. The IPX 7 test checks if tools can handle short water dips.
IP Rating | Test Type | Time | Purpose |
|---|---|---|---|
IPX 1 | Water drips from above | 10 minutes | Tests basic water protection |
IPX 7 | Short water immersion | 30 minutes | Checks if it survives being underwater |
Required Materials
Good materials are key for a strong installation. Here’s what you’ll need:
Waterproof LED Strip Lights: Choose IP65 for rain, IP67 for short water dips, or IP68 for underwater use.
Outdoor-Rated Power Supply: Keeps the lights working safely outside.
Waterproof Extension Cable: Extends the lights while staying waterproof.
Connectors and Heat-Shrink Tubing: Connect strips and seal them to block water.
Adhesive or Mounting Clips: Stick the lights to a clean, flat surface.
Waterproof tests prove these materials are durable. For example, IP65-rated lights are tested underwater for 30 minutes. This ensures they meet global standards like ISO 20653 and IEC 60529.
Tip: Clean the surface before sticking the lights. This helps them stay in place longer.
Preparing for Installation
Safety Precautions
Stay safe while setting up your waterproof LED strip lights. Follow these steps to avoid harm:
Turn Off the Power: Unplug the power before touching electrical parts. This stops shocks.
Use Proper Tools: Work with insulated tools to prevent short circuits.
Wear Protective Gear: Gloves and goggles keep your hands and eyes safe.
Check the Environment: Only work in dry areas. Wet places can be dangerous.
Note: Sealed connections stop water and prevent short circuits. This keeps your setup safer.
By following these tips, you’ll have a safer installation process.
Planning the Layout
Good planning makes installing waterproof LED strip lights easier. First, decide where you want the lights. Then, measure the space to know how much strip you need.
Here are some helpful tips:
Choose the Right Surface: Pick a flat, clean, and dry spot for sticking lights.
Clean the Surface: Wipe away dirt with a damp cloth so the adhesive works.
Use Mounting Accessories: Clips or adhesive help hold the strips in place.
Protect Connections: Use waterproof connectors and outdoor power supplies to block moisture.
IP Rating | Description | Best Use |
|---|---|---|
IP65 | Handles rain or small splashes | Patios or paths |
IP67 | Waterproof, okay for short submersion | Near pools or fountains |
IP68 | Works underwater for long periods | Rainy or wet areas |
Tip: A clear plan helps you avoid mistakes and saves time.
Careful planning gives your outdoor space a polished and professional look.
How to Cut Waterproof LED Light Strips
Finding the Cut Lines
Before cutting waterproof LED light strips, find the marked cut lines. These marks show where it’s safe to cut without breaking the circuit. Cutting in the wrong spot can stop the lights from working.
The waterproof material on the strip affects how you see the cut lines:
IP65 Strips: These have a coating of silicone or polyurethane. Look under the coating for the marks.
IP67 Strips: These are inside a silicone sleeve. Gently move the sleeve to find the marks.
IP68 Strips: These are fully sealed with silicone. The marks are visible through the clear material.
Tip: If the cut line is hard to see, carefully use scissors or a utility knife to uncover it.
Cutting the Strips
After finding the cut line, follow these steps to cut the strip:
Lay the strip flat on a clean surface.
Line up your scissors or knife with the cut mark.
Cut slowly along the mark to avoid damaging the circuit.
Seal the cut end with silicone glue and an end cap to keep it waterproof.
For IP67 strips, add silicone glue to the connector after cutting to block water. For IP68 strips, use waterproof cables and shunt connectors for a strong seal. These steps help keep the lights working and protected.
Note: Always check the manufacturer’s instructions for cutting and sealing. This keeps the warranty valid.
By following these directions, you can safely cut waterproof LED light strips and get them ready for installation.
How to Connect Waterproof LED Lights Strips
Using Connectors
Solderless connectors are an easy way to link waterproof LED strip lights. They don’t need soldering, so beginners can use them. Follow these steps for a proper connection:
Remove the silicone layer at the strip’s end. This reveals the copper pads. Use a utility knife carefully.
Open the connector and match the copper pads to its metal pins.
Close the connector tightly to secure the connection.
Turn on the lights to test. Make sure the brightness is even.
To make it more waterproof, cover the connector with heat shrink tubing. This keeps it safe outdoors. Always check for loose wires or gaps before finishing the setup.
Method | Waterproof Rating | Best Use |
|---|---|---|
IP62 Silicone Coating | IP62 | Dry or slightly wet areas |
IP65 Heat Shrink Tube | IP65 | Wet places, but not for outdoor splashes |
IP67 Silicone Sleeve + Coating | IP67 | Areas with water exposure, but not underwater |
IP68 Silicone Sleeve + Injection | IP68 | Fully underwater, like pools |
Tip: Test the lights first to avoid fixing mistakes later.
How to Solder Waterproof LED Lights Strips
Soldering gives a stronger connection for waterproof LED strip lights. It works well for long-term outdoor setups. Follow these steps to solder correctly:
Use a soldering iron and lead-free solder. Attach 18-20 gauge copper wires to the strip’s copper pads.
Gently take off the silicone over the pads without harming the strip.
Add a little solder to the wire and pad. Join them and hold steady until it cools.
Seal the soldered spot with silicone glue and heat shrink tubing to keep it waterproof.
Joining two waterproof strips can be tricky. If unsure, watch videos or ask for help. Sealing properly stops water damage and keeps the lights working longer.
Note: Soldering lets you reuse wires if you replace the strip. This saves money.
By using connectors or soldering, you can safely connect waterproof LED strip lights for outdoor use.
Waterproofing the Connections
Sealing Connections
Sealing your waterproof LED strip lights connections keeps them safe from water. Use outdoor-friendly materials to protect them well.
Silicone Sealant: This is water-resistant and bends easily. Spread a thin layer on open connections to stop water.
Heat Shrink Tubing: Slide it over the wires. Use a heat gun to shrink it tightly. This adds another waterproof layer.
Both Together: First, apply silicone sealant. Then, cover with heat shrink tubing for extra safety.
These methods are tested under different conditions:
IPX 6: Handles strong water sprays for 3 minutes.
IPX 7: Can be underwater for 30 minutes.
IPX 8: Works underwater for long periods.
Using these steps keeps your connections safe and working outdoors.
Securing the Ends
Protecting the ends of your LED strips is also important. Choose a method based on the strip’s IP rating:
Waterproofing Method | IP Rating | Description |
|---|---|---|
IP62 Silicone Coating | IP62 | Blocks dust and light moisture. Good for dry or slightly wet spots. |
IP65 Heat Shrink Tube | IP65 | Stops water spray. Best for wet areas, not heavy rain. |
IP67 Silicone Sleeve + Silicone Coating | IP67 | Handles water pressure. Great for places often wet. |
IP68 Silicone Sleeve + Silicone Injection | IP68 | Fully waterproof. Perfect for underwater use like pools. |
For IP68 strips, use a silicone sleeve filled with silicone injection. This seals the ends and keeps them safe underwater.
Follow these tips to make your waterproof LED strip lights last longer and work better outdoors.
Mounting Waterproof LED Strip Lights
Picking a Mounting Method
Choosing the right way to mount your waterproof LED strip lights keeps them secure and working well outside. Different methods work better for different surfaces and places. Here are three good options:
LED Strip Mounting Clips: These clips screw into surfaces for a strong hold. They are great for bumpy or rough areas where tape won’t stick.
LED Strip Mounting Channel: Aluminum tracks make your setup look neat. They also help cool the lights, making them last longer.
Extra Strong Double-Sided Tape: This tape sticks better than regular adhesive. It’s best for smooth, clean surfaces where clips or channels don’t work.
Think about the surface and weather before picking a method. For example, clips are good for rough walls, while channels give a tidy finish.
Tip: Clean the surface well before mounting for a better hold.
Putting Up the Strips
After picking a mounting method, follow these steps to install the strips:
Clean the Surface: Use a damp cloth to wipe away dirt. Let it dry fully.
Plan the Placement: Lay the strips where you want them without peeling the backing. This helps you see how they’ll look.
Attach the Strips:
For clips, screw them in evenly and snap the strips in.
For channels, fix the channel first, then slide in the strips.
For tape, peel the backing and press the strips firmly onto the surface.
Seal the Edges: Apply silicone sealant to open spots, especially near connectors, to keep water out.
Test the Lights: Turn on the lights to check if they work before finishing.
Check all connections and mounts to make sure they’re secure. A proper setup not only looks good but also helps your waterproof LED strip lights last longer outdoors.
Powering On and Testing Waterproof LED Strip Lights
Connecting to the Power Supply
Hooking up your waterproof LED strip lights to the power supply needs care. Follow these simple steps for a safe connection:
Get the Right Power Supply: Use an outdoor-safe power supply made for LED lights. Check that the voltage and wattage match your lights.
Protect the Connections: Cover open parts of the connectors with silicone sealant. This keeps water out and stops damage.
Add Heat Shrink Tubing: Slide tubing over the connectors. Use a heat gun to shrink it tightly for waterproofing.
Plug Into the Outlet: Connect the power supply to a weather-safe outdoor outlet. Make sure the outlet has a cover to block rain.
Double-Check Everything: Look at all connections to ensure they are tight and aligned. Loose parts can cause flickering or uneven light.
Sealing connections well keeps water out and prevents short circuits. This step helps your lights last longer and stay safe.
Testing the Lights
Before finishing, test your lights to make sure they work. Here’s how:
Turn On the Power: Switch on the power supply and check the lights. They should shine evenly across the strip.
Look for Problems: Watch for flickering or dim spots. These could mean loose wires or not enough power.
Check Waterproofing: Make sure sealed areas are still intact and no water can get in.
Tip: Testing first helps you fix problems early. This saves time and ensures your lights work perfectly.
By following these steps, you can safely power on and test your waterproof LED strip lights. They’ll be ready to brighten up your outdoor space.
Troubleshooting Problems with Waterproof LED Strip Lights
Flickering Lights
Flickering lights can ruin your outdoor lighting. This happens due to loose wires, weak power, or wrong dimmers. Fix it by following these steps:
Check the Connections: Look for loose wires or connectors. Reattach any that are not secure.
Confirm the Power Supply: Make sure the power supply matches your LED strip’s voltage and wattage. Wrong power can cause flickering.
Test the Dimmer: If using a dimmer, ensure it works with your LED strips. Replace it if it’s not compatible.
Tip: Use a multimeter to check voltage along the strip. This helps find weak spots.
Uneven Brightness
Uneven brightness means some parts of the strip are dimmer. This is often caused by voltage drop or low-quality strips. Solve it by:
Using Shorter Strips: Long strips lose power, causing dim areas. Cut them shorter and use separate power supplies.
Upgrading the Power Supply: A stronger power supply gives steady voltage to all parts.
Checking the Surface: Make sure the strip is on a flat, clean surface. Uneven spots can affect light spread.
Note: High-quality waterproof LED strips reduce brightness problems.
Lights Not Working
If the lights don’t turn on, the problem might be bad wiring, broken strips, or a faulty power supply. Try these steps:
Test the Power Supply: Plug it into another device to see if it works. Replace it if it doesn’t.
Inspect the LED Strips: Look for damage like cuts or burns. Replace any broken parts.
Check the Wires: Make sure all wires are tight and not rusty.
Tip: If nothing works, read the manufacturer’s guide or ask for help.
Fixing these issues will keep your waterproof LED strip lights working well and make your outdoor space look great.
Putting up waterproof LED strip lights outside can make your space look amazing and useful. Follow these steps: gather tools, plan where to place the lights, cut and connect the strips, seal the connections, and test everything. This will help your lights last longer and work well. Check for loose wires and clean the strips often to keep them bright.
Tip: Step back and enjoy how your lights improve the look of your space. A good setup makes your outdoor area prettier and increases your property’s value.
FAQ
What is the best IP rating for outdoor LED strip lights?
Pick an IP rating based on where you’ll use the lights. For patios or walkways, IP65 is a good choice. Use IP67 near water features like pools or fountains. Choose IP68 for underwater spots like ponds. Match the rating to how much water the lights will face.
Tip: Higher IP ratings protect better but cost more.
Can you cut waterproof LED strip lights?
Yes, you can cut them at specific cut marks. These marks keep the circuit working. After cutting, seal the ends with silicone glue and caps to keep them waterproof. Always check the manufacturer’s guide for proper steps.
How do you keep LED strip lights waterproof after installation?
Protect connections with silicone sealant and heat shrink tubing. For extra safety, seal the strip ends with silicone injection. Make sure all connectors and power supplies are outdoor-rated.
Note: Sealing well stops water damage and helps lights last longer.
Why are my LED strip lights flickering?
Flickering happens because of loose wires, weak power, or wrong dimmers. Check all connections and ensure the power supply matches the strip’s voltage and wattage. Replace the dimmer if it’s not made for LED lights.
How do you clean waterproof LED strip lights?
Wipe the lights with a soft, damp cloth to remove dirt. Don’t use strong chemicals that could harm the waterproof layer. Cleaning regularly keeps the lights bright and working well.
Tip: Clean every few months to keep them looking great.
See Also
Safe Ways to Utilize LED Strips Outside
Ultimate Handbook for Outdoor LED Strip Lighting
Effective Methods for Installing RGB LED Strip Lights
Best Practices for Installing LED Strip Lights in 2025
Guide to Installing 360-Degree LED Neon Rope Lights


