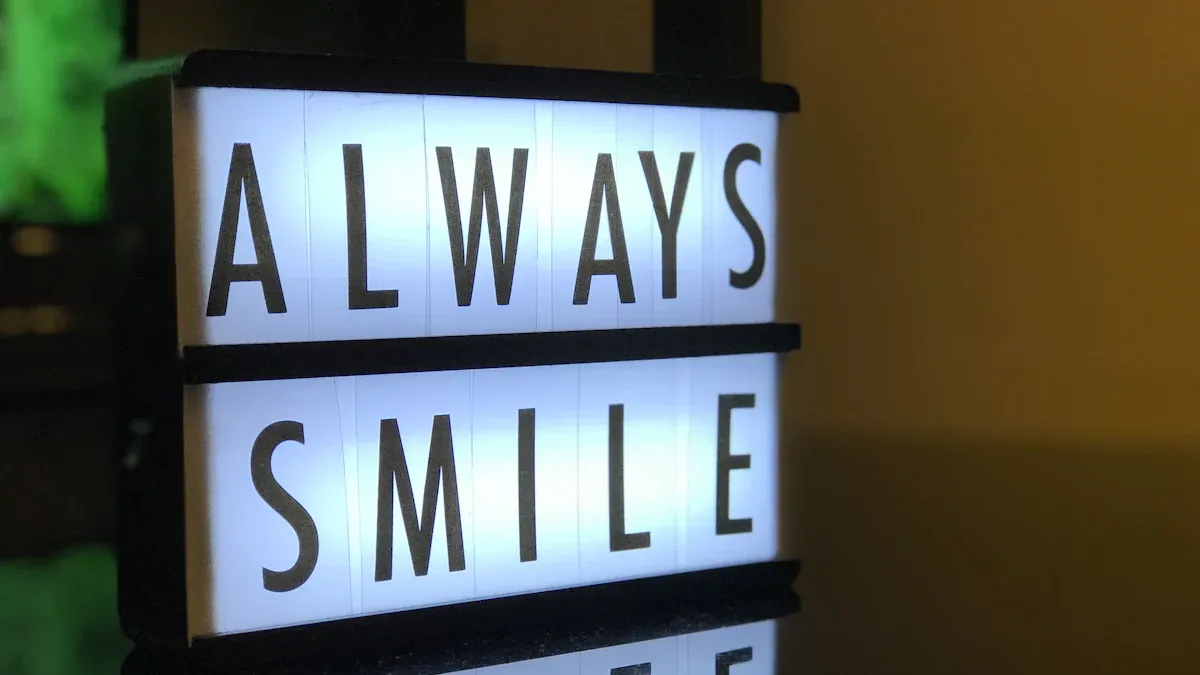
Are you ready to brighten up your space? LED light box signs add a unique touch to any room, making them perfect for home decor or personalized gifts. Imagine the satisfaction you’ll feel when you create something beautiful right at home! Plus, the best part is that making your own led light box sign is simple and fun. Let’s dive into this exciting DIY project together!
Key Takeaways
Collect important materials like stainless steel, acrylic, and LED lights to make a strong light box sign.
Pick a theme for your sign that shows your style and connects with your audience, like bright colors or soft shades.
Use simple designs with big fonts and enough empty space to make your message clear and easy to read.
Follow careful cutting and assembly steps to create a nice-looking light box sign that shines brightly.
Personalize your sign with special touches like logos and colors to make it one-of-a-kind and show your personality.
Materials & Tools
To make your amazing LED light box sign, you need some important materials and tools. Let’s see what you need to start.
Essential Materials
To build a strong LED light box sign, collect these materials:
Material Type | Description | Properties |
|---|---|---|
Stainless Steel | This is for the frame and structure of the sign. | Strong, weatherproof |
Acrylic | This is the back material that holds the LED lights. | Light, weather-resistant |
LED Lights | These light up the sign. | Long-lasting (50,000 hours) |
IP65 Rated LED Panel | This makes the sign good for outdoor use. | Waterproof, bright lighting |
These materials will help your sign look great and last a long time.
Recommended Tools
Now that you have your materials, let’s look at the tools you need to put it together. Here’s a useful list:
Utility Knife: For cutting acrylic and other materials.
Ruler: To measure and make sure cuts are right.
Screwdriver: For holding the frame and parts together.
Hot Glue Gun: To stick parts firmly.
Wire Strippers: If you use LED light bars, these help prepare the wires.
Using the right tools makes building easier and more fun.
When picking LED lights, think about the type of LED strips you want. Here are some choices:
High-Density Strips: Best for brightness with 60 LEDs per meter.
Standard Density Strips: More energy-saving, with 30 LEDs per meter, good for less light.
Premium Density Strips: Up to 512 LEDs per meter, great for big lighting projects, especially near shiny surfaces.
With these materials and tools ready, you’re set to make a stunning LED light box sign that will brighten your space!
Designing Your Lightbox
Designing your lightbox sign is where the fun starts! You can show your creativity and make something that shows your style. Let’s split it into two main parts: picking a theme and making your design.
Choosing a Theme
First, think about the theme of your lightbox sign. This sets the mood and purpose of your sign. Here are some popular themes based on recent trends:
Theme Type | Description |
|---|---|
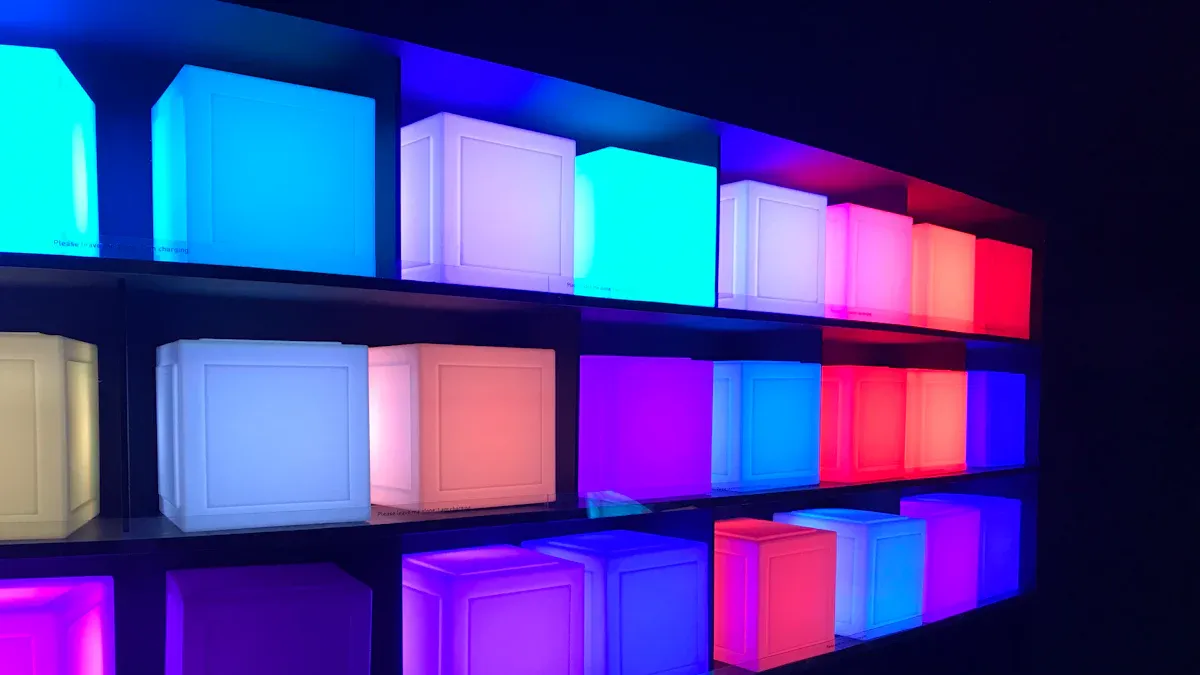
Vibrant, High-Contrast Colors | Great for promotional displays, these colors grab attention fast. |
Soft, Muted Tones | Good for a classy look, giving a subtle feel. |
Dynamic Color-Changing Effects | Changes for different times of day or events. |
Enhanced Brightness | Important for seeing in bright or outdoor places. |
Adjustable Brightness | Saves energy and adjusts to light around it. |
Even, Glare-Free Illumination | Stops bright spots and glare for a clean look. |
Tailored Designs | Custom options for seasonal events or branding. |
Programmable Lighting Effects | Fun displays with animations or changes. |
Choosing the right theme helps you connect with your audience. Think about what message you want to share and how you want people to feel when they see your sign.
Creating Your Design
Now that you have a theme, it’s time to make your design. Start by measuring the space for your lightbox. This makes sure your sign fits well.
Next, pick the right font. Choose bold, easy-to-read fonts that stand out. High contrast colors help visibility, so think about using white text on a dark background or the other way around.
When making graphics, keep it simple. Don’t fill your design with too many things. Use clean lines and enough white space to make your message clear. Remember, less is often better!
For accuracy, use design software like Adobe Illustrator or CorelDRAW. These tools let you change shapes and text easily. They help you create a polished look that will impress anyone who sees your sign.
By following these steps, you’ll be on your way to designing a lightbox sign that looks great and shares your message well!
Preparing the DIY Light Box Sign
Now that you have your lightbox design, it’s time to get your materials ready. This step is very important for making sure your diy light box sign looks good and works well. Let’s split this into two parts: cutting materials and setting up LED lights.
Cutting Materials
First, we need to cut your materials. Making accurate cuts is key for a nice finish. Here are some materials you can use:
Wood: It’s easy to cut and stays strong.
Acrylic: This is also easy to cut and great for edge-lit LED signs.
When cutting acrylic, try these helpful methods:
Laser Cutters: They give smooth edges, perfect for detailed work.
CNC Routers: These can handle bigger, more complex cuts easily.
Remember to measure twice and cut once! This helps you avoid mistakes that could change how your sign looks.
Setting Up LED Lights
Next, let’s put in the LED lights. Where you place them is important for good lighting. Here are some tips to remember:
Follow the instructions from the manufacturer for where to place the lights.
Think about the size of your light box when deciding where to put the lights.
Use clear acrylic for the box to help spread the light better.
Watch out for common mistakes when setting up your lights. Here’s a quick table of things to avoid:
Mistake | Description |
|---|---|
Poor Visibility | Make sure there is enough contrast between the text or graphics and the background. |
Overly Complex Designs | Keep designs simple to make them easy to read and impactful. |
Incorrect Sizing | Pick the right size for your sign based on how far away people will be. |
Inadequate Lighting | Make sure the lighting is bright enough everywhere. |
Neglecting Maintenance | Set up a schedule to check and fix any problems quickly. |
Inconsistent Illumination | Use even lighting to make your sign look professional and neat. |
By following these steps, you’ll be ready to create a stunning diy light box sign that shines brightly!
Assembling the LED Light Box Sign
Now that you have your materials and design ready, it’s time to put everything together! This is where your idea becomes real. Follow these easy steps to make your amazing LED light box sign.
Step-by-Step Assembly
Preparing the Sign Components: First, gather all your parts. You need the frame, back panel, acrylic sheet, and your letters or graphics.
Cutting the Frame and Back Panel: Measure and cut the frame from your strong material. Make sure it fits well with the back panel. This step is important for a nice look.
Preparing the Acrylic Sheet: Cut the acrylic sheet to fit your frame. Clean it well to get rid of dust or fingerprints.
Prepping Letters and Graphics: Make your letters and graphics using vinyl, paint, or printed materials. Ensure they are ready to stick on the acrylic.
Assembling the Lightbox: Start by putting the LED lights inside the frame. Then, attach the acrylic sheet with your graphics on top. Finally, secure the frame and back panel together.
Final Adjustments and Installation: Test the LED lights to make sure they work. Set up the power system, and then hang or mount your sign where you want it.
Tips for a Professional Finish
To make your light box sign look great, try these helpful tips:
Add horizontal bars between the vertical supports. This keeps everything straight and steady, making your sign look professional.
Secure every connection point tightly. A strong frame improves the look and keeps everything in place.
Insert the last two vertical support poles for extra strength. This is important for taller light boxes to make them last longer.
Plug in the LED wires correctly. Good wiring is key for your sign to light up well.
To make your sign easier to see, you can use dark wood wax on any raised writing. This adds detail and depth. Also, printing on inkjet printable acetate and layering prints can make colors brighter, making your sign stand out more.
For hiding wires and seams, think about these methods:
Technique | Description |
|---|---|
Architectural Integration | Run wiring through walls or ceilings during building. |
Conduit Systems | Use low-profile surface conduits that match the area for a clean look. |
Cable Management Channels | Set up special wire management systems that fit with your decor. |
Junction Box Integration | Use safe junction boxes at connection points for neatness and safety. |
By following these steps and tips, you’ll create a light box sign that shines brightly and looks professionally made!
Final Touches & Customization
Now that you’ve made your amazing light box, it’s time to add the final touches. These details will make it shine even more! They can help people see it better and give your sign a nice look.
Adding Finishing Touches
To make your light box brighter and easier to see, think about these features:
Feature | Benefit |
|---|---|
Backlit design | Gives a soft glow for better visibility |
Even illumination | Makes it look more professional |
Adjustable brightness | Change it based on the time of day |
Weather-resistant construction | Keeps it looking good outside |
Energy-efficient operation | Saves on electricity bills |
These features not only make your sign look better but also help it last longer. For example, a backlit design can create a warm feel, making your sign inviting and eye-catching.
Customizing Your Sign
Personalization is where you can show your creativity! Think about how you want your light box to show your style or brand. Here are some popular ways to customize:
Customization Option | Description |
|---|---|
Branding with Logos | Add your company logo to the light box. |
Matching Brand Colors | Use colors that match your brand. |
Printing in Full Color | Get bright, full-color printing options. |
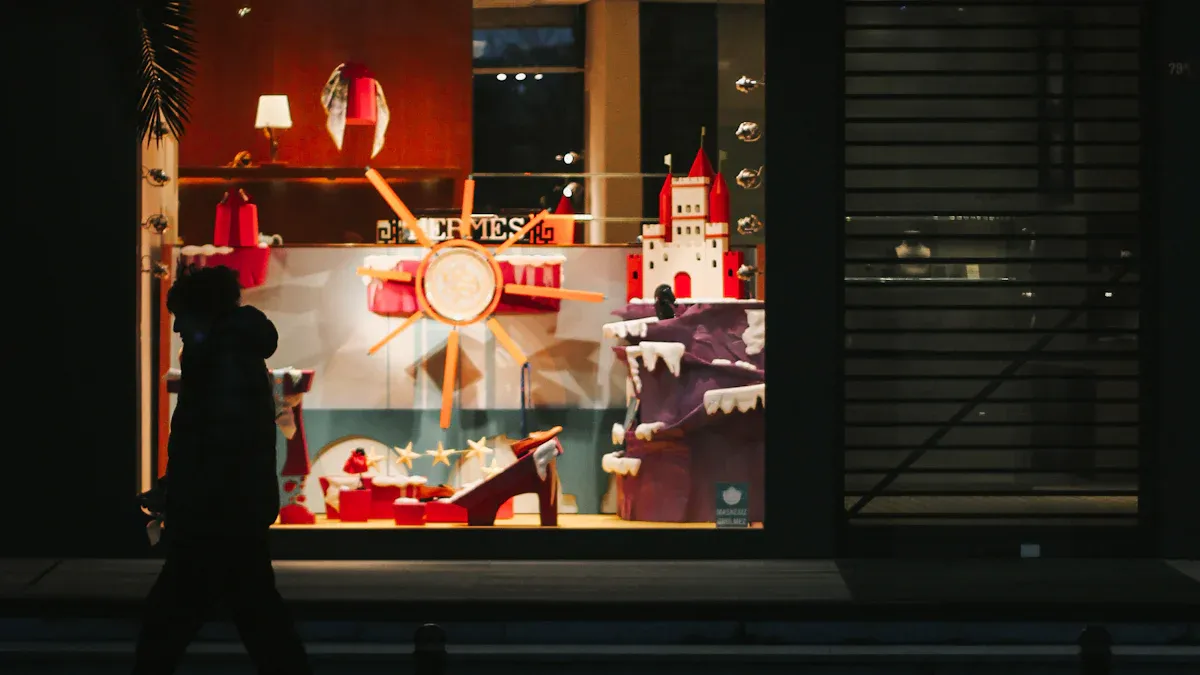
Types of Light Boxes | Choose from freestanding, table centerpieces, or displays for events. |
You can also try different types of diffusers to spread the light evenly. Here’s a quick look at some options:
Type of Diffuser | Description | Applications |
|---|---|---|
Frosted | Softens light rays for a gentle glow, cutting glare. | Homes and businesses, LED strips, linear lighting. |
Opal | Gives smooth, even light, great with LED strips. | Homes and businesses, blending light sources. |
Prismatic | Uses patterns to control light, reducing glare and boosting brightness. | Offices, stores, LED lights. |
By adding these finishing touches and customizing your light box, you’ll create a unique piece that stands out and shows your personality or brand. Enjoy the process, and feel free to try out different colors and styles!
Creating your stunning LED light box sign is a rewarding journey! Here’s a quick recap of the key steps:
Gather your materials and tools, like wood, acrylic, and LED lights.
Decide on the frame size and design.
Cut the frame pieces to fit your design.
Install the LED lights and assemble everything.
Don’t hesitate to experiment with your designs! Personalizing your sign makes it truly yours. Remember, engaging in DIY projects can boost your mood and self-esteem. So, enjoy the process and take pride in displaying your unique creation!
FAQ
What materials do I need for a lightbox sign?
You’ll need a frame, acrylic sheet, LED lights, and a backing material. These items create a sturdy and bright lightbox sign that looks great in any space.
How do I choose the right LED lights?
Pick LED lights based on brightness and energy efficiency. High-density strips work well for vibrant displays, while standard density strips save energy for softer lighting.
Can I customize my lightbox sign?
Absolutely! You can personalize your lightbox sign with different colors, fonts, and graphics. This makes it unique and reflects your style or brand.
How do I maintain my lightbox sign?
Regularly check the LED lights and clean the acrylic surface. This keeps your lightbox sign looking fresh and ensures it shines brightly.
Is it safe to use LED lights outdoors?
Yes, as long as you use IP65 rated LED lights. These lights are waterproof and designed for outdoor use, making your lightbox sign safe and durable.
See Also
Creating Your Personalized Neon LED Sign From Scratch
Steps to Create Your Own LED Neon Flex Sign
Guide to Installing LED Light Bars in Signage


