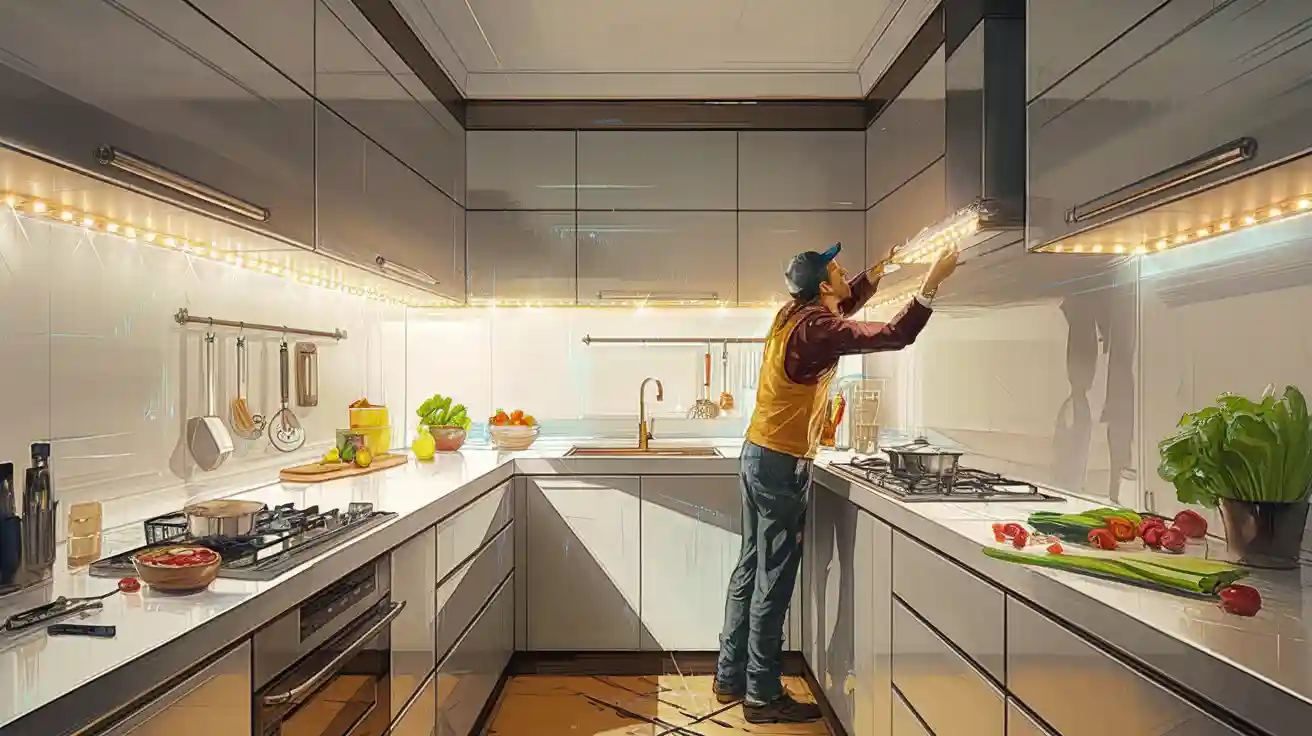
Are you looking to brighten up your kitchen? Installing LED strip lights can transform your space with improved visibility, energy efficiency, and an aesthetic boost. The best part? You can easily do it yourself! Let’s get started on this fun DIY project that will enhance your kitchen with LED strip lights.
Key Takeaways
Pick the right kind of LED strip lights for your kitchen. Flexible strips are simple to put up. Waterproof options work best in wet areas.
Measure your space carefully before you start. This makes sure your LED strips fit well under cabinets or on shelves.
Check your LED setup before you finish installing. This lets you fix any loose connections or flickering lights.
Selecting LED Strip Lights
When you pick LED strip lights for your kitchen, you have many choices. Knowing the types and their features will help you choose the best ones for your space.
Types of LED Strip Lights
You can find different types of LED strip lights, and each has its own perks:
Flexible LED Strip Lights: These stick easily and are simple to install. They give even light and can be cut to fit your cabinets.
Waterproof LED Strip Lights: Great for kitchens, these lights have different IP ratings. For example, IP65-rated strips work well in areas with some splashes. IP67-rated strips are better for places that get wet often.
IP Rating | Description | Kitchen Suitability |
|---|---|---|
IP62 | Blocks dust and water spray | Good for areas with little water exposure |
IP65 | Dust-tight and safe from water jets | Best for kitchens with some splashes |
IP67 | Safe from being submerged in water | Not needed unless in areas sprayed often |
IP68 | Safe from continuous immersion | Not needed for regular kitchens unless in extreme cases |
Brightness and Color Temperature
Brightness and color temperature are important for how your kitchen looks and works. For good task lighting, aim for brightness between 200 and 500 lumens per foot. This gives you enough light for cooking and other tasks.
For color temperature, think about these points:
Lower color temperatures (2700K to 3000K) make a cozy feel, bringing out warm colors in your kitchen.
Higher color temperatures (above 5000K) give clarity and visibility, making details easier to see.
Here are some things to remember when picking the right color temperature:
Size of the Kitchen: Smaller kitchens like warmer tones (2700K to 3000K) for a cozy feel. Larger kitchens may need cooler tones (3500K-4000K) for brightness.
Types of Kitchen: Modern kitchens fit neutral temperatures (4000K to 5000K), while traditional kitchens may like softer tones (3000K to 4000K).
Color of the Cabinets: Dark cabinets need higher temperatures (4000K to 5000K) for better visibility. Light cabinets look good with warm tones.
Lastly, remember to measure your space carefully. Picking the right length for your LED strip lights is very important. Many strips can be cut to size, letting you customize them for your kitchen. This helps you get the perfect fit for under counter lighting or accent lighting, improving both function and style.
Preparing for Installation
Before you start installing your LED strip lights, you need to get ready. This means measuring your space right and gathering all the tools and materials you will need. Let’s go through it step by step.
Measuring Your Space
Measuring your kitchen is very important for a good installation. You want to make sure your LED strip lights fit well under cabinets or on shelves. Here’s how to do it:
Get Your Measuring Tape: Use a measuring tape to find the length of the area where you want to put the lights. Measure from one end to the other, and remember to check any corners or curves.
Create a Mock Installation: Before sticking anything down, lay the LED strips in place without taking off the sticky backing. This helps you see how they look and check if you have the right length.
Double-Check Your Measurements: It’s smart to measure twice. This way, you can avoid mistakes that might make your strips too short.
Tip: Make sure the surfaces where you want to install the lights are clean and dry. Dust or moisture can stop the adhesive from sticking well.
Gathering Tools and Materials
Now that you’ve measured your space, it’s time to gather the tools and materials you will need for the installation. Here’s a helpful list to get you started:
Material/Tool | Description |
|---|---|
Die led-landing | Make sure you have the right length and type of LED strips. |
Power Supply | Pick a power supply that fits the voltage and wattage needs. |
Quick Connectors (Optional) | These can make the connection process easier. |
Clean, Dry Surface | Make sure the area for installation is free from dirt and dust. |
Scissors | Use these to cut the LED strips at the marked cut lines. |
Adhesive Reinforcements | Double-sided mounting tape or 3M VHB tape can give extra support. |
Also, here are some important things to remember:
Surface Preparation: Make sure your mounting surfaces are smooth, clean, and completely dry. They should be above 60ºF (15 ºC) for the best stickiness.
Cleaning: Use isopropyl alcohol to clean all mounting surfaces well. This helps the adhesive stick better.
Sanding: Lightly sand the area where you will mount the tape lighting with fine grit sandpaper (150-300 grit). Just be careful not to hurt the LED strip itself.
Safety Precautions: Always choose strips, controllers, and power supplies that match your space and needs. Handle LED strips gently to avoid damage during installation. Test your setup before final installation to make sure everything works right.
By following these steps, you’ll be ready for a smooth installation. With everything measured and ready, you’re one step closer to enjoying your new kitchen with LED strip lights!
Step by Step Installation of LED Strip Lights
Now that you’ve prepared your space and gathered your materials, it’s time for the fun part: the actual installation! Follow these steps to ensure a smooth and successful LED strip light installation.
Cutting the Strips to Size
Cutting your LED strips to the right size is crucial for a perfect fit. Here’s how to do it:
Measure and Mark: Use a ruler or measuring tape to find the desired length. Mark it clearly.
Double-Check: Before you cut, double-check your marked points to avoid mistakes.
Cut Carefully: Use sharp scissors or a utility knife to cut along the designated cut lines. These lines are usually marked with dashed lines on the strip. Make sure to cut straight across to maintain functionality.
Tip: Always cut only at the marked lines to prevent damage to the LED strip. If you cut incorrectly, you might end up with a non-functional section.
Applying the Adhesive
Once you have your strips cut to size, it’s time to apply them. Proper adhesion is key for a long-lasting installation.
Clean the Surface: Make sure the area where you’ll stick the LED strips is clean and dry. Use isopropyl alcohol to wipe down the surface. This helps the adhesive stick better.
Choose Your Adhesive: You can use double-sided foam tape, or for a more secure hold, consider using a metal bracket or wood strip with screws. This is especially useful for vertical surfaces.
Stick It Down: Carefully peel off the backing from the adhesive and press the strip firmly against the surface. Make sure it’s straight and aligned properly.
Note: If you’re installing in a moisture-prone area, consider using waterproof LED strips to prevent any issues.
Connecting the Power Supply
Now that your LED strips are in place, it’s time to connect them to the power supply. Here’s how to do it safely:
Mount the LED Tape: Position the LED tape towards the front of the cabinet with the LEDs facing down. This maximizes light on your countertop.
Drill Holes if Needed: If you want a clean look, drill a small hole through the cabinet side frame for continuous run mounting.
Secure Connections: Make sure all connections are tight. Check that the positive and negative sides match up correctly.
Safety Reminder: Always comply with the National Electrical Code (NEC) when wiring your LED strip lights. This ensures safety and performance.
Testing the Installation
Before you finalize everything, it’s important to test your setup to ensure it works properly.
Connect the Power Supply: Plug in your power supply to the LED strip lights.
Turn It On: Switch on the lights to check for proper functionality. Look for any flickering or dead spots.
Inspect Connections: If something doesn’t work, check for loose connections or damaged sections.
Tip: Test your full setup before securing everything in place. This way, you can make adjustments if needed.
By following these steps, you’ll have a successful LED strip light installation that brightens up your kitchen beautifully. Enjoy your new lighting!
Great job finishing your LED strip light installation! Now, enjoy the bright and welcoming feel in your kitchen. To keep your lights looking good, remember to:
Clean the strips often with a dry cloth.
For tough stains, use a warm, damp cloth and avoid strong chemicals.
To make it even better, think about adding color accents or under-cabinet lights to improve your kitchen’s style. You can also add toe kick lighting for a nice touch. Enjoy your new lights!
FAQ
How long do LED strip lights last?
LED strip lights can last up to 50,000 hours, making them a durable choice for your kitchen lighting.
Can I cut LED strip lights?
Yes, you can cut LED strip lights at marked lines to fit your desired length during installation.
Are LED strip lights energy-efficient?
Absolutely! LED strip lights consume less energy than traditional bulbs, helping you save on electricity bills.
See Also
Enhance Your Kitchen Cabinets With LED Strip Lighting
Effective Installation Tips For RGB LED Strip Lights
Mastering The Installation Of LED Strip Lights In 2025


