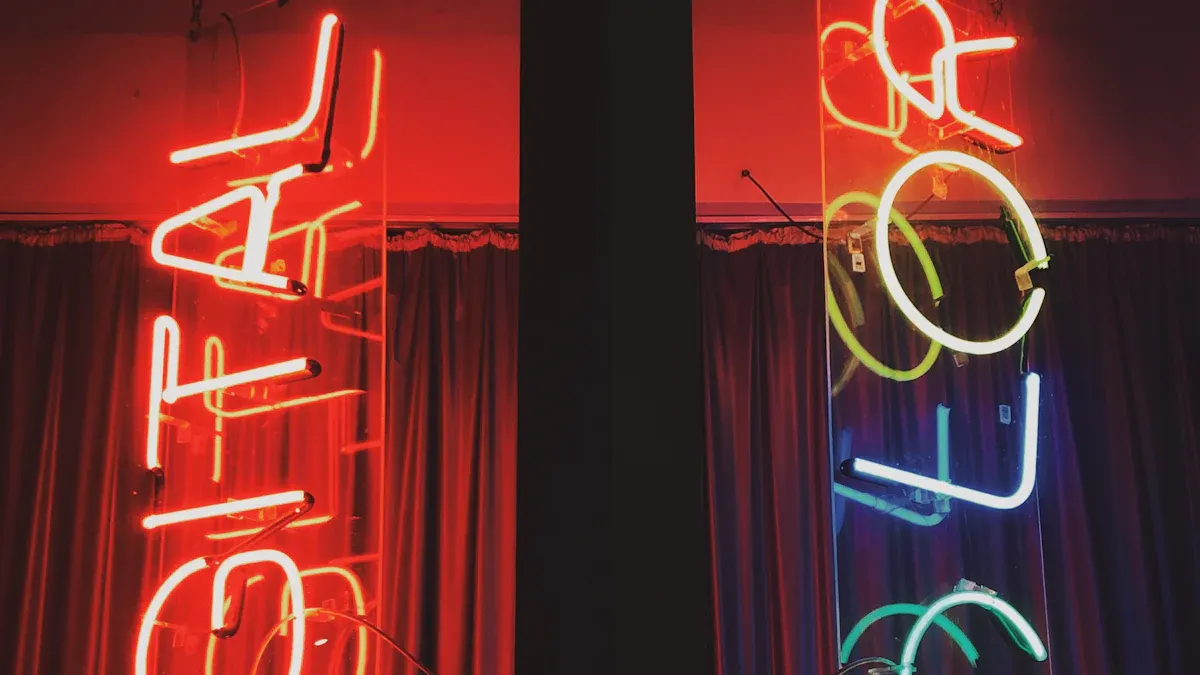
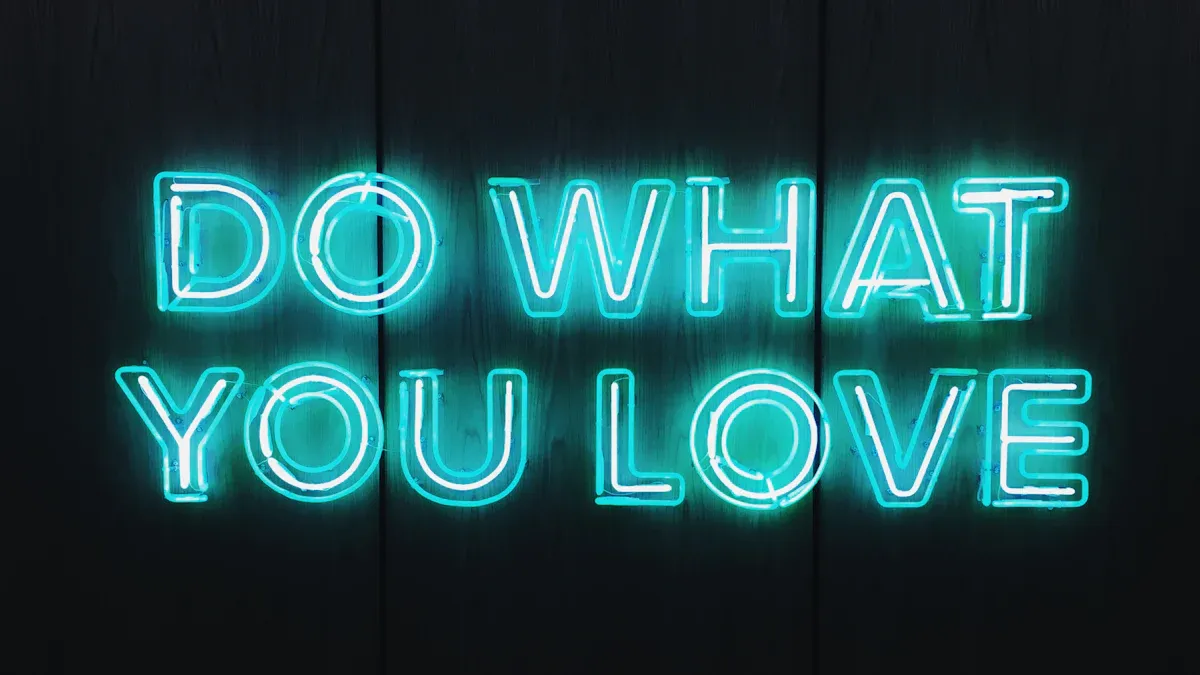
Have you ever wanted to add a splash of personality to your space? Neon LED custom signs are the perfect way to do it! These trendy lights are not only stylish but also energy-efficient and durable. Whether you’re creating a unique branding piece for your business or a personalized DIY neon sign for your home, the possibilities are endless. Plus, LED signs are cost-effective, requiring less maintenance and consuming up to 10 times less energy than traditional neon. With their vibrant colors and retro charm, they’re a fun and sustainable way to brighten any room.
Key Takeaways
Neon LED custom signs look cool, save energy, and last long. They are perfect for any room or area.
Get important items like LED neon strips, a power source, and a board to begin your DIY project.
Use simple steps to design, shape, and hang your neon sign to make it look great.
Pick bright colors and good materials to make your sign look better and last longer.
Stay safe by being careful with wires and wearing safety gear if needed.
Materials and Tools for a DIY Neon Sign
Creating your own neon LED sign is easier than you might think! With the right materials and tools, you can bring your design to life in no time. Let’s dive into what you’ll need to get started.
Essential Materials
To make your neon sign, you’ll need a few key materials. These items form the foundation of your project:
LED neon flex strips: These are the heart of your sign. Unlike traditional neon tubes, LED flex strips are energy-efficient, durable, and flexible. They’re also safer since they don’t heat up as much or contain toxic gases.
Power supply and wires: A reliable power source is crucial. Look for a transformer designed for LED neon signs. It should have features like short-circuit protection and ground fault detection for added safety.
Mounting board or surface: Acrylic panels are a popular choice for mounting your design. They’re lightweight, sturdy, and provide a clean, professional look.
Adhesive or mounting clips: These help secure the LED flex strips to your mounting surface. Choose an option that ensures a firm hold without damaging the material.
Tip: Using high-quality materials, like cast acrylic or extruded acrylic, can make your sign more durable and visually appealing.
Tools Required
Once you’ve gathered your materials, you’ll need some tools to assemble your sign:
Wire cutters: These are essential for trimming wires and LED strips to the right size.
Soldering kit (optional): If your design requires connecting multiple LED strips, a soldering kit can help you create secure connections.
Heat gun or hair dryer: Use this to shape the LED flex strips. The heat makes them more pliable, allowing you to bend them into intricate designs.
Measuring tape and markers: Precision is key when working on a custom sign. These tools help you measure and mark your design accurately.
Note: Always follow the manufacturer’s instructions when using tools like soldering kits or heat guns to ensure safety.
With these materials and tools, you’re all set to start your DIY neon sign project. The next step? Designing your masterpiece and bringing it to life!
Step-by-Step Guide to Making a Neon LED Custom Sign

Design Your Sign
Sketch your design on paper or digitally
Start by deciding what you want your neon LED custom sign to say or depict. Is it a motivational quote, a fun shape, or a logo? Once you’ve got your idea, sketch it out on paper or use a digital tool. Keep it simple and bold for the best results. If you’re unsure where to start, consider popular designs like a “Good Vibes” sign or a “Floral Heart” motif. These are trendy and can add a unique touch to your space.
Use a printed template for precision
After finalizing your design, print it out to use as a template. This step ensures accuracy when shaping the LED neon flex strips. Place the template on your mounting board and secure it with tape. It acts as your guide, helping you follow the design precisely without guesswork.
Pro Tip: Choose a color palette that complements your space. Bright colors like pink or blue can create a playful vibe, while warm tones like orange or yellow add coziness.
Prepare the LED Neon Flex
Measure and cut the LED flex to match your design
Before cutting, measure the length of the LED neon flex strip you’ll need for each section of your design. Look for the designated cut marks on the strip, usually indicated by small scissors icons or black lines. Cutting outside these marks can damage the LEDs. Use wire cutters for clean, precise cuts.
Shape the flex carefully to follow the design outline
Now comes the fun part—shaping the LED flex! Gently bend the strip to match the curves and angles of your template. If the flex feels stiff, use a heat gun or hair dryer to make it more pliable. Just don’t overheat it, as this could damage the material. Avoid bending the strip too sharply to prevent breaking the internal wiring.
Do’s and Don’ts:
Do wear gloves to keep the flex clean and avoid fingerprints.
Don’t bend the strip beyond its limits or expose it to sharp objects.
Mount the LED Neon
Attach the LED flex to the mounting board using adhesive or clips
Once your LED flex is shaped, it’s time to secure it to the mounting board. You can use adhesive for a seamless look or mounting clips for added stability. Clean the surface beforehand to ensure the adhesive sticks well. If you’re using clips, space them evenly to keep the flex firmly in place.
Ensure the flex is securely fixed and aligned with the design
Double-check that the LED flex aligns perfectly with your template. Adjust any sections that look uneven or out of place. A well-aligned sign not only looks professional but also ensures even lighting across the design.
Common Issues to Watch For:
Overheating: Avoid enclosing the flex too tightly, as this can trap heat.
Moisture: If your sign is for outdoor use, ensure the materials are waterproof.
With these steps, you’re well on your way to creating a stunning neon LED custom sign that’s both functional and eye-catching!
Wiring and Power Connection
Connect the LED flex to the power supply
Now that your LED flex is mounted, it’s time to bring your sign to life! Start by connecting the LED flex to the power supply. Locate the input port on the LED strip and attach the wires securely. If your design uses multiple strips, you might need to connect them in series or parallel, depending on the setup. Double-check the connections to ensure everything is snug and properly aligned. A loose connection can cause flickering or prevent the sign from lighting up altogether.
Tip: Use a power supply that matches the voltage and wattage requirements of your LED flex. This ensures optimal performance and prevents overheating.
Follow proper wiring techniques to ensure safety
Safety should always come first when working with electrical components. Keep the wires organized and avoid tangling them. If you’re using a soldering kit, make sure the solder joints are clean and secure. Insulate any exposed wires with heat shrink tubing or electrical tape to prevent short circuits. Before plugging in the power supply, double-check all connections one last time.
Pro Tip: If your sign doesn’t light up, troubleshoot by following these steps:
Check the power supply. Ensure it’s securely connected to both the wall outlet and the sign’s input port.
Verify the power supply is plugged into a properly rated outlet.
Toggle the on/off switch after confirming the connections.
Test and Final Adjustments
Power on the sign to test its functionality
The moment of truth! Plug in the power supply and switch it on. Watch as your neon LED sign lights up for the first time. Take a step back and observe the entire design. Are all sections evenly lit? If any part of the sign isn’t glowing, revisit the wiring and connections to identify the issue.
Make any necessary adjustments for a polished look
Once the sign is functional, focus on the finishing touches. Adjust the alignment of the LED flex if needed. Look for any uneven sections or gaps in the design. If you notice any adhesive peeling off, reapply it to ensure a firm hold. A little extra effort here can make your sign look sleek and professional.
Reminder: If your sign is for outdoor use, double-check that all components are weatherproof. This will protect your creation from moisture and extend its lifespan.
With the wiring complete and adjustments made, your neon LED custom sign is ready to shine! Whether it’s for your home, office, or a special event, your DIY project is sure to impress.
Tips for Professional-Looking DIY Neon Signs
Choosing Colors and Materials
Select colors that complement your space and design
The colors you choose can make or break your neon sign’s impact. Think about the vibe you want to create. Do you want something bold or calming? Here are some popular color combinations to inspire you:
Neon Yellow + Charcoal Gray: Perfect for a sporty, energetic look.
Neon Green + Black: Great for edgy, urban themes.
Neon Blue + White: A sleek, modern choice for minimalist designs.
Neon Pink + Royal Purple: Fun and vibrant, ideal for party or club settings.
If you’re aiming for a dynamic atmosphere, try palettes like Neon Paradise (vibrant pinks and purples) or Vibrant Spectrum (harmonious reds and blues). These combinations can transform your faux neon sign into a true centerpiece.
Use high-quality materials for durability and brightness
Investing in high-quality materials pays off in the long run. Acrylic boards, for example, resist fading and UV damage, ensuring your sign stays vibrant for years. Plus, they’re safer than traditional neon since they don’t involve fragile glass or hazardous gases. High-quality LED strips also provide a uniform glow, making your neon lettering pop. Whether it’s for home decor or commercial use, durable materials ensure your sign looks professional and lasts longer.
Tip: Using premium materials not only enhances the sign’s appearance but also reduces maintenance hassles.
Avoiding Common Mistakes
Ensure even mounting and alignment
Uneven mounting can ruin the look of your sign. Take your time to align the LED flex strips with your design template. Use a measuring tape to double-check spacing and placement. If you’re using adhesive, clean the surface first to ensure a strong bond. For outdoor signs, waterproof materials are a must to prevent damage from moisture.
Pro Tip: Step back and view your sign from different angles to spot any alignment issues before finalizing.
Double-check wiring connections to prevent malfunctions
Improper wiring can lead to flickering lights or, worse, safety hazards. Always double-check your connections. Loose wires can cause arcing, which might result in fires. Insulate exposed wires with heat shrink tubing or electrical tape to avoid short circuits. If your sign doesn’t light up, troubleshoot by checking the power supply and connections.
Reminder: Never attempt repairs without the right tools. This could permanently damage your sign or pose safety risks.
By following these tips, you’ll create a neon sign that’s not only eye-catching but also safe and durable. Your DIY project will look like it was made by a pro!
Safety Precautions for DIY Neon Signs
When working on a DIY neon sign, safety should always come first. While these projects are fun and creative, they involve electrical components and tools that require careful handling. Here’s how you can stay safe throughout the process.
Electrical Safety
Handle wires and power supplies with care
LED neon signs may look harmless, but they operate on high-voltage electricity. Improper handling can lead to serious risks, including electrocution. Always use insulated tools when working with wires to reduce the chance of electric shock. Keep your workspace dry and position your faux neon sign away from water sources to avoid accidents.
Quick Tip: Organize your wires neatly to prevent tangling, which can lead to short circuits or overheating.
Always unplug before making adjustments
Before you touch any part of your sign, unplug it from the power source. This simple step can prevent accidental shocks or damage to the components. Double-check that the power supply is off before you start any repairs or adjustments. It’s better to be overly cautious than to risk injury.
Safety Measure | Description |
|---|---|
Wear protective gear | Prevent injuries while handling electrical components. |
Use insulated tools | Minimize the risk of electric shock when working with wires. |
Tool Safety
Use tools like soldering kits and heat guns responsibly
Specialized tools like soldering kits and heat guns can make your project easier, but they also come with risks. Always follow the manufacturer’s instructions when using these tools. Avoid pointing a heat gun at flammable materials, and never leave it unattended while it’s on. If you’re soldering, work in a well-ventilated area to avoid inhaling fumes.
Warning: Mishandling tools can lead to burns, fires, or even electrical failures in your sign.
Wear protective gear, such as gloves and safety glasses, if needed
Protective gear isn’t just for professionals—it’s for anyone working with potentially hazardous tools. Gloves can shield your hands from burns or cuts, while safety glasses protect your eyes from flying debris or sparks. If you’re shaping LED flex strips with a heat gun, gloves can also help you avoid accidental burns.
Remember: A little preparation goes a long way in preventing injuries. Don’t skip this step!
By following these safety precautions, you can enjoy the process of creating your neon sign without unnecessary risks. Whether it’s a faux neon sign for your bedroom or a custom piece for your business, staying safe ensures your project is as rewarding as it is fun.
Creating a neon LED custom sign is more than just a fun project—it’s a chance to express your creativity and add a personal touch to your space. When you make your own sign, you can design something truly unique that reflects your style. Whether it’s a quirky “Feelings” sign or a chic Palm Springs-inspired design, the possibilities are endless. Plus, DIY signs are often more cost-effective than pre-made ones, and they’re perfect for special occasions or everyday decor.
So, why wait? Gather your materials, sketch out your ideas, and start crafting your neon LED custom masterpiece today. Don’t forget to share your creations—your work might just inspire someone else to brighten their space too!
FAQ
What are neon LED signs made of?
Neon LED signs use LED neon flex strips instead of traditional glass tubes. These strips are made of flexible PVC or silicone, housing tiny LED lights. This makes them safer, more durable, and energy-efficient compared to traditional neon lights.
Can I use my DIY neon sign outdoors?
Yes, you can! Just make sure to use waterproof materials and weatherproof your sign. Look for outdoor-rated LED neon flex strips and power supplies to ensure your sign withstands rain and humidity.
How long do LED neon signs last?
LED neon signs typically last 30,000 to 50,000 hours, depending on the quality of the materials. That’s years of vibrant lighting! To extend their lifespan, avoid overloading the power supply and keep them clean.
Are neon LED signs safe to use?
Absolutely! Neon LED signs don’t heat up like traditional neon lights and don’t contain harmful gases. Just follow basic electrical safety precautions, like unplugging before adjustments and insulating exposed wires.
Can I create complex designs with LED neon signs?
Yes, you can! LED neon flex strips are highly flexible, allowing you to create intricate shapes and designs. Use a printed template for precision and a heat gun to shape the strips easily.
See Also
Creating Your Personalized Neon LED Sign From Scratch
Why LED Neon Custom Signs Are An Eco-Friendly Choice
Steps to Create Your Own LED Neon Flex Sign


